Antique Drop Leaf Table Makeover Step-by-Step Guide! Trash to treasure!
/#MondayMakeoversWithFallon
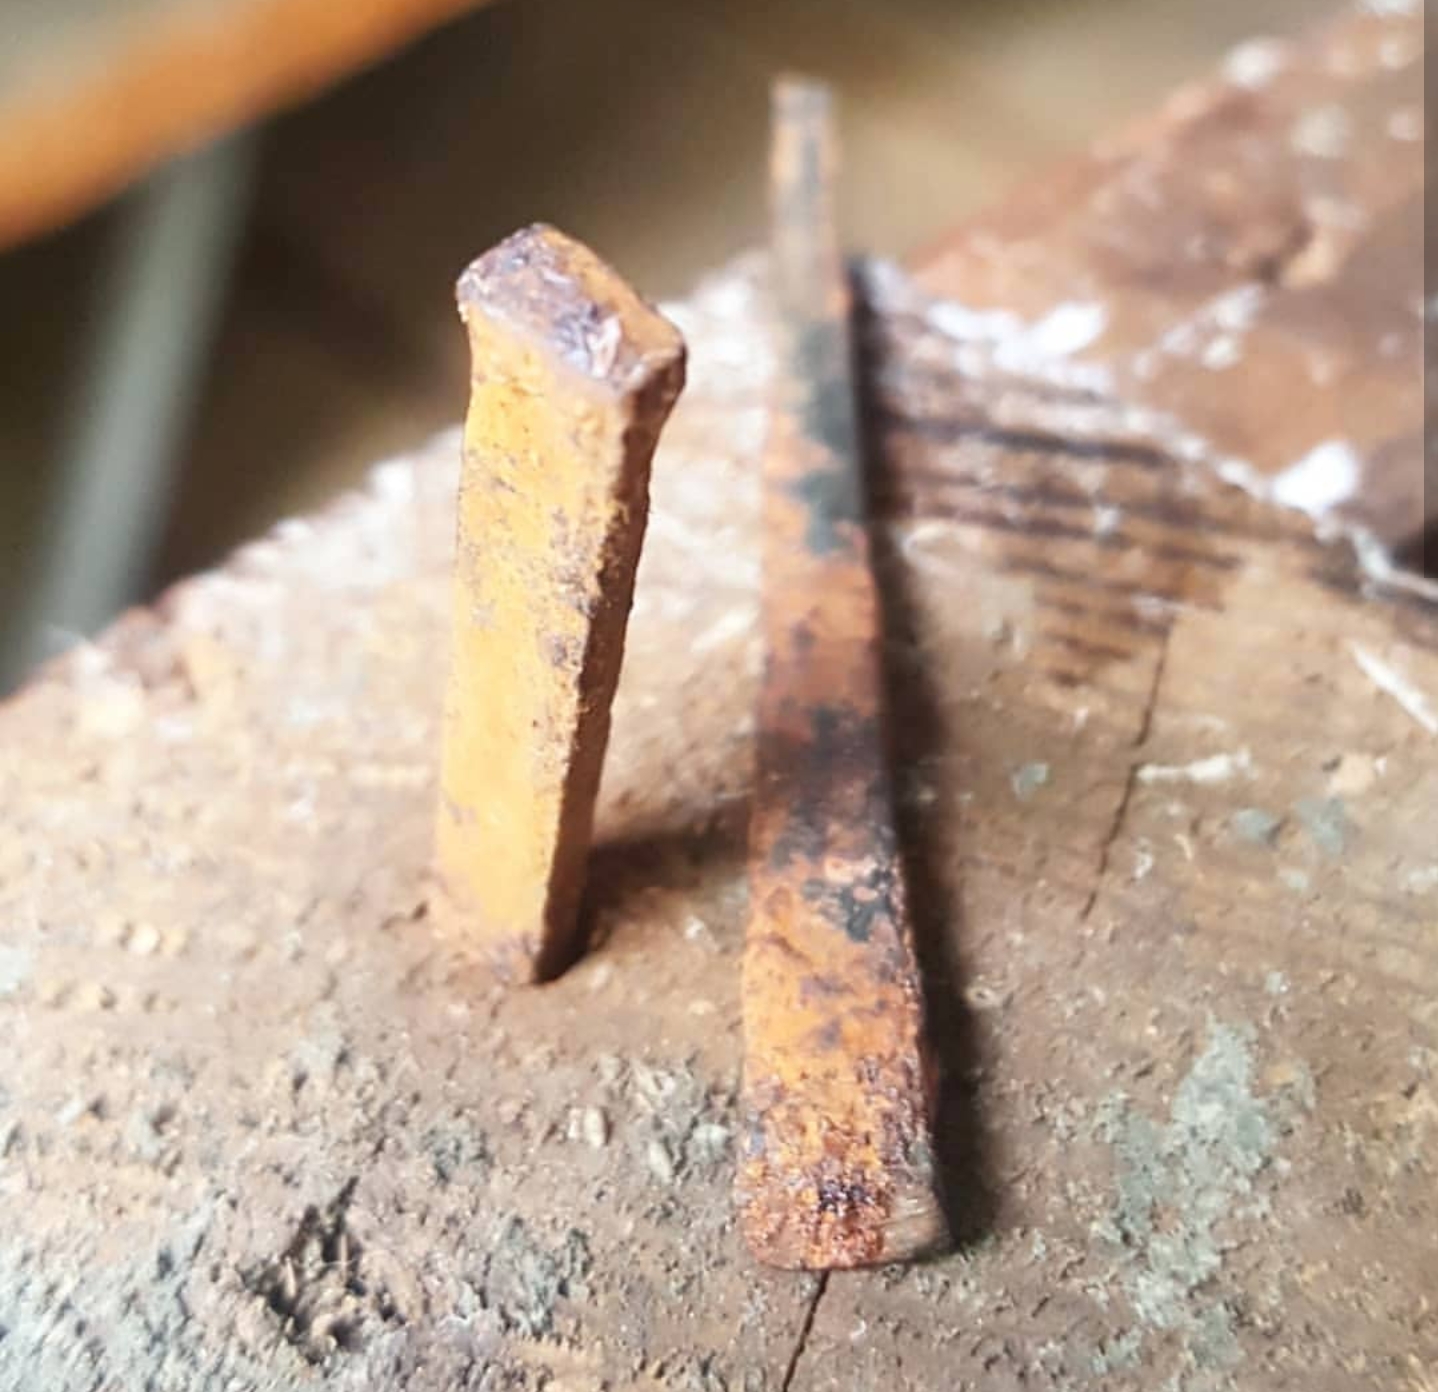
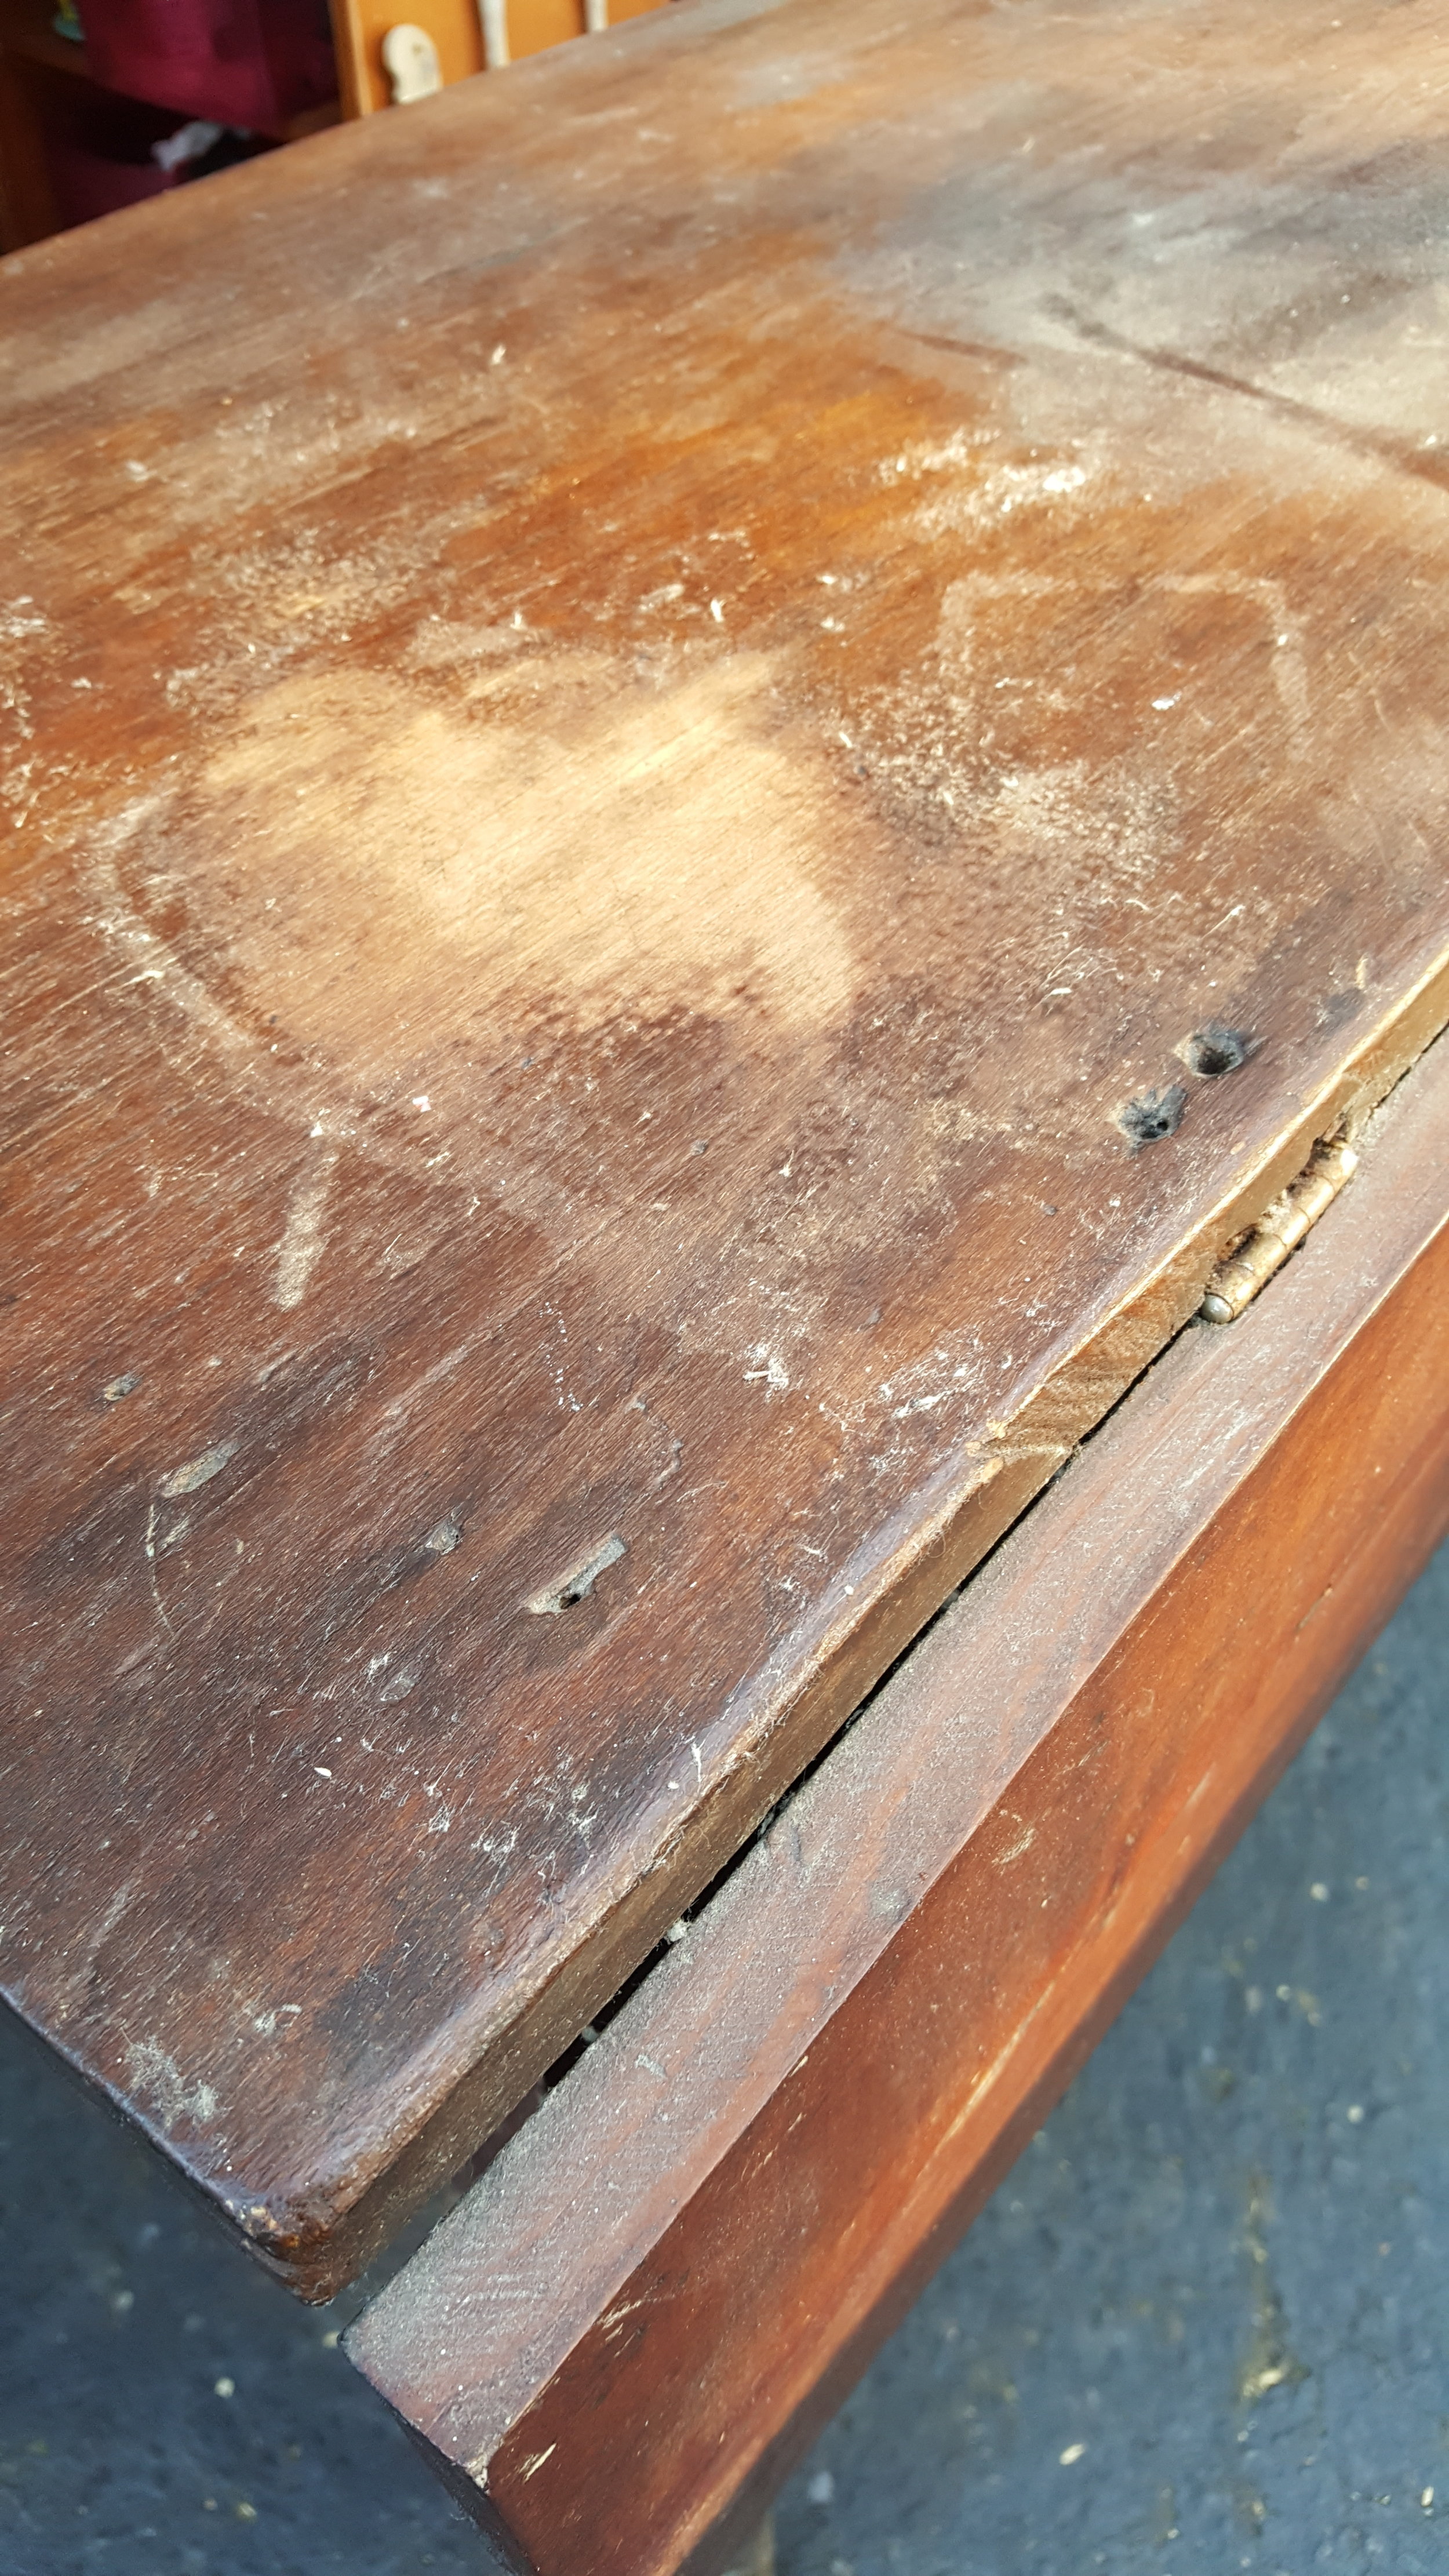
I found this antique drop leaf table on the side of the road and as soon as I saw the square nails from the 1800's I knew the value and potential and was definitely willing to put in the work to make it beautiful again.
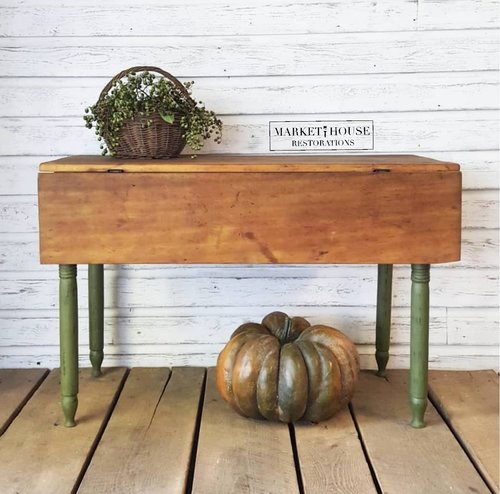
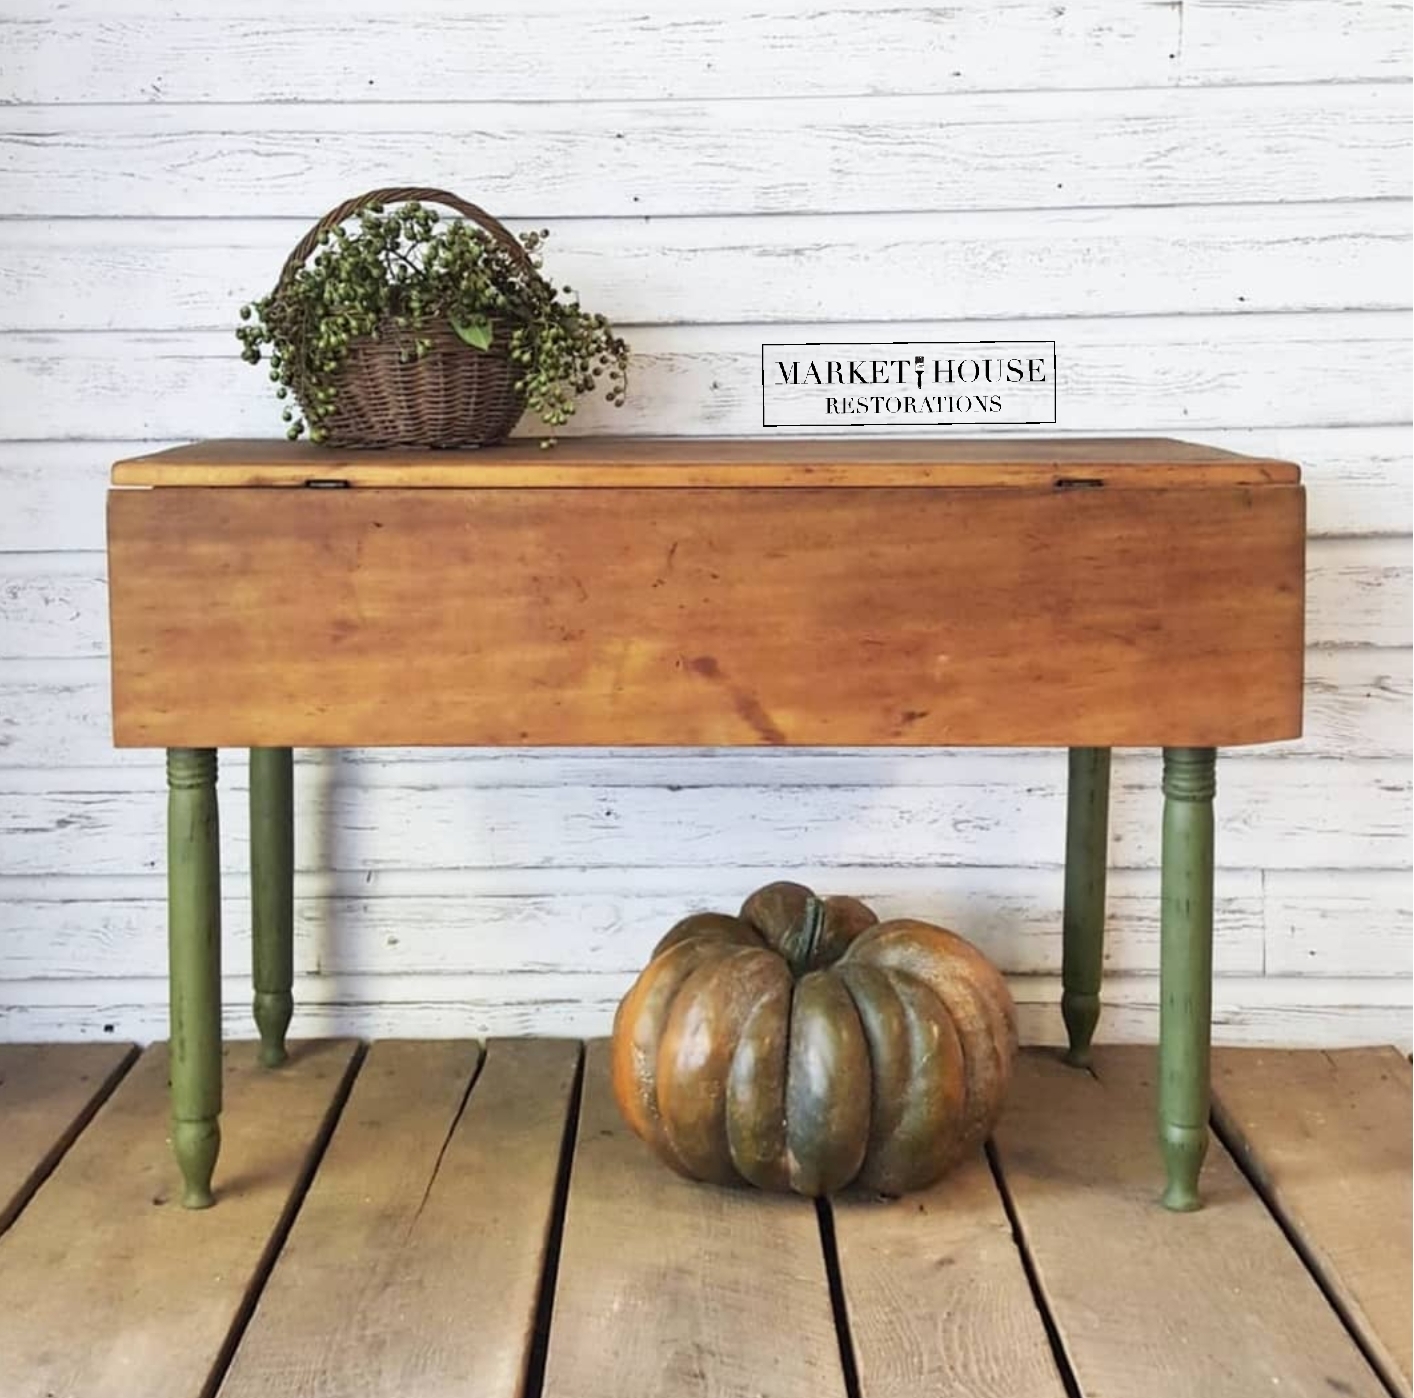
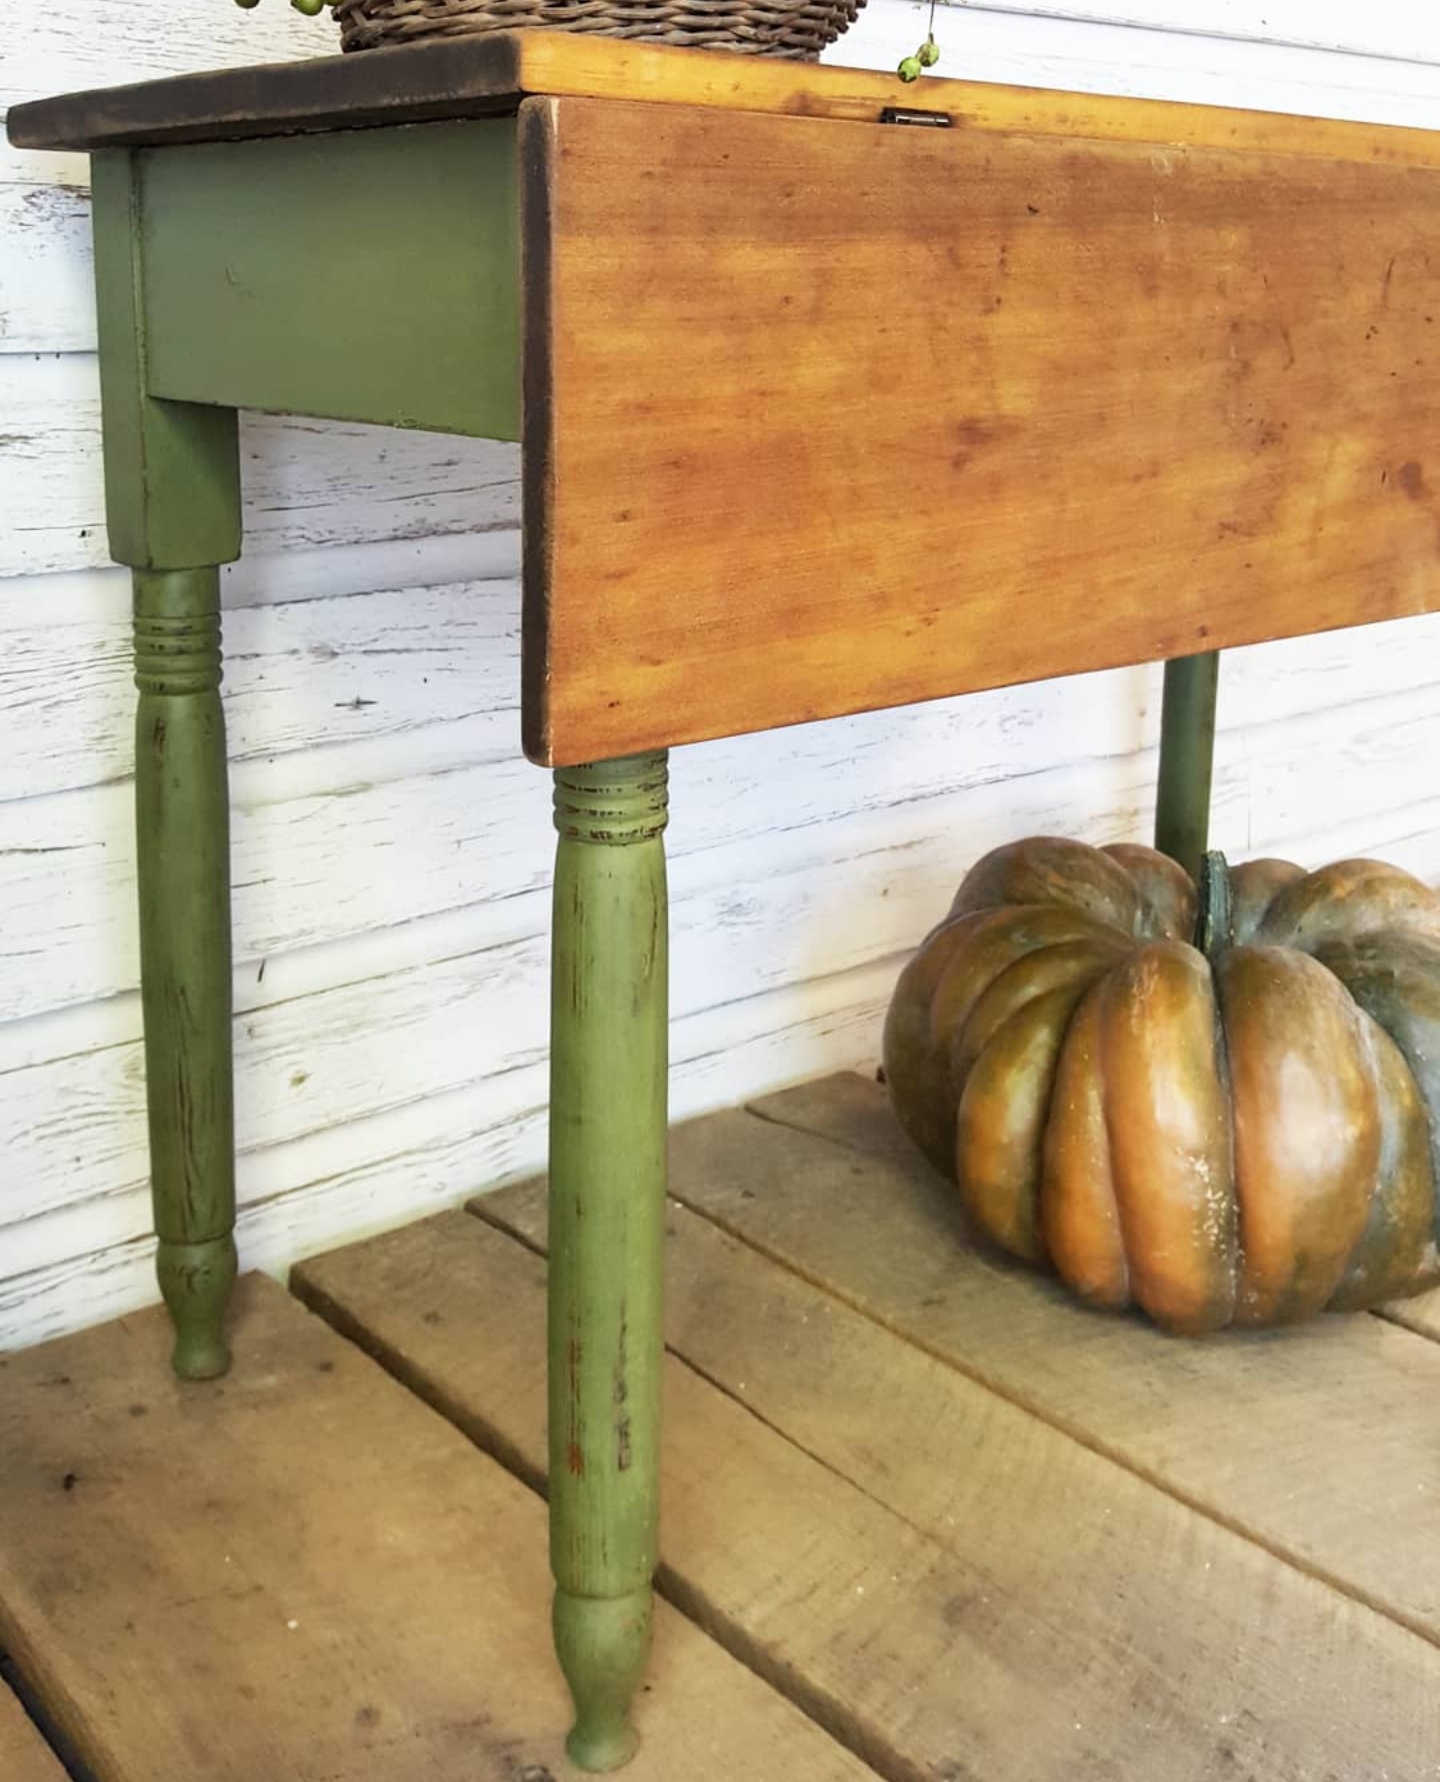
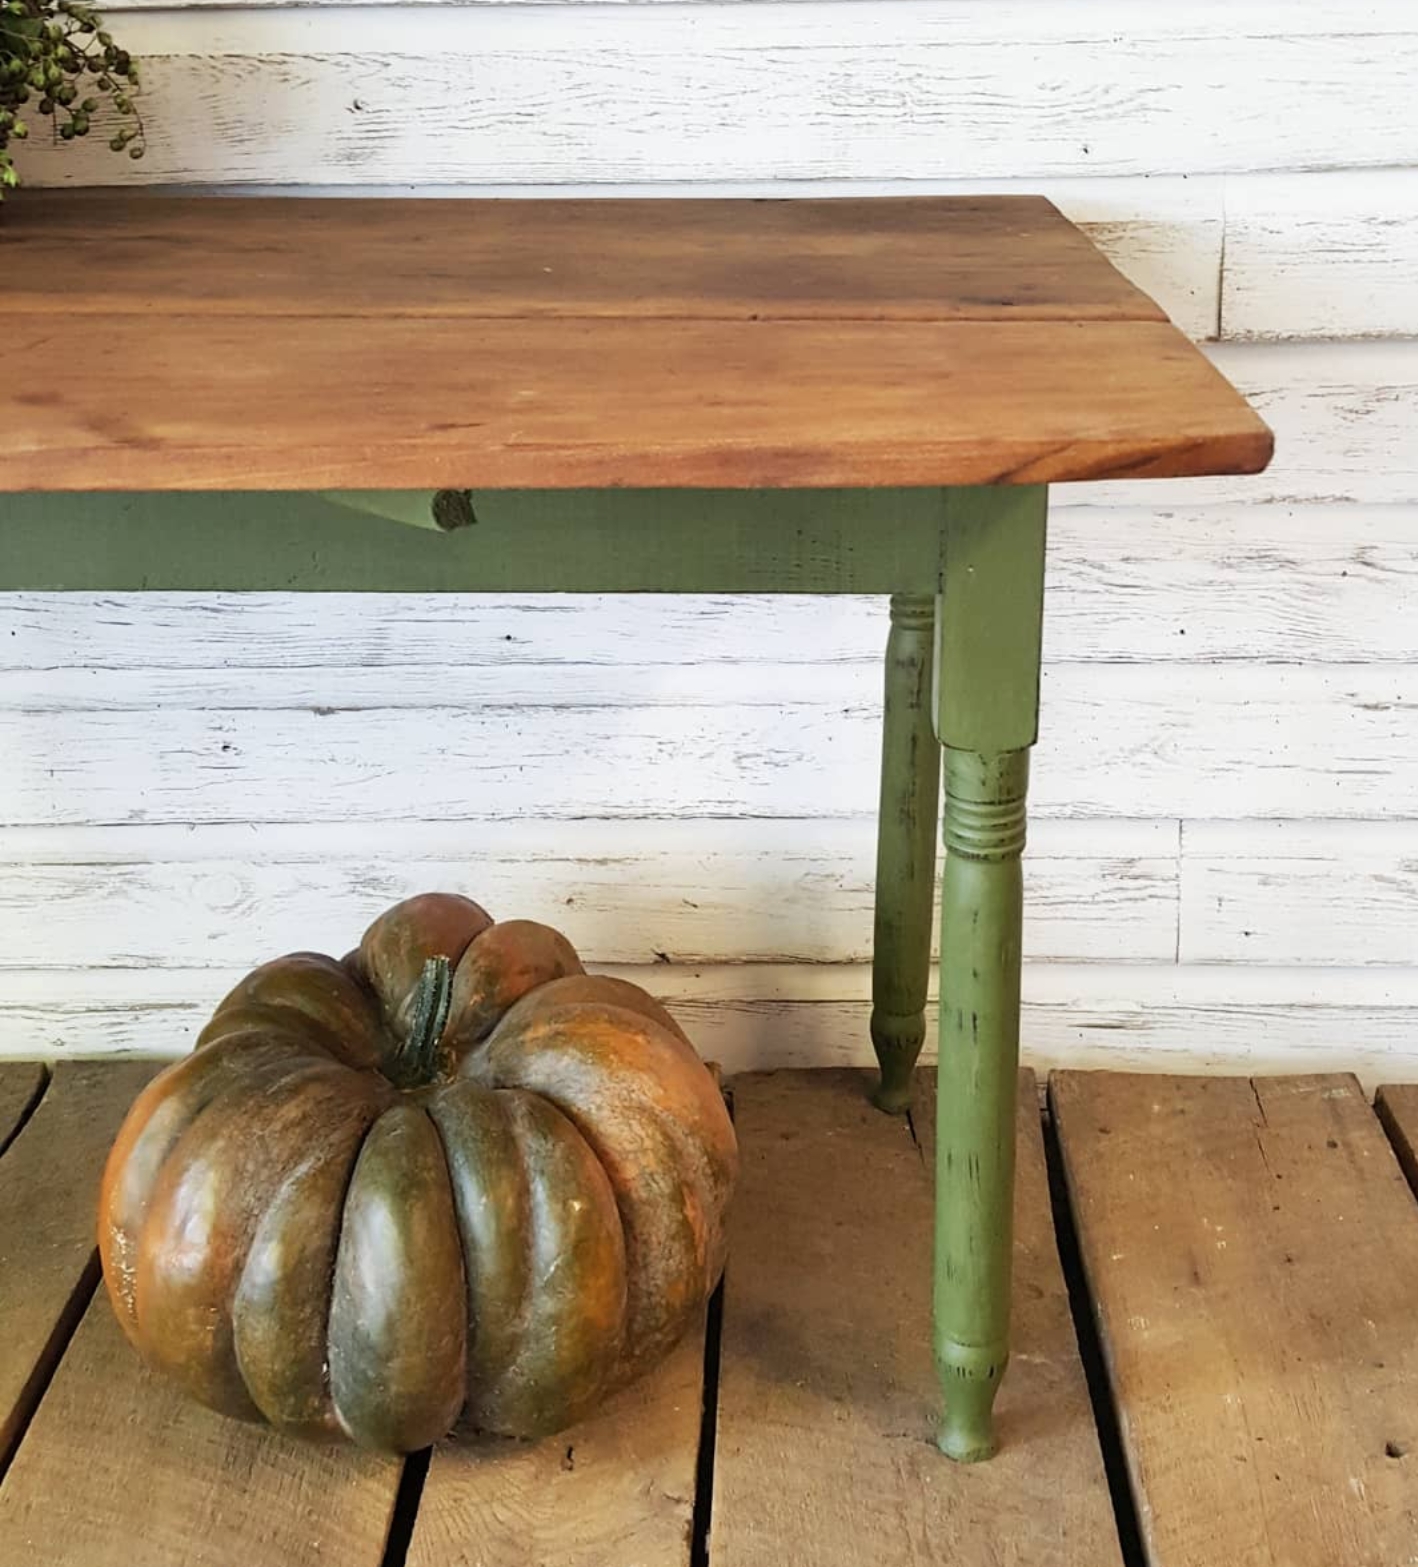
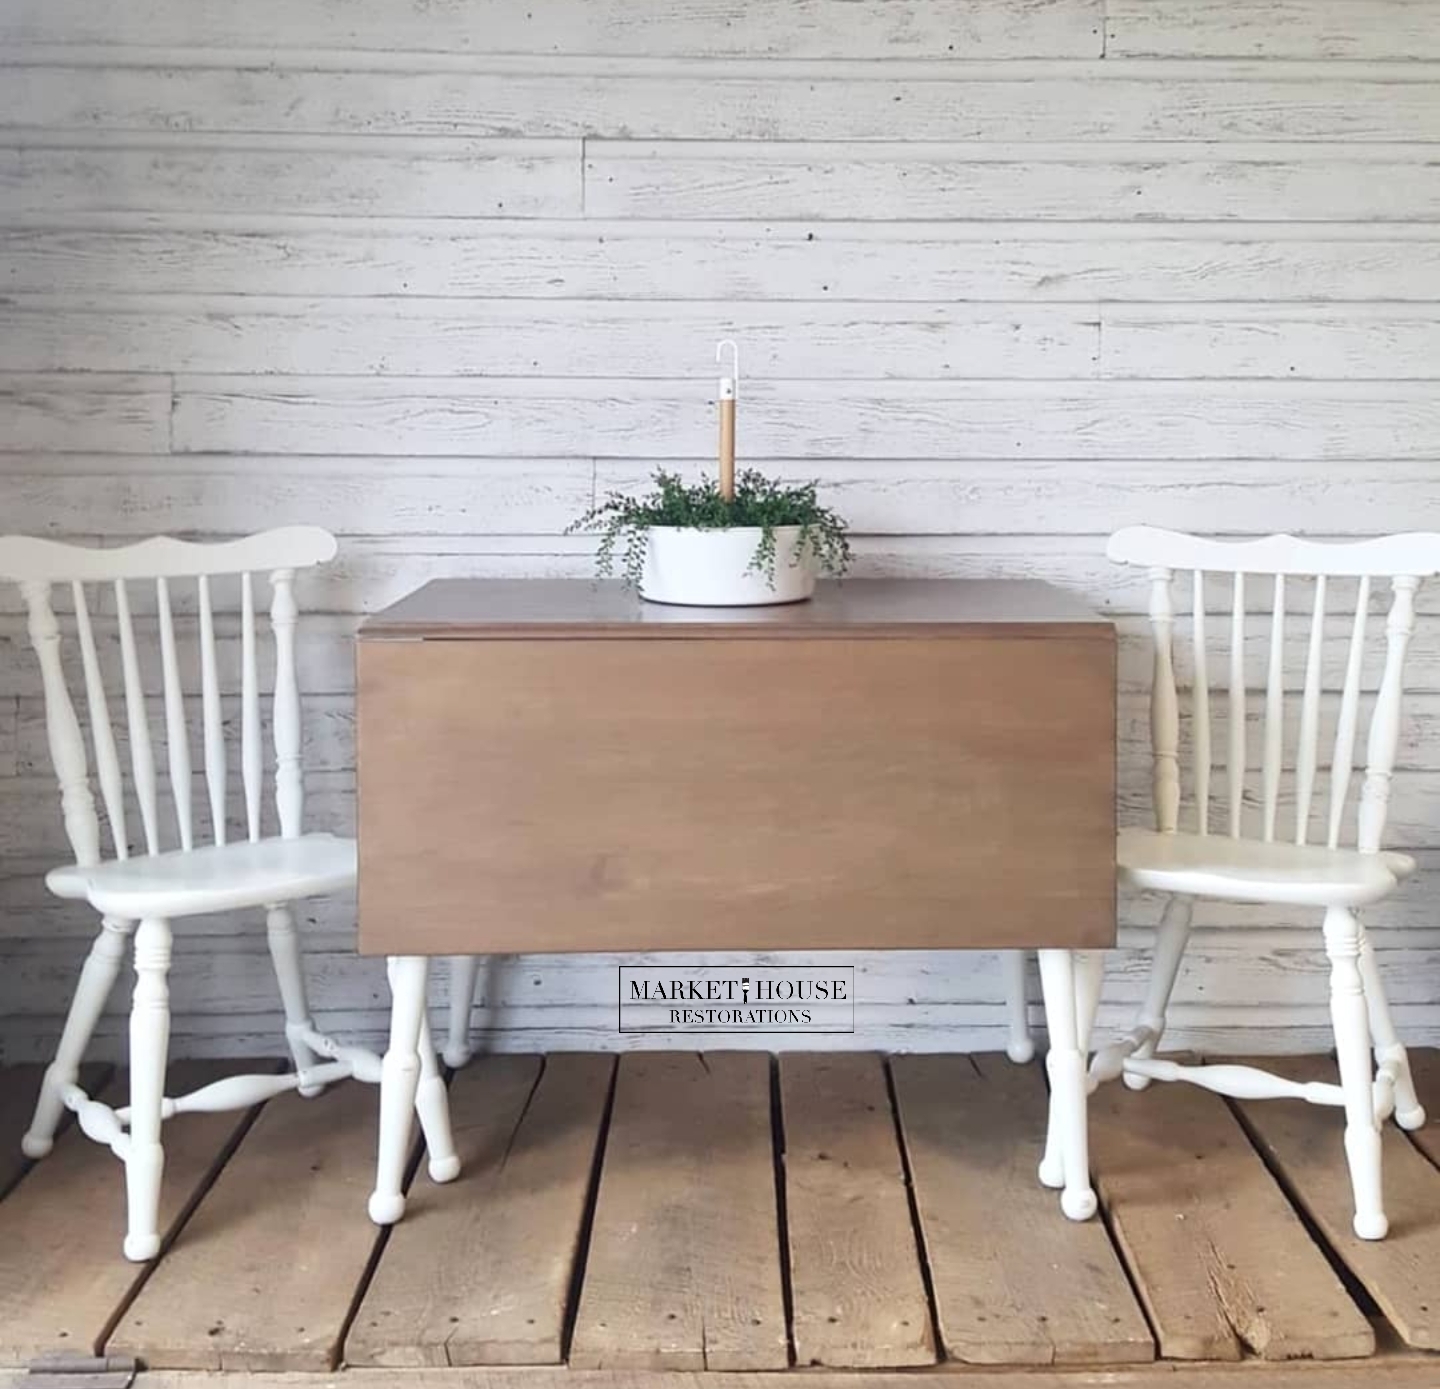
The character on this piece is awesome!! After hours of work, it's now an awesome, authentic farmhouse drop-leaf table See the process below.
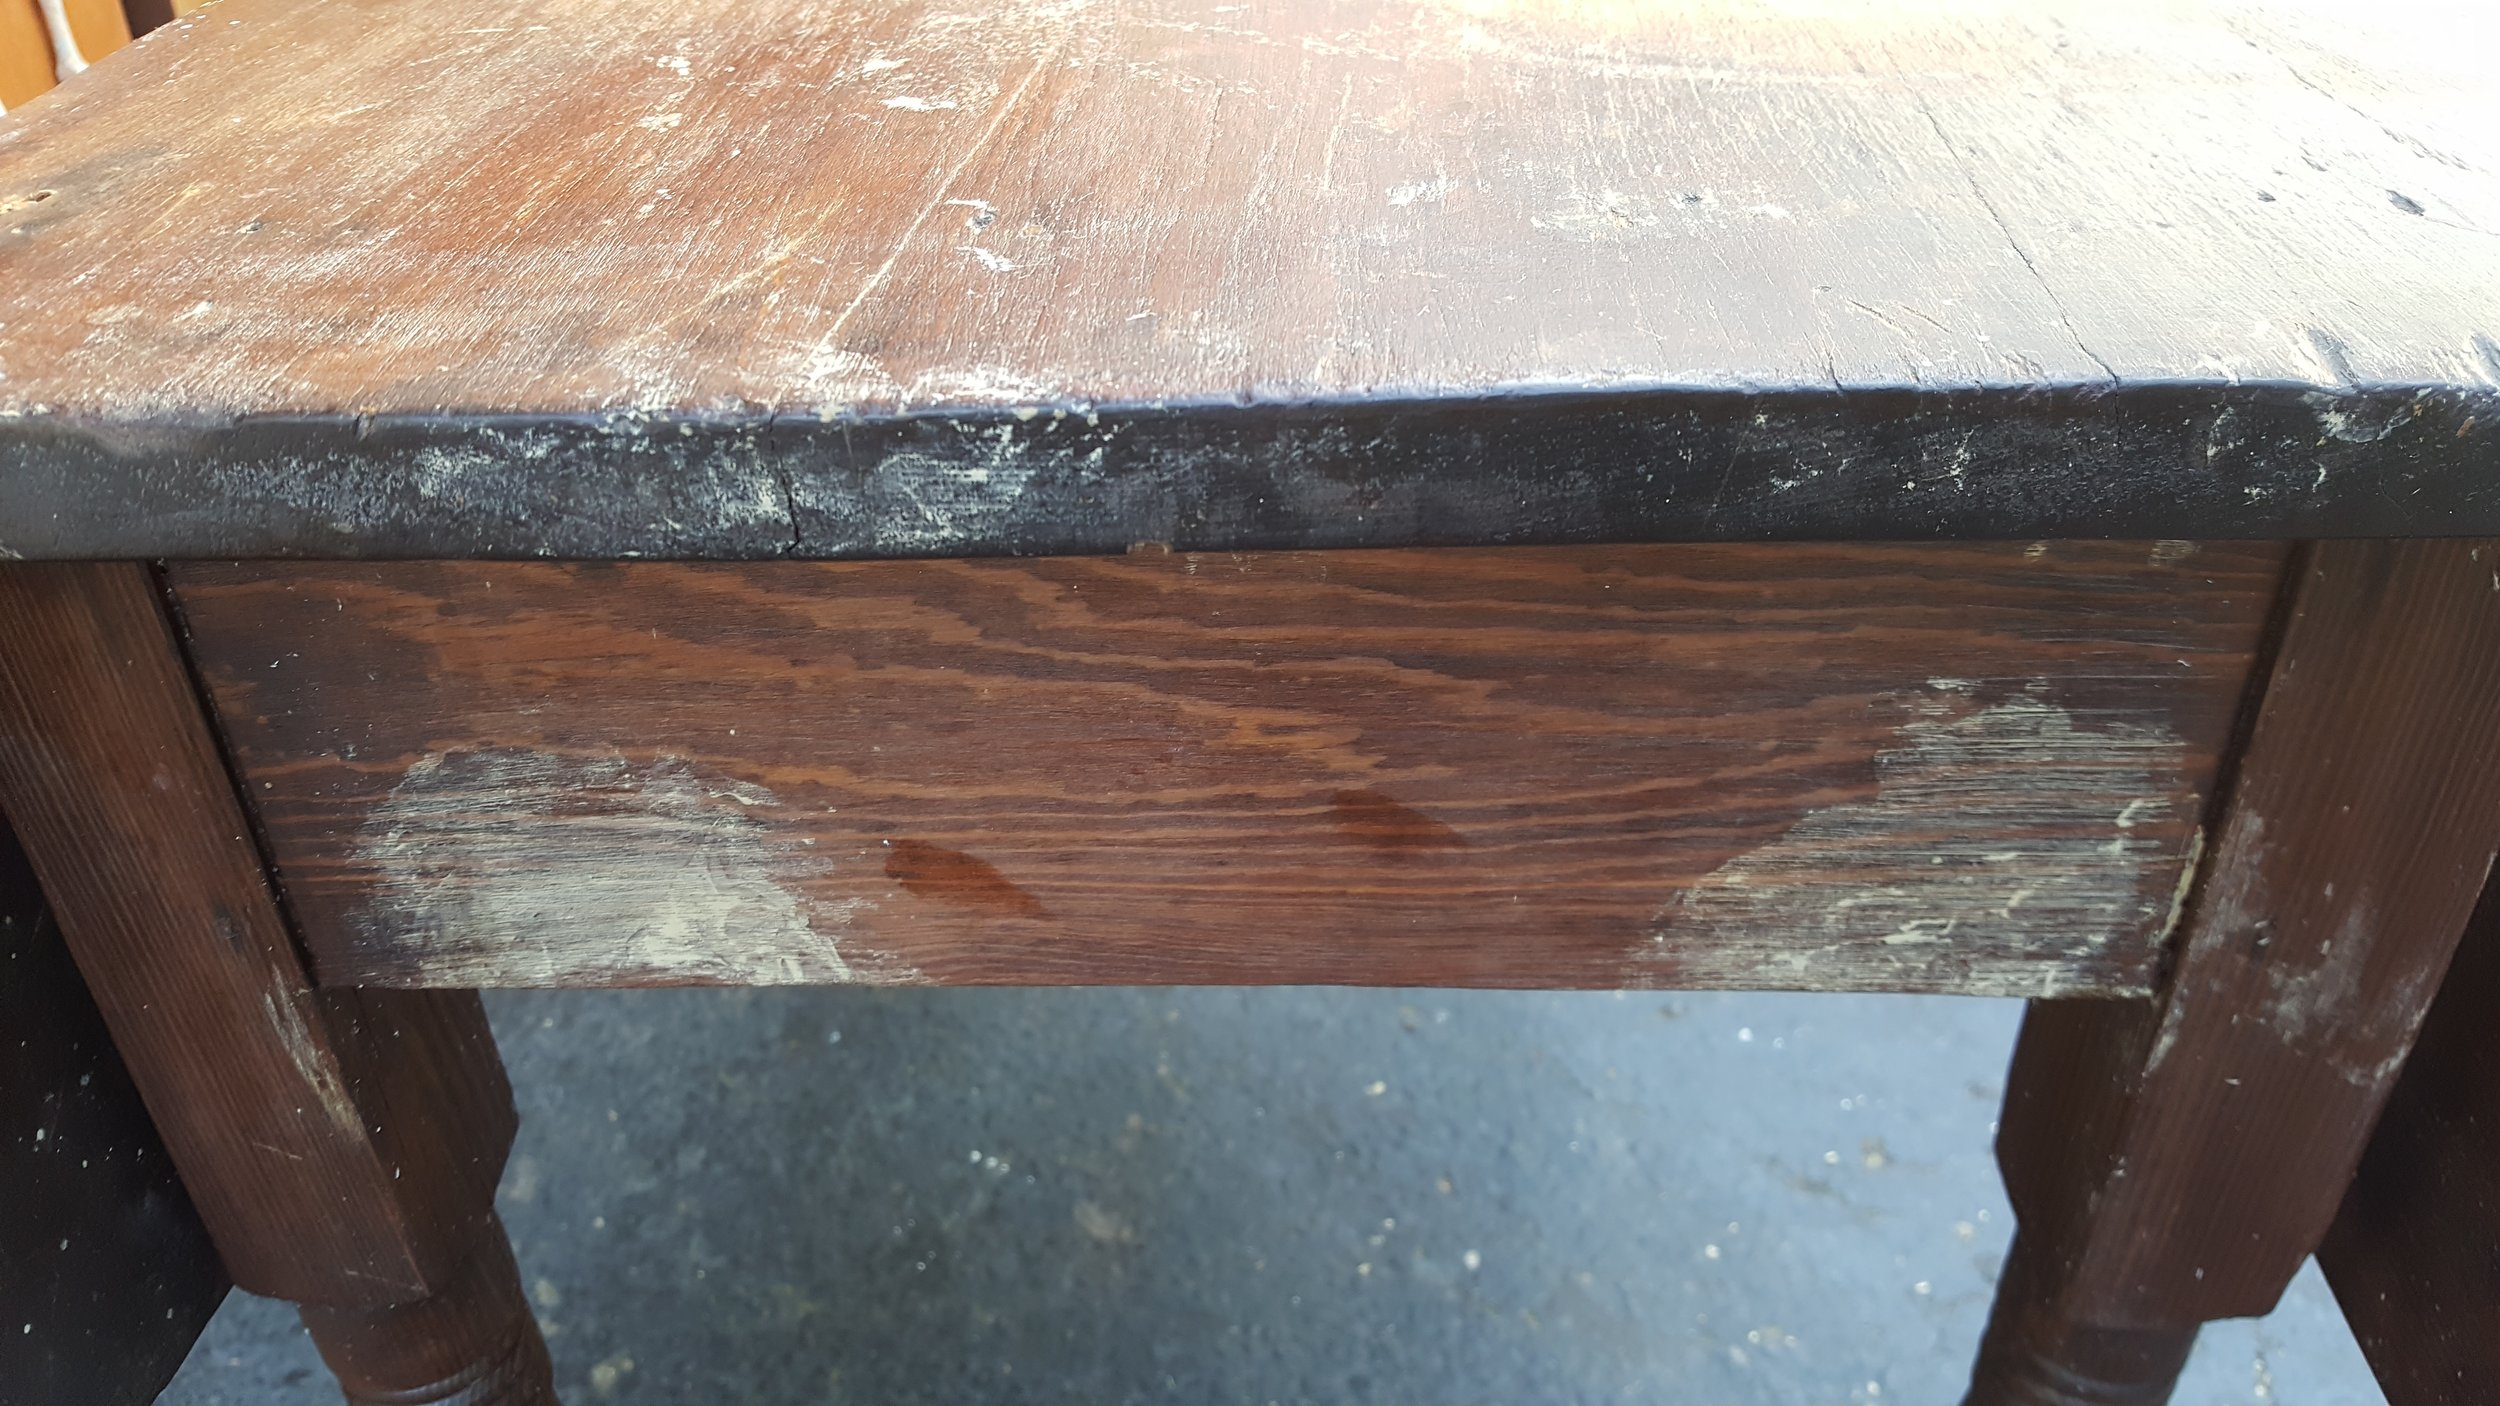
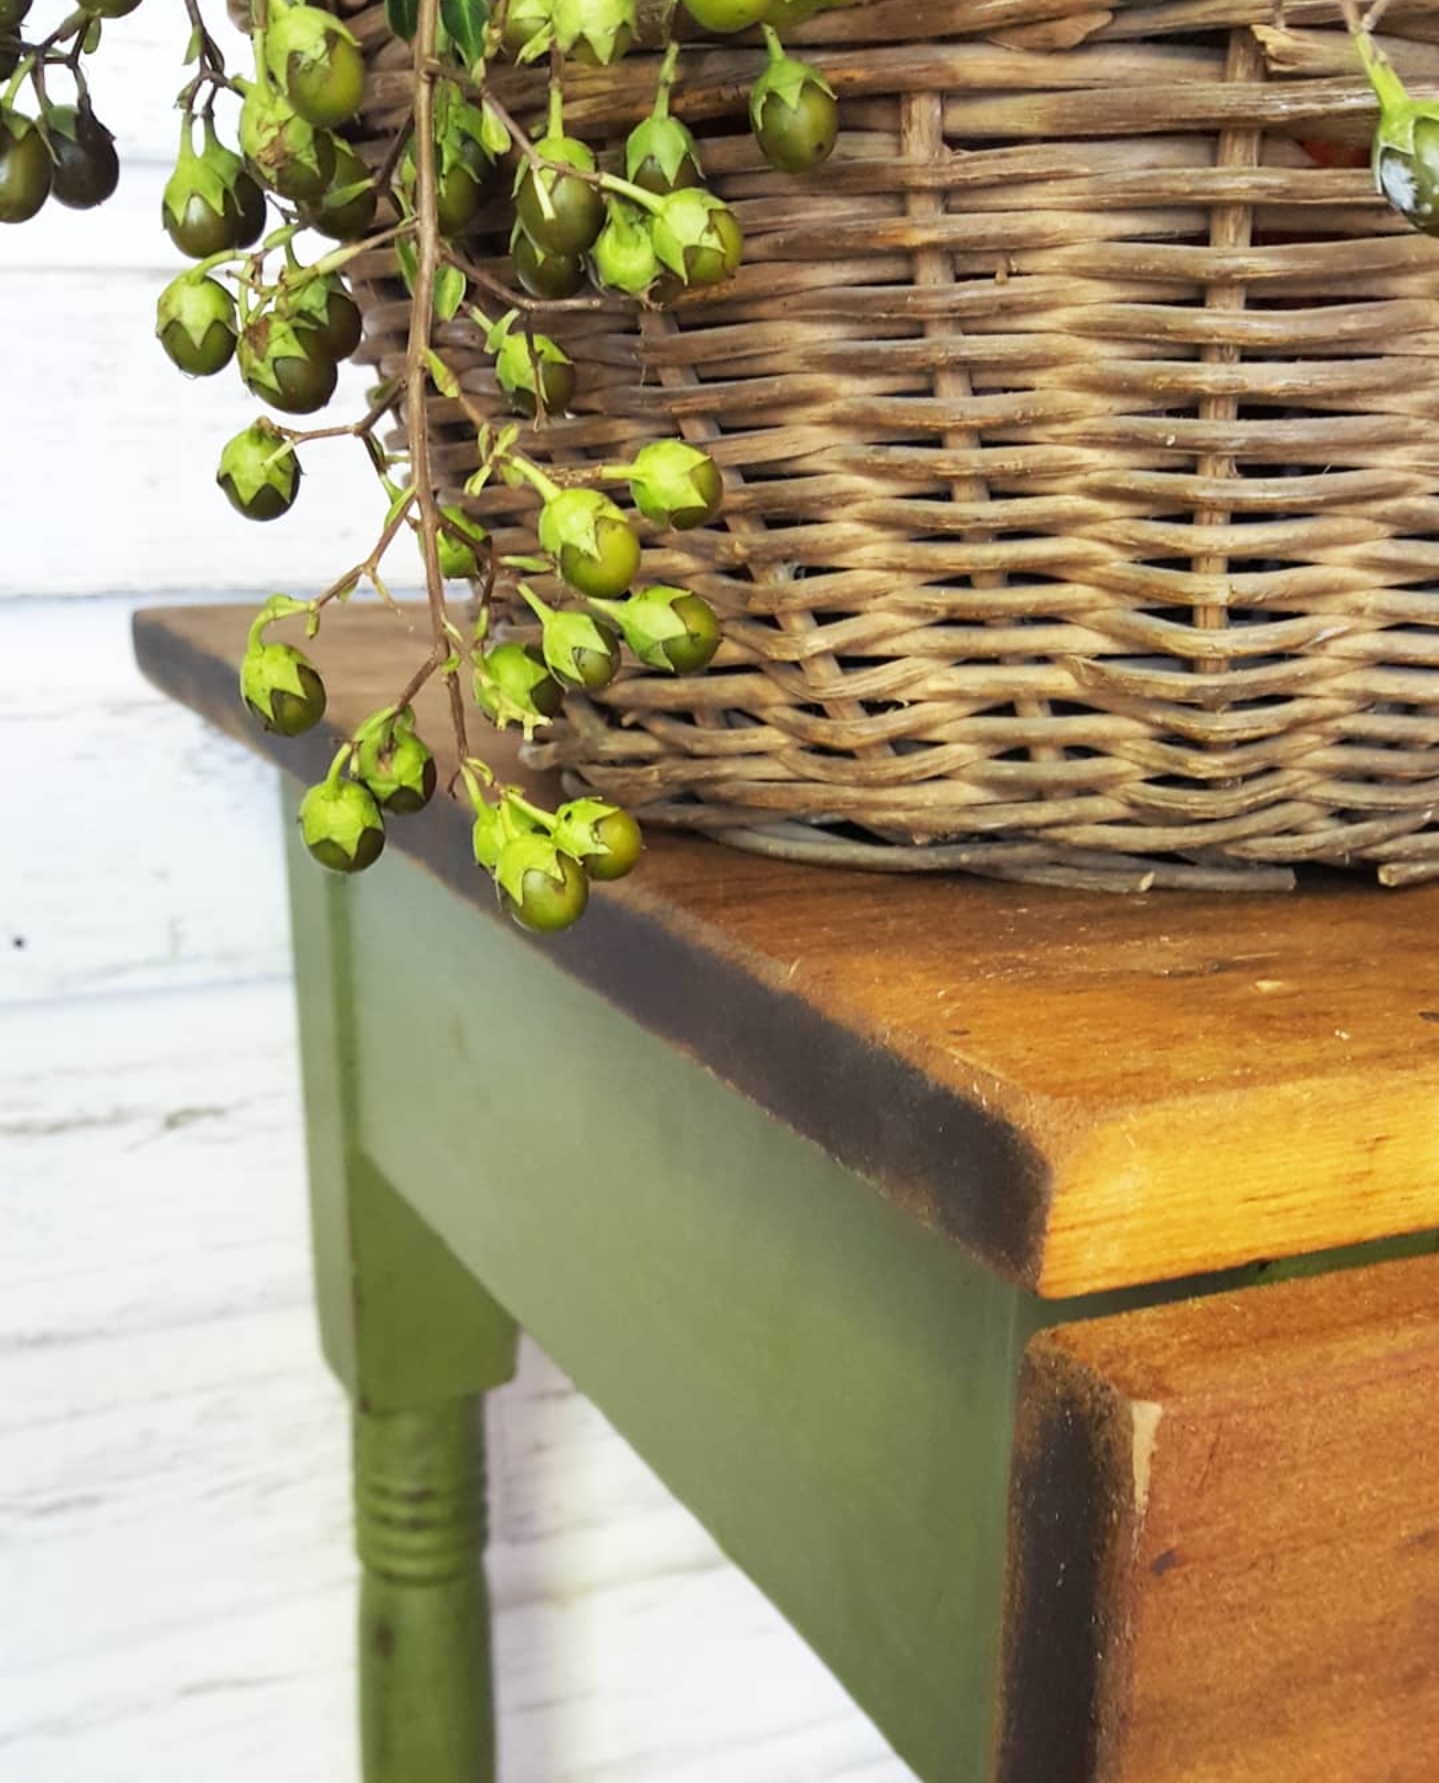
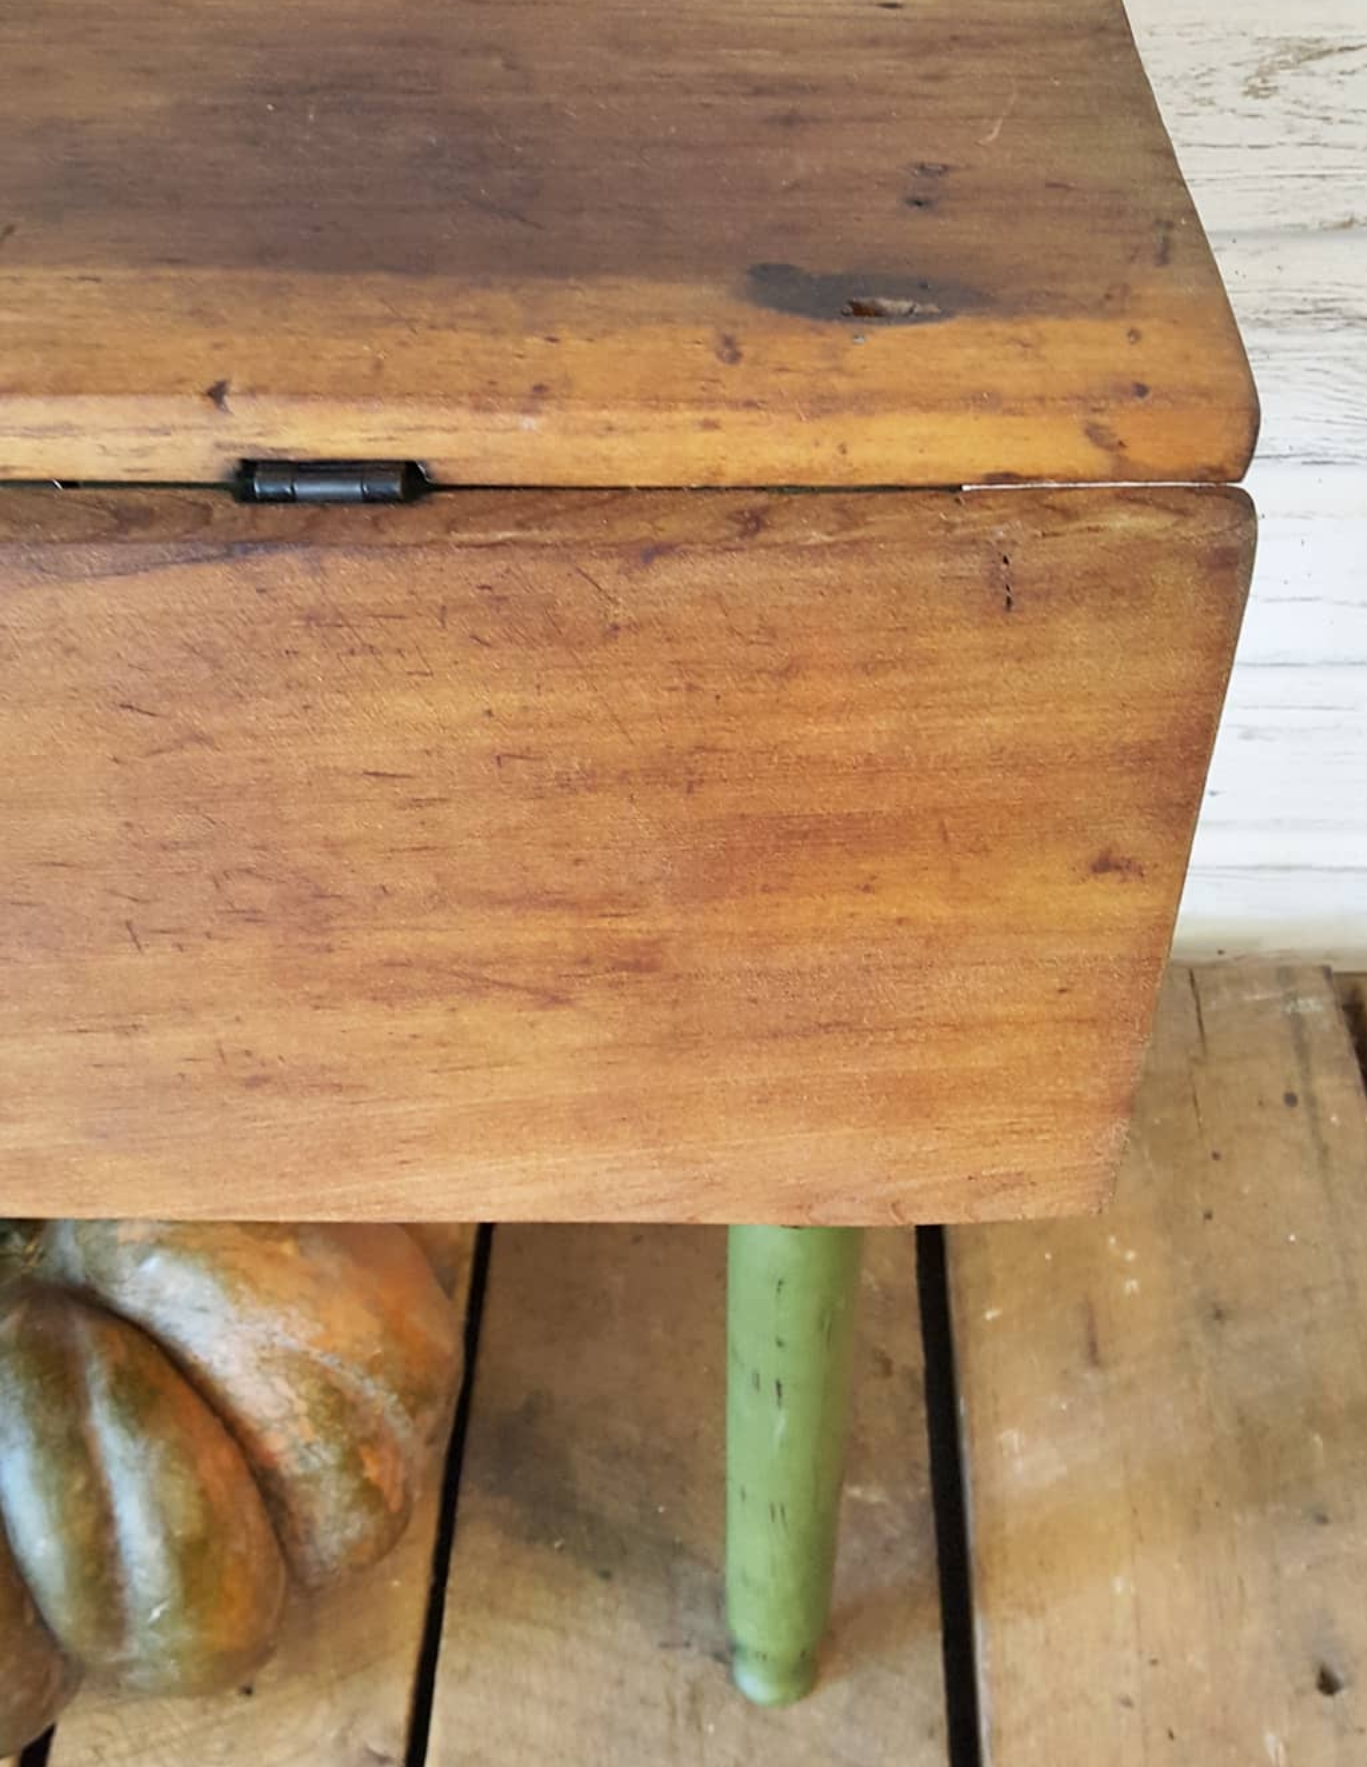
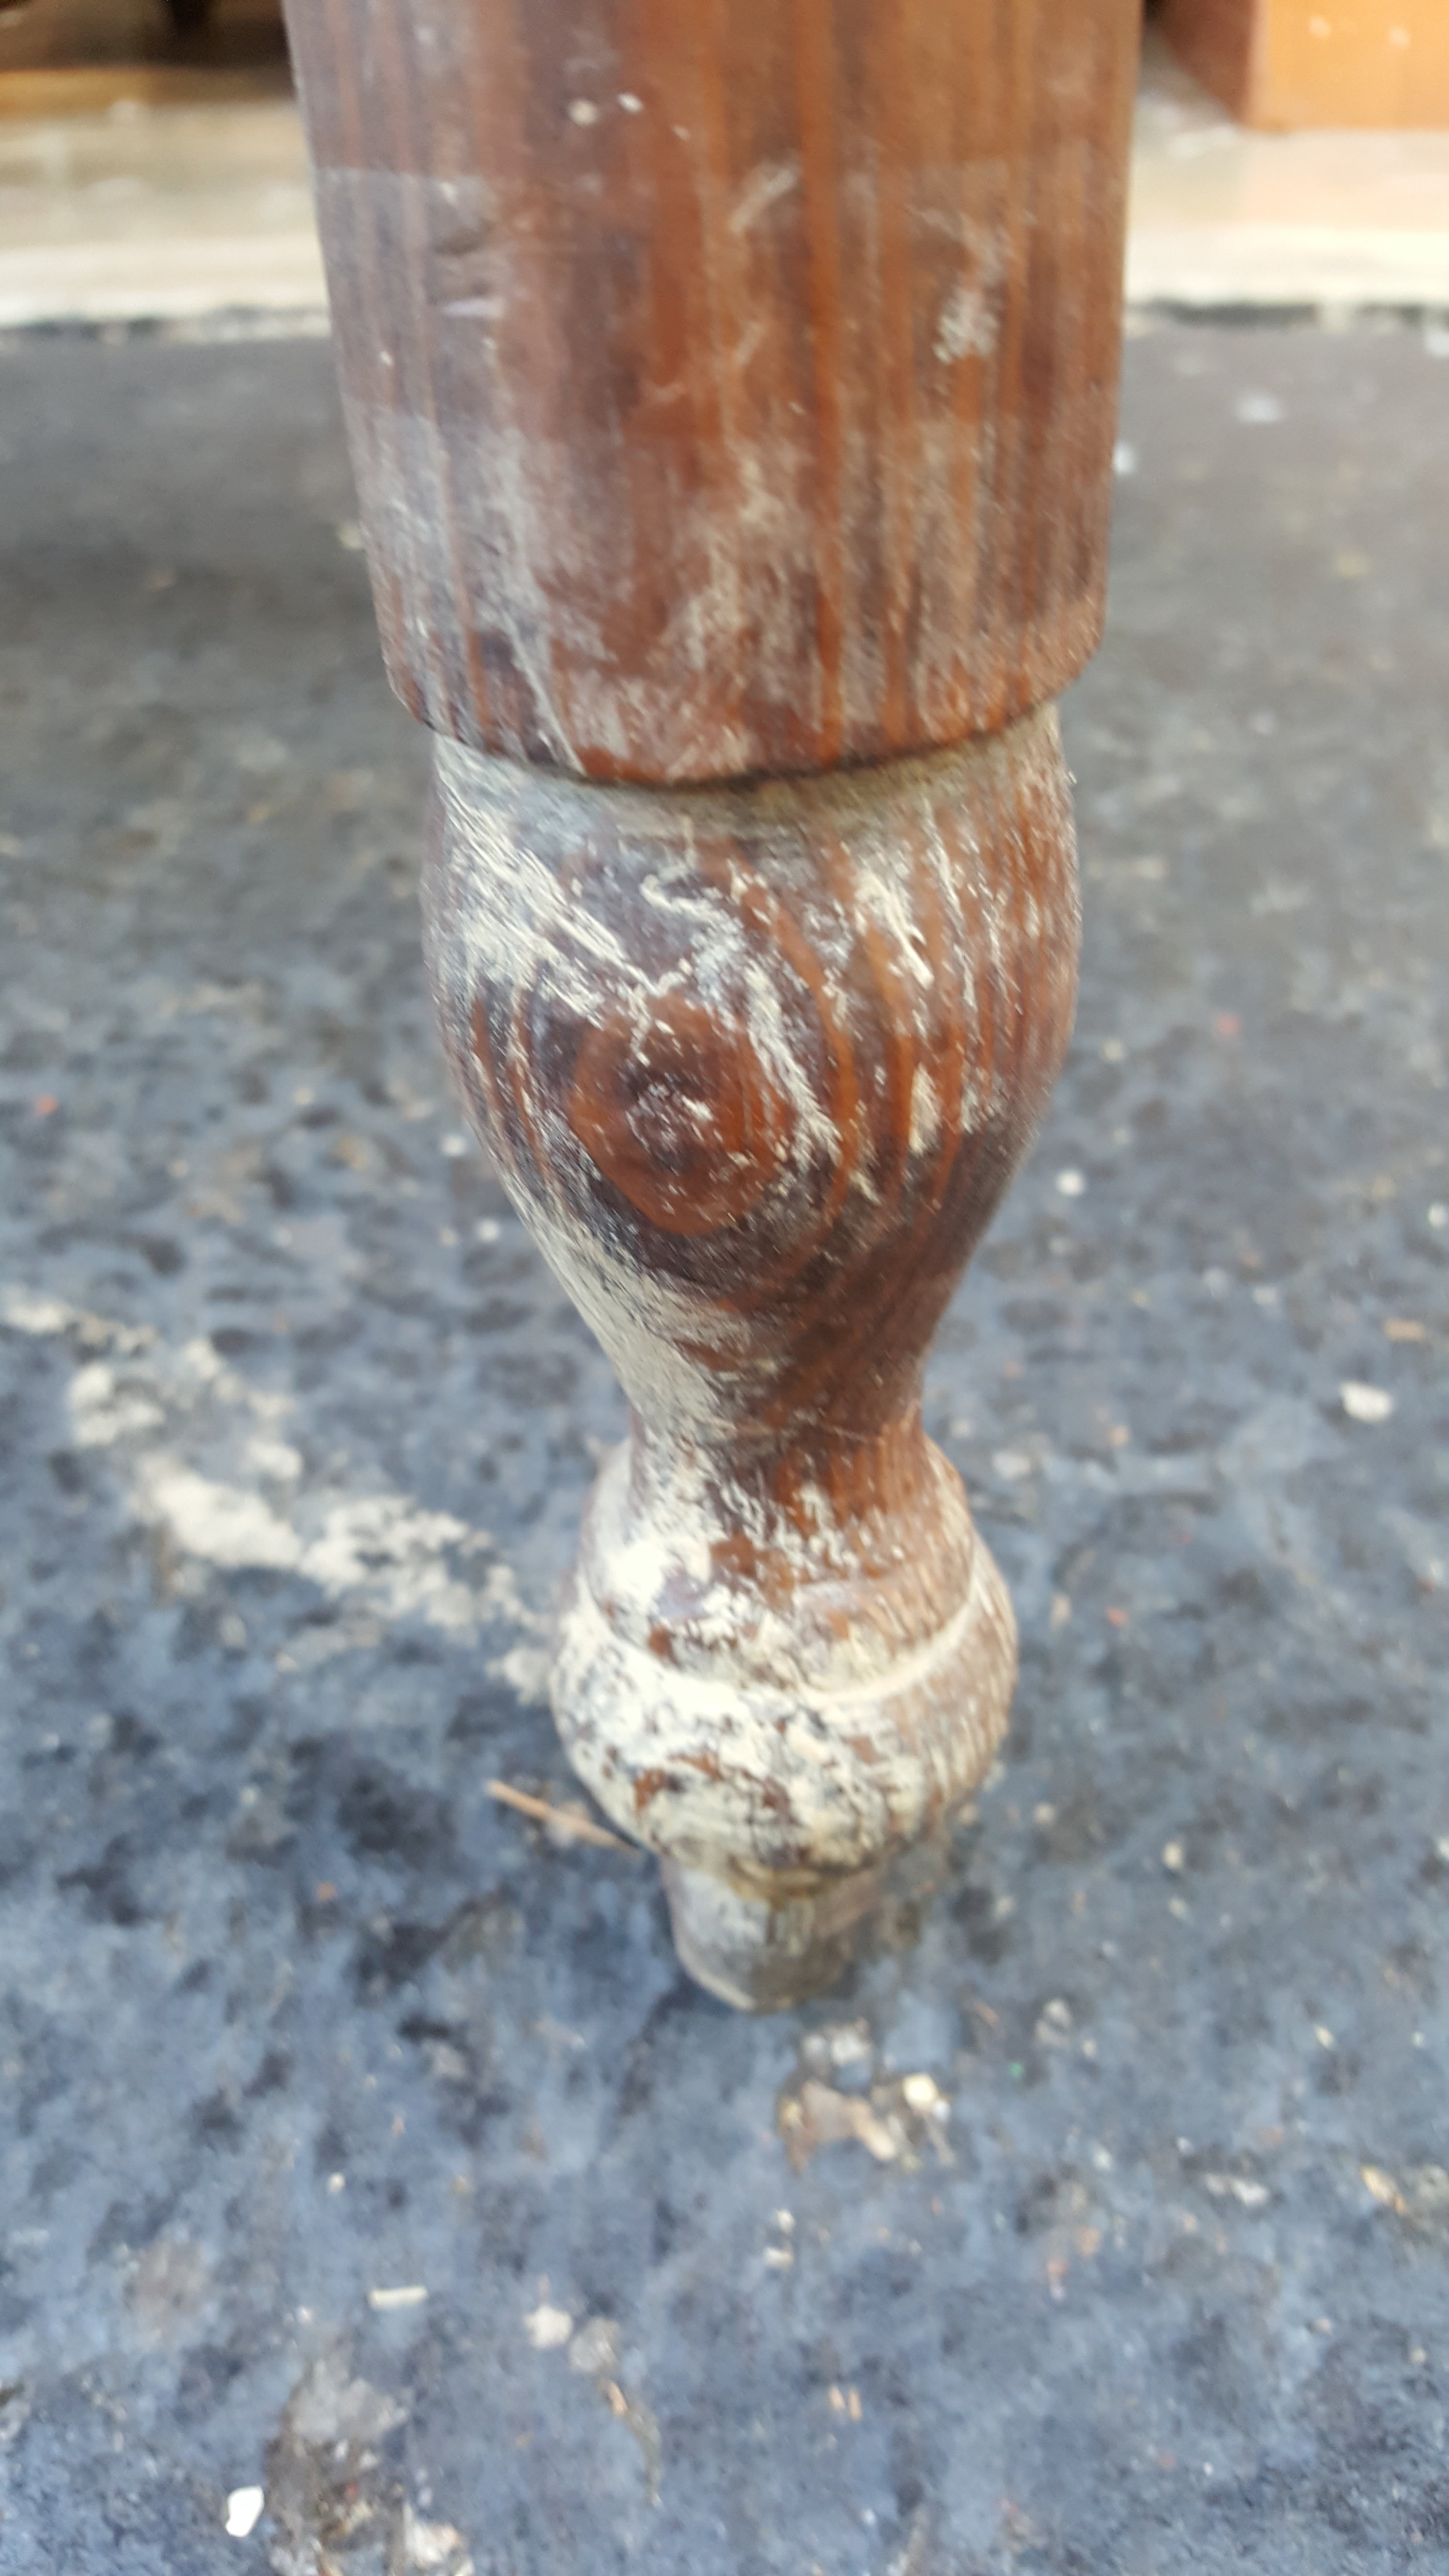
This piece was split and broken in a lot of places. I think I had clamps on it for a couple of weeks total. The legs were uneven, so my husband cut the bottoms and I sanded them down make them even. The before pictures speak for themselves, haha. I cleaned and sanded the heck out of this piece. As far as the colors go, I wanted them to go along with the age of the table, so I chose a primitive green for the base and a natural/raw look for the top so you could see the beautiful imperfections.
I decided to take off one of the drop-leaf's because somewhere along the way it was changed out with a mismatched warped board. I kept it though in case the person who bought it would want it, but did not add it back to the table. With that being said, the person who ended up purchasing it bought it to use as a desk and was going to push it up against the wall anyway, so the extra leaf didn’t matter. Yay!
The Prep Process:
I scrubbed this piece from top to bottom with TSP.
I glued and fixed every crack, split and broken area with Titebond and clamps
I decided to sand off the stain on the top since it was coming off any way. I used 120 grit sandpaper on my Orbital Sander, followed by 220 grit to clean up the roughness from the 120 grit. For the base, I hand sanded with 220 grit sandpaper
Vacuumed the piece
I cleaned the whole thing again with TSP. Once it was nice and dry I started the painting process.
The Painting Process:
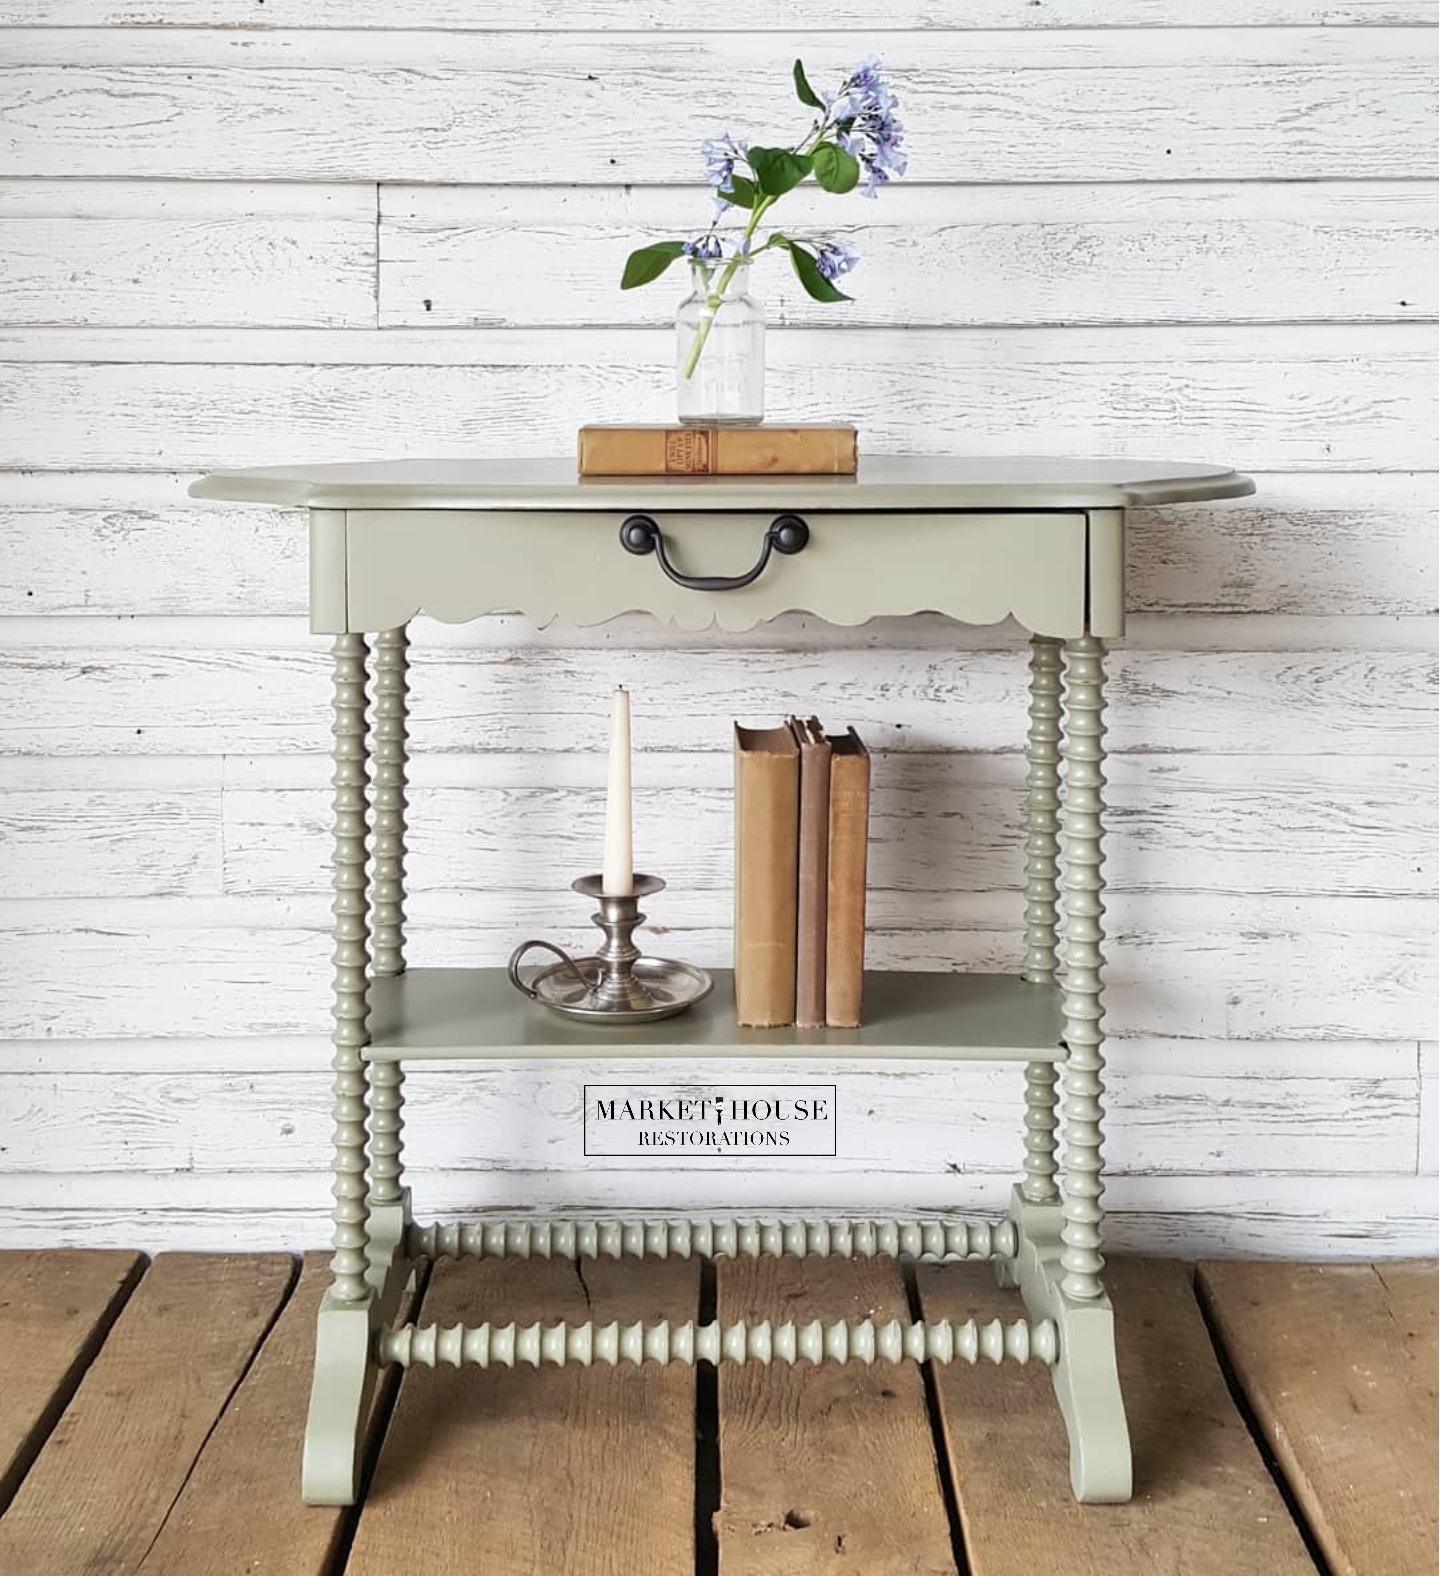
For the body of the piece I used Fiddle Leaf by Old Barn Milk Paint. I applied two coats with my Zibra 2” Palm Pro and Zibra Round Brush letting each coat dry well in-between.
Once both coats were dry, I lightly hand-sanded the milk paint with 220 girt sandpaper to give it an aged look. By doing this it added some depth to the piece. The paint also naturally chipped in a few places which was exactly what I wanted!
I sealed the base of the piece with Clear Wax by Old Barn Milk Paint. After the wax sat on the piece for about 30 minutes, I buffed it with a shop towel to make it nice and smooth
For the top, I applied 3 coats of Oil and Wax by Old Barn Milk Paint to bring out the wood’s beautiful natural color.
As always, thank you so much for tuning in this week for #MondayMakeoversWithFallon. If you want to save this blog post so you can refer back to it, make sure you pin it to your Pinterest page and/or feel free to share it elsewhere. I look forward being with you next Monday and don’t forget to tune in tomorrow for my educating video tutorial/tip for #TuesdayTipsWithFallon!!
*Please note, this post does contain affiliate links.
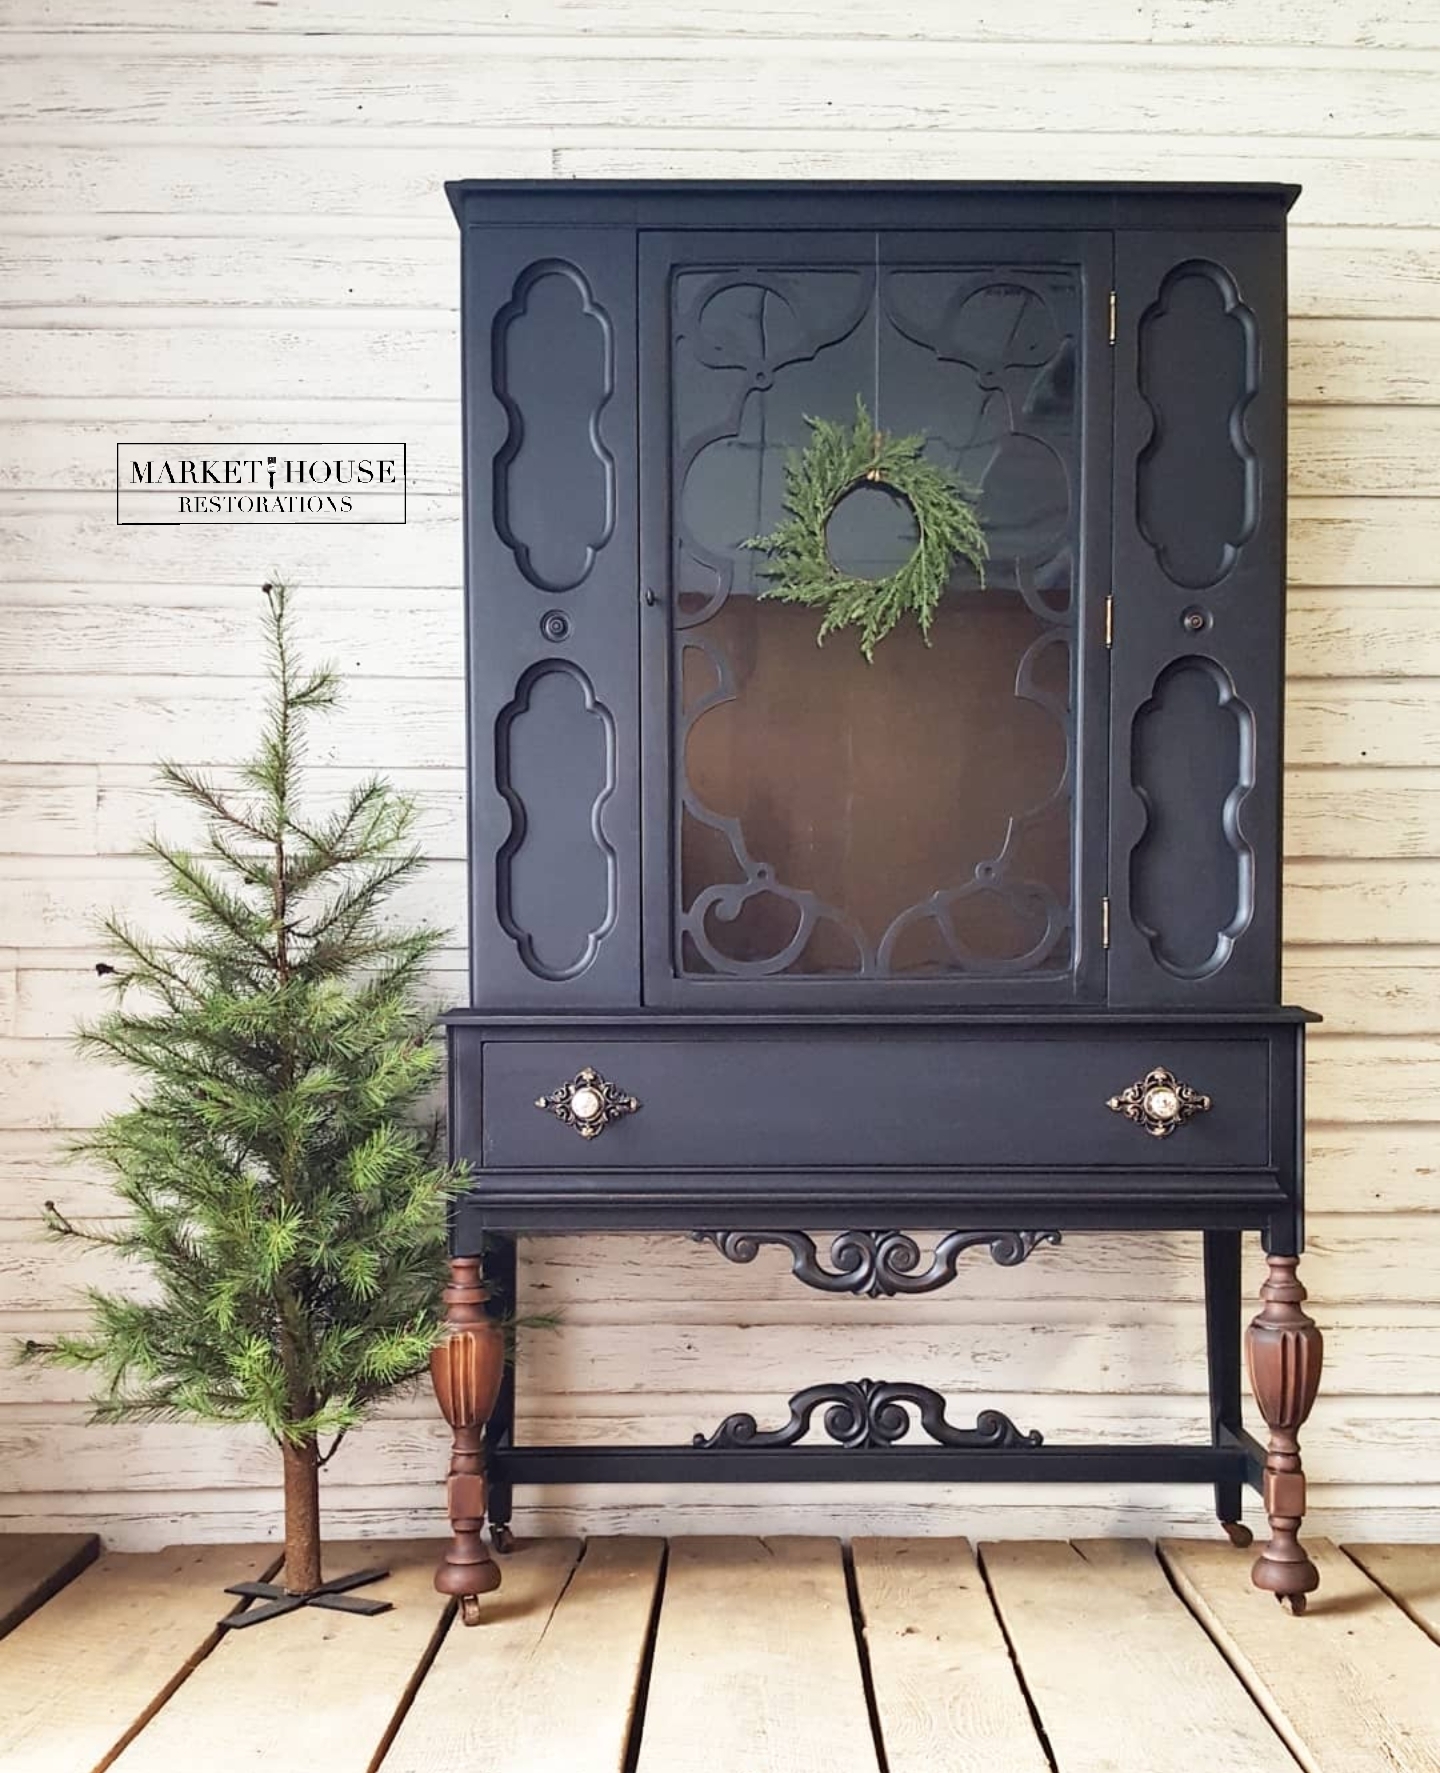
Did you know I have an eBook plus three different staging and styling guides that help you stage your furniture!? Between all three guides you receive over 500 different ways to style and stage different pieces of furniture. Yes, 500!! They are not just for the furniture artist either. Maybe you are planning on selling your home and need help staging your furniture so it doesn’t look cluttered or maybe you just have no clue how to style the furniture that you currently have and you want it to look nice?! No worries! These are for you!! Between all three guides and my second edition eBook you get over 200 pages of information! You do not have to worry about staging and styling your furniture ever again!!Here is the link to my eBook, Your Virtual Storefront. The Complete Guide to Staging Painted Furniture. It jammed packed information that will help you take your staging to the next level! I also have three separate staging and styling guides that help you stage specific pieces of furniture.
Here is a breakdown of my eBook and Guides:
*Your Virtual Storefront. The Complete Guide to Staging Your Painted Furniture. 2nd EDITION: Everything you need to know to help you stage your furniture from, photography, the photo editing process, lighting, staging areas/locations, information about logo/watermarks…just to name a handful of the topics.
*The Bedroom Furniture Guide: Staging and Styling Chest of Drawers, Dressers, Nightstands, Wardrobes, Blanket Chests, Vanities, Beds and Bedroom Sets)
*The Dining Room Furniture Guide: Staging and Styling Buffets/Sideboards, China Hutches, Glass Front China Cabinets and Tables & Chairs
*The Everyday Living Furniture Guide: Staging and Styling Desks, Multi-Purpose Pieces, Sofa Tables, TV Stands, Side Tables, Coffee Tables, Benches and Bookshelves
I appreciate you stopping by!!


