Step-by-Step Guide: Small Old Barn Milk Paint Sideboard
/#MondayMakeoversWithFallon
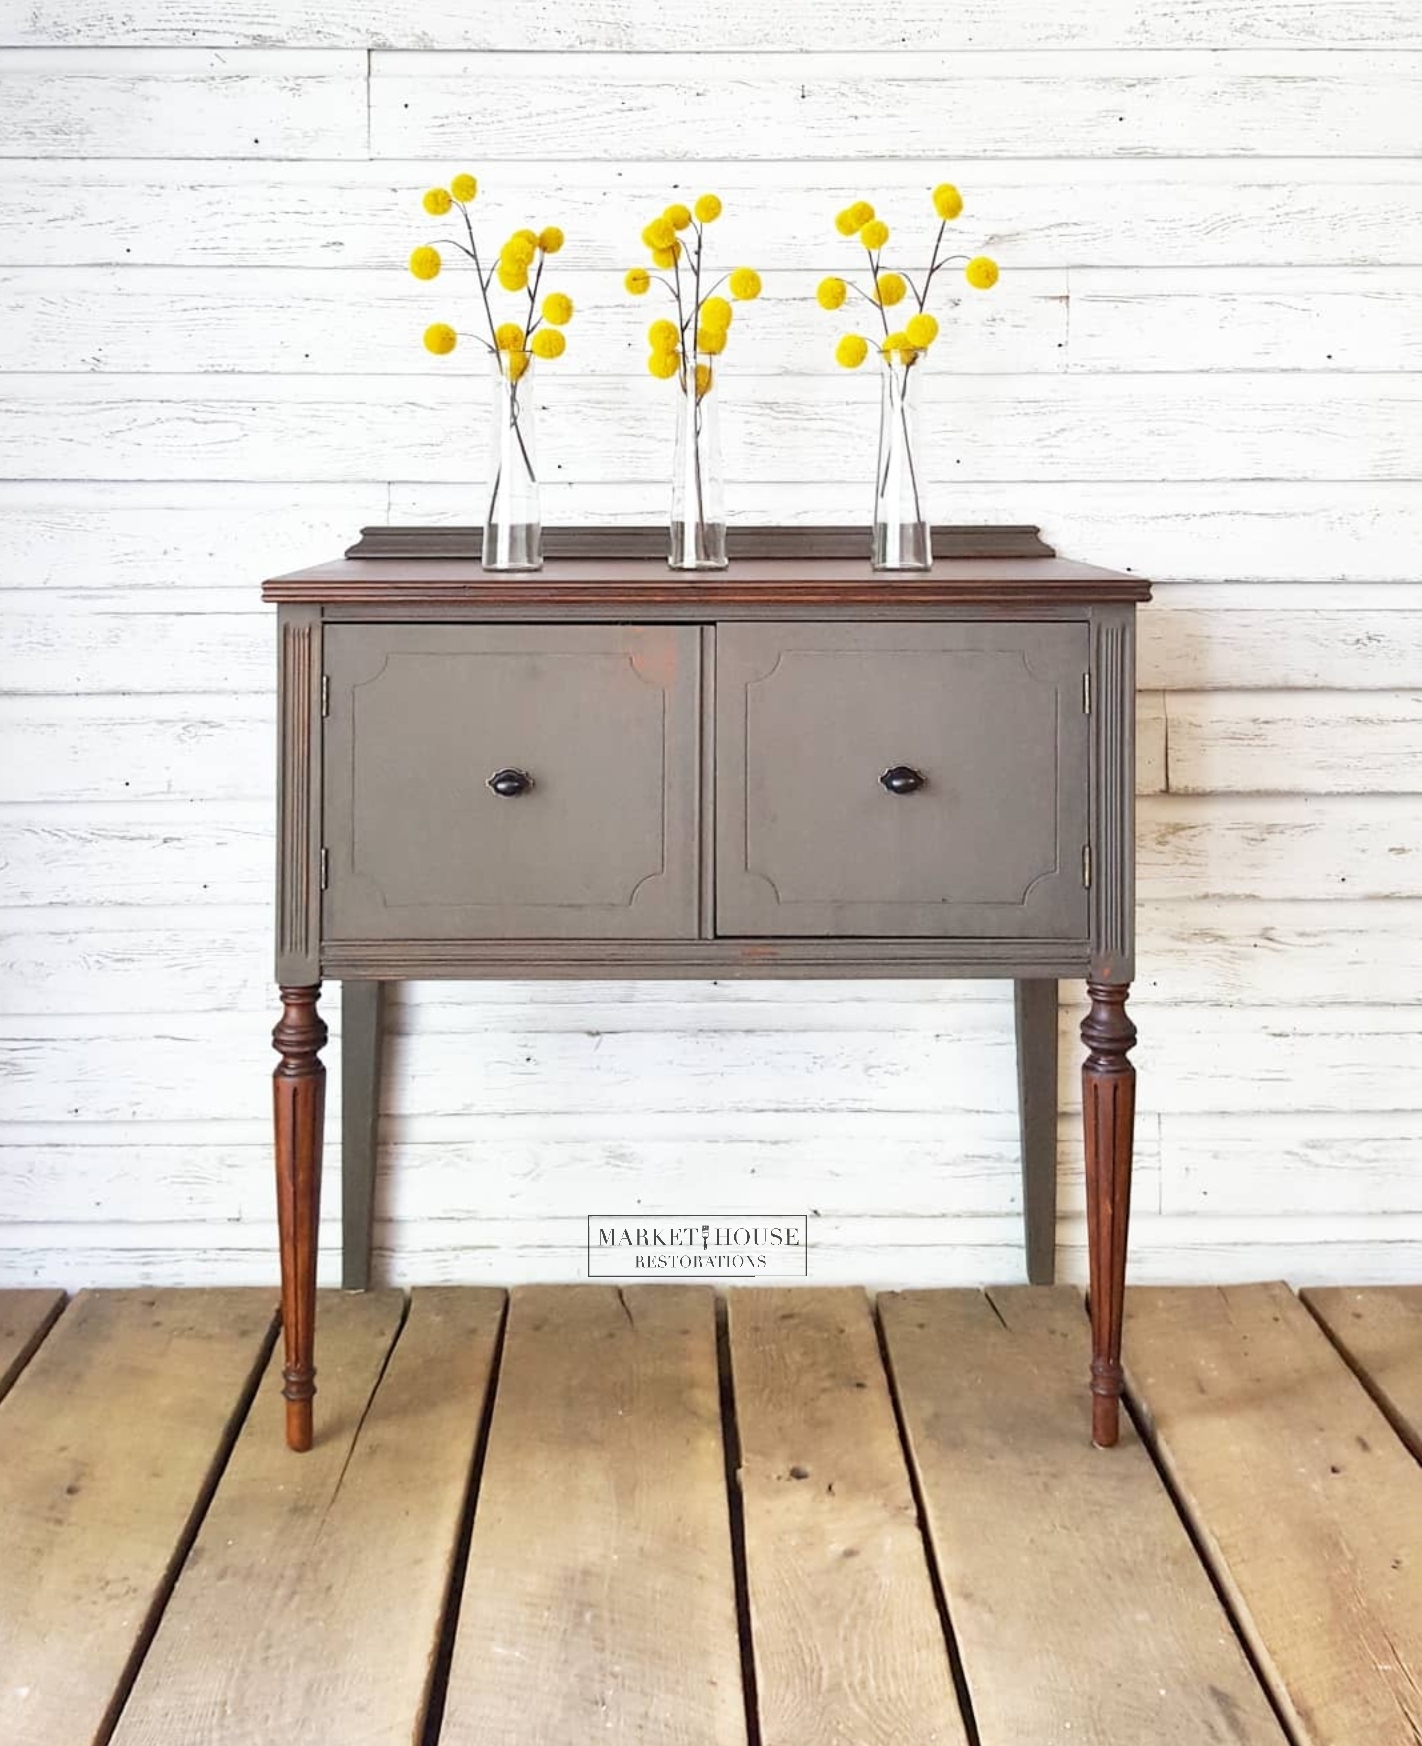
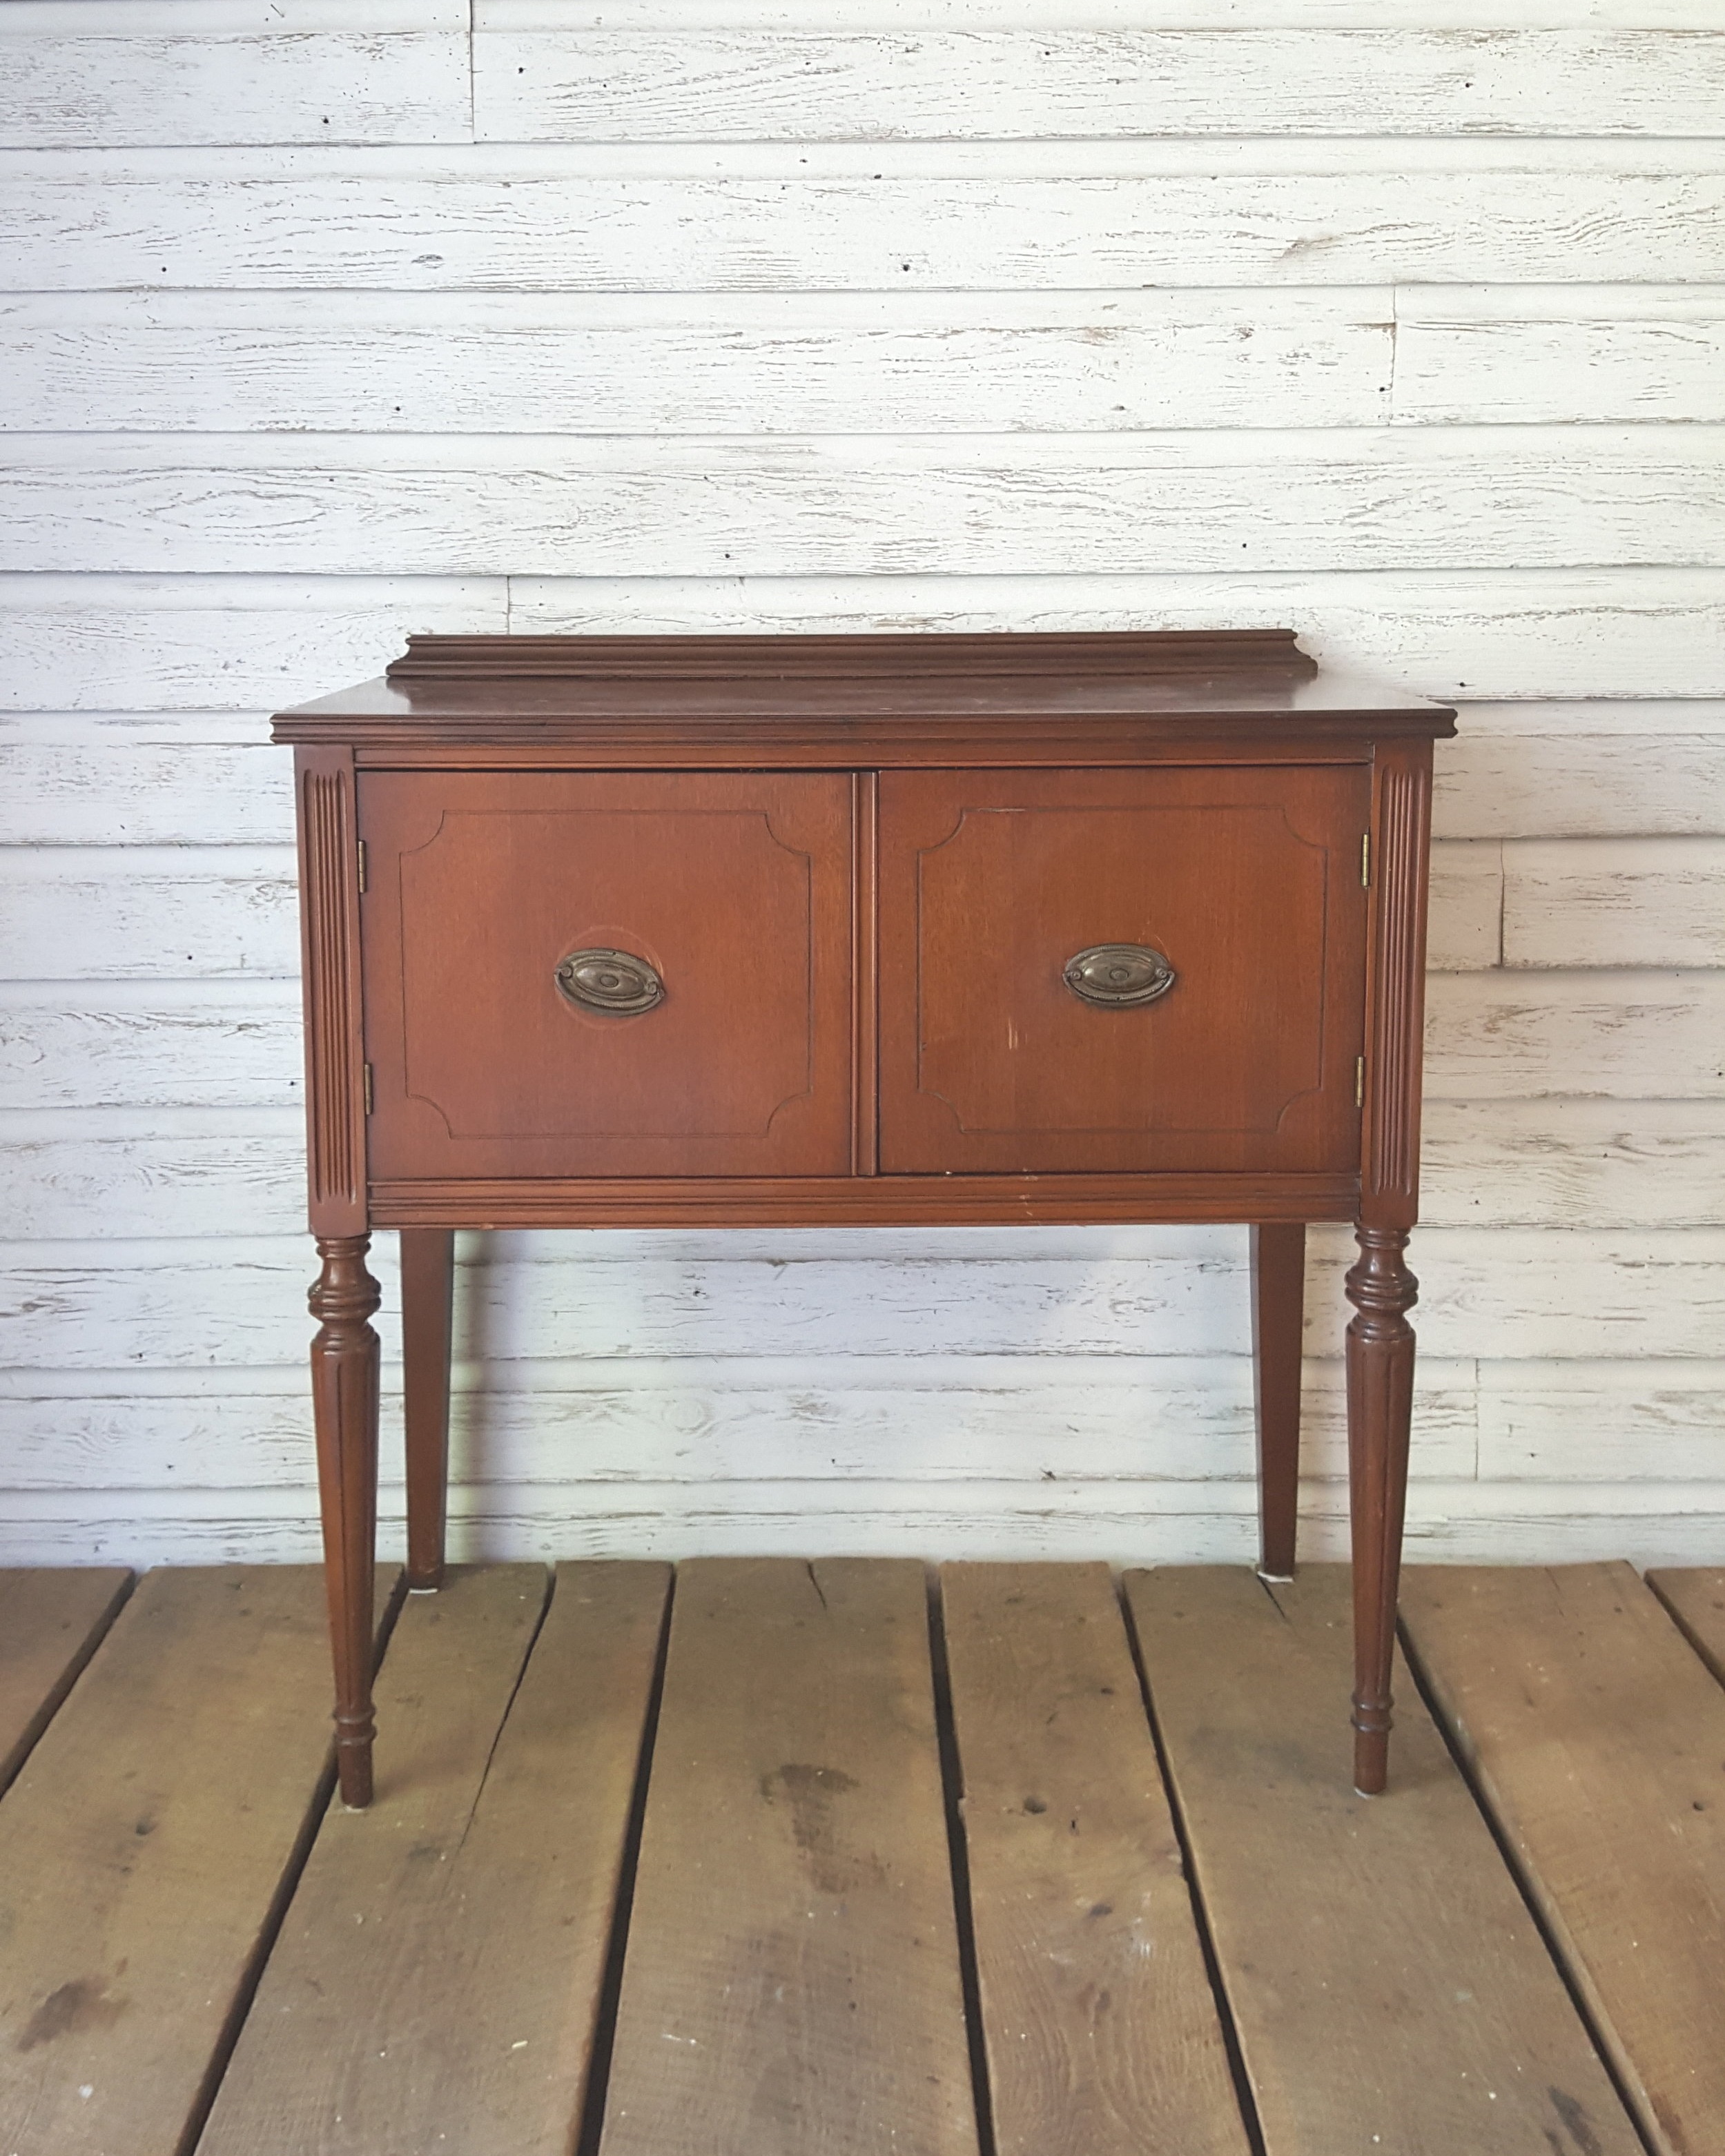
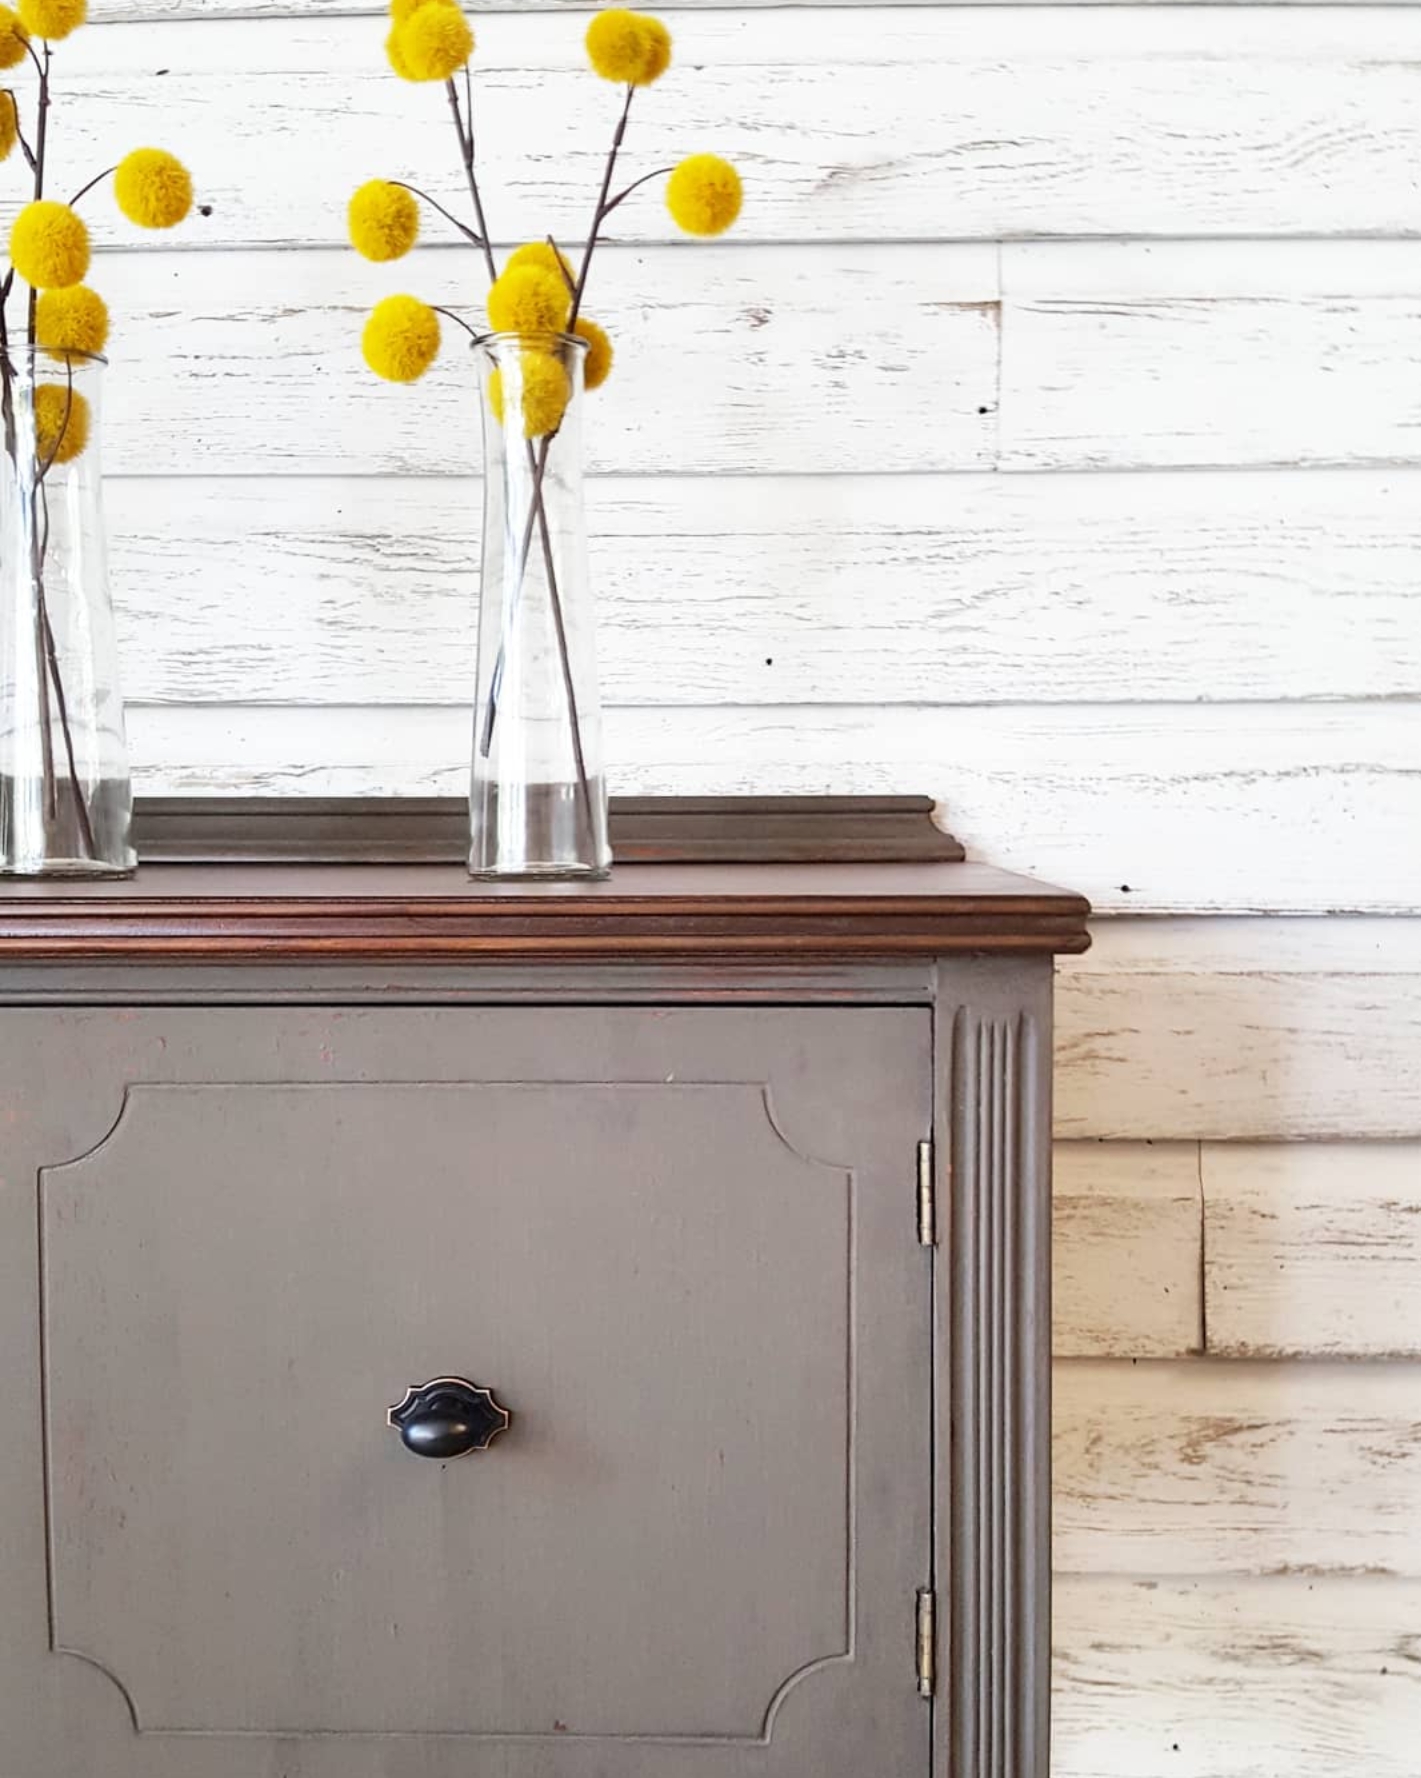
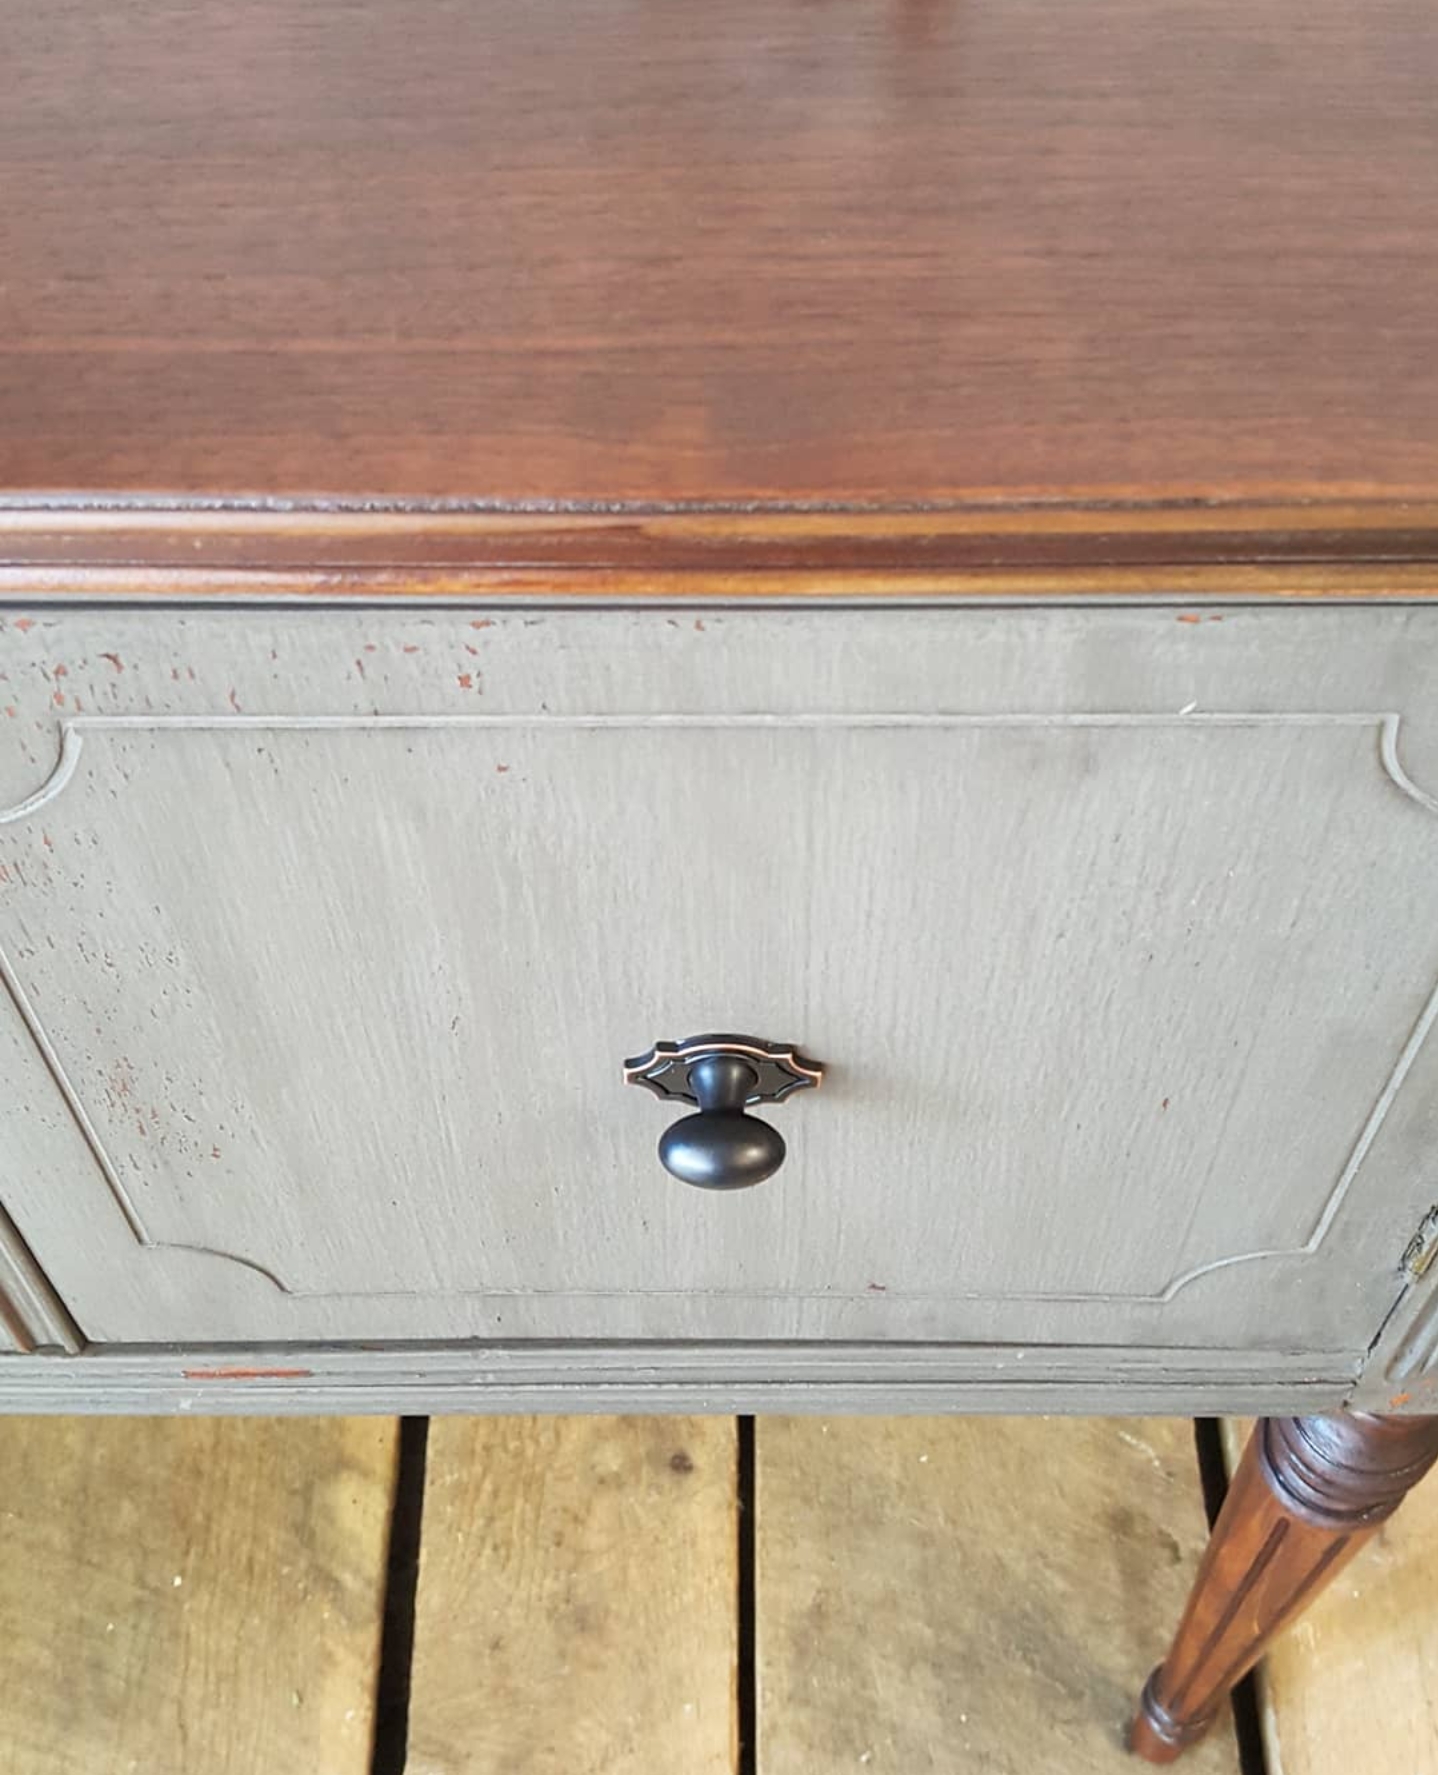
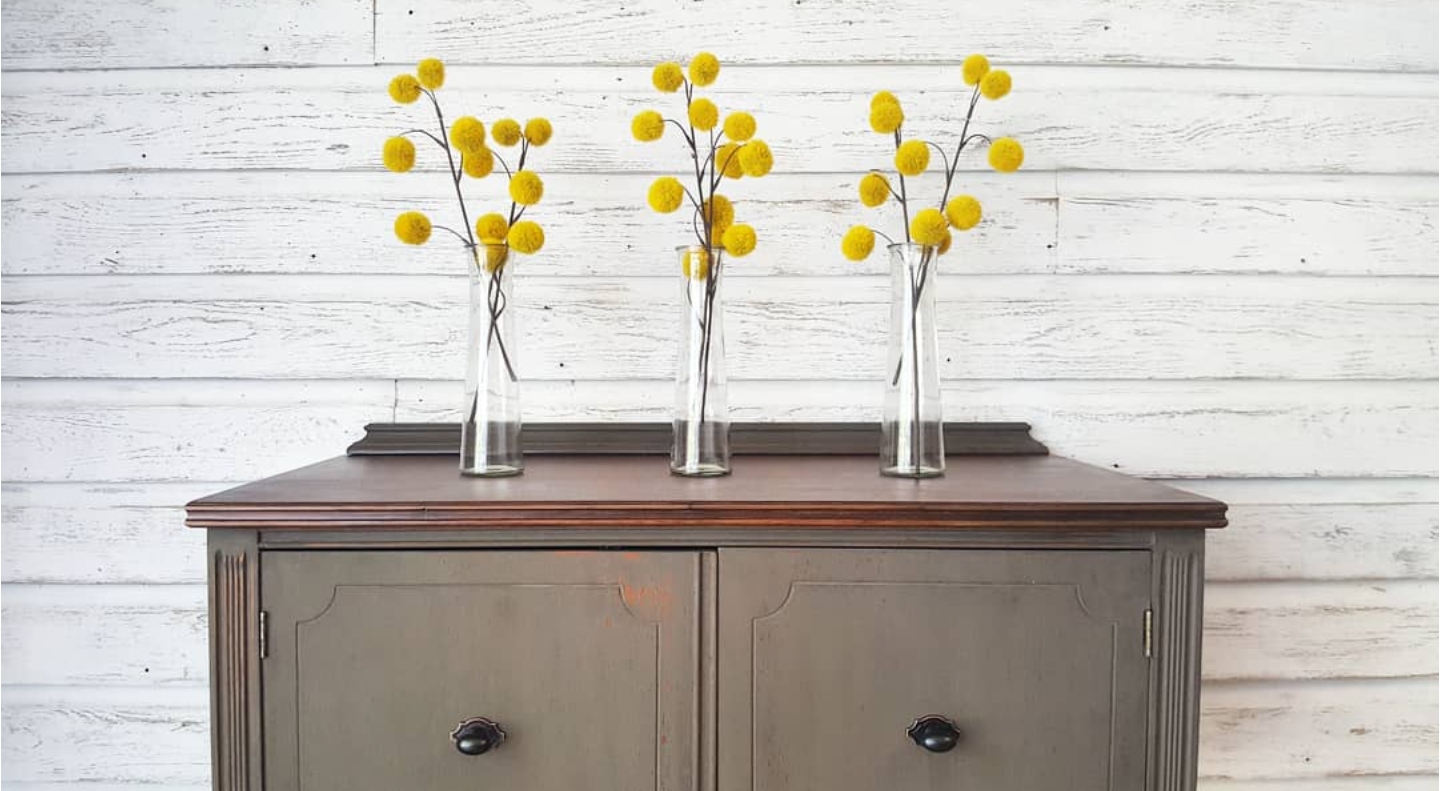
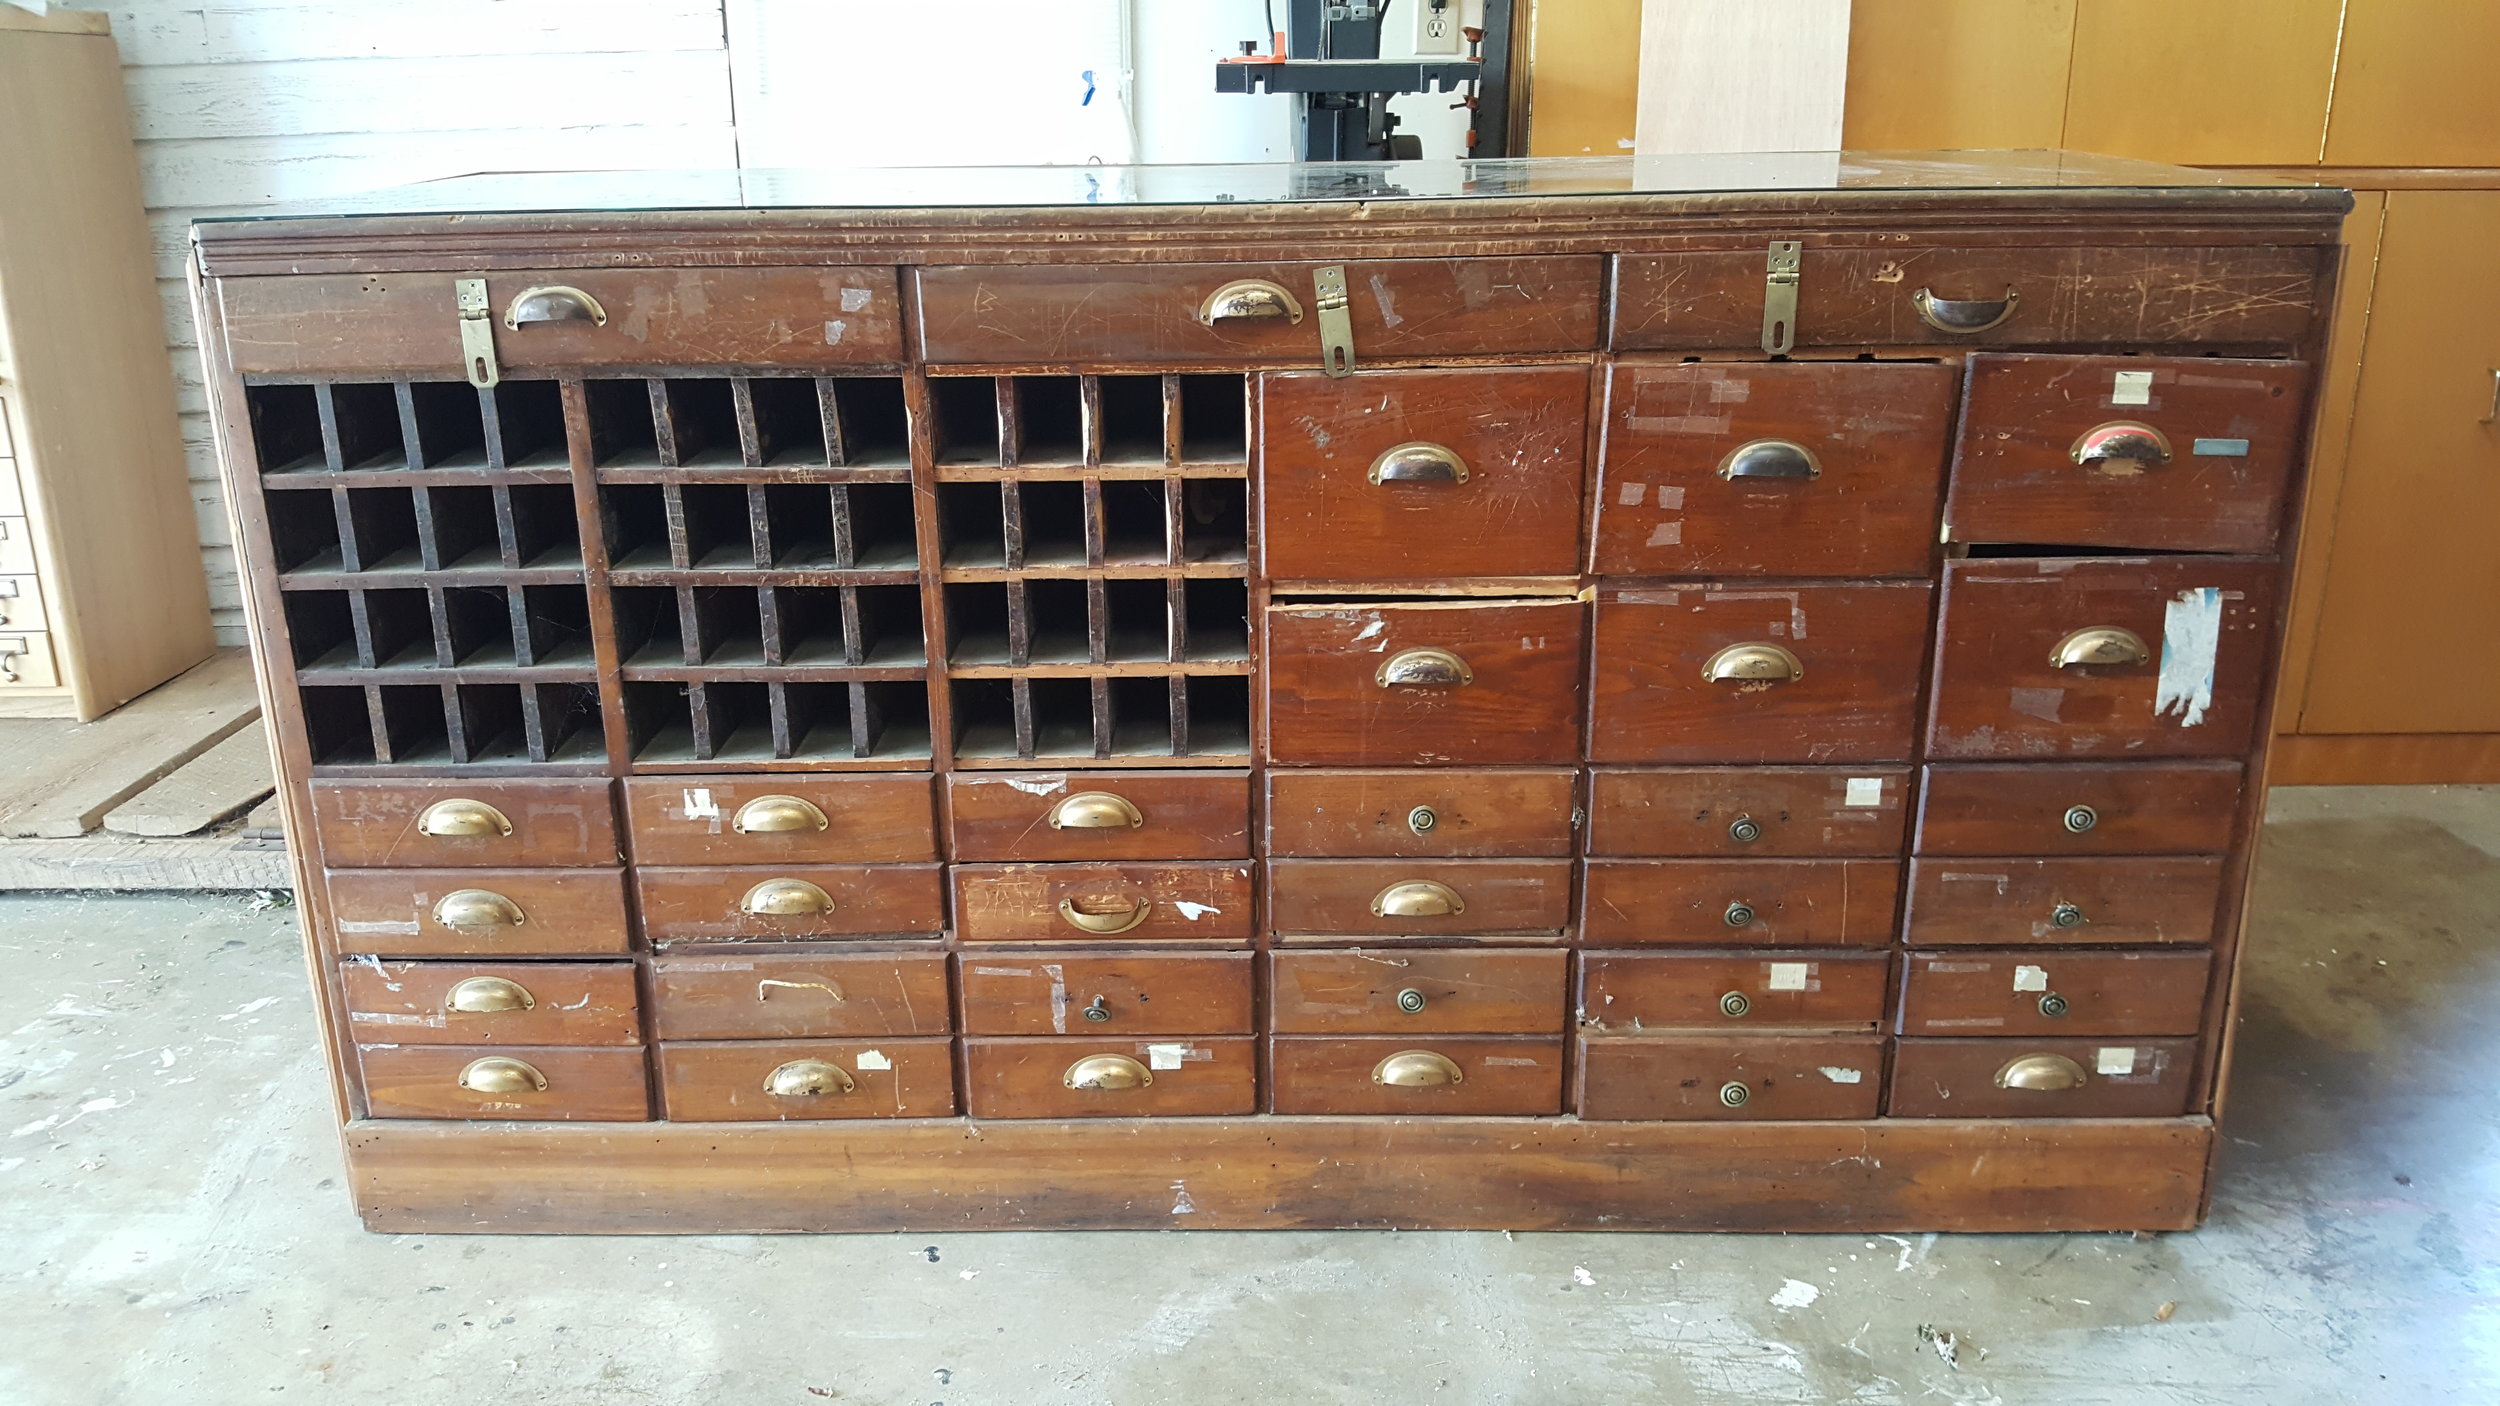
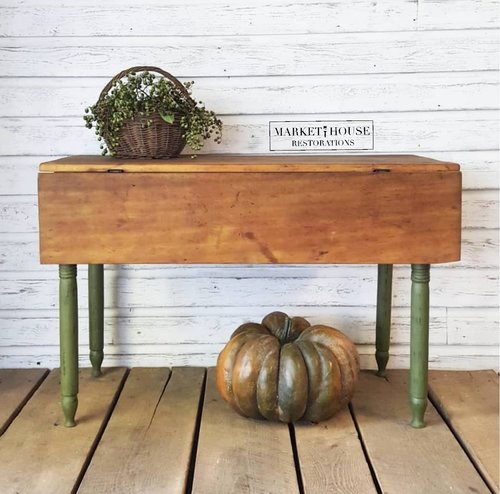
I love small sideboards! If I could paint one every single day, I would. As soon as I saw this one I knew I wanted to go with an aged-chippy look. See the process below:
The Prep Process: I didn’t want this piece to have a crazy amount of “chip” so I prepped it pretty well to avoid that from happening.
I vacuumed the whole piece
I sanded the top with 150 grit sandpaper on the Orbital Sander followed by 150 grit hand sanding to make sure there weren’t any swirls in the wood. I did this until all of the previous stain was removed.
I cleaned the whole piece with Mineral Spirits
The Painting Process:
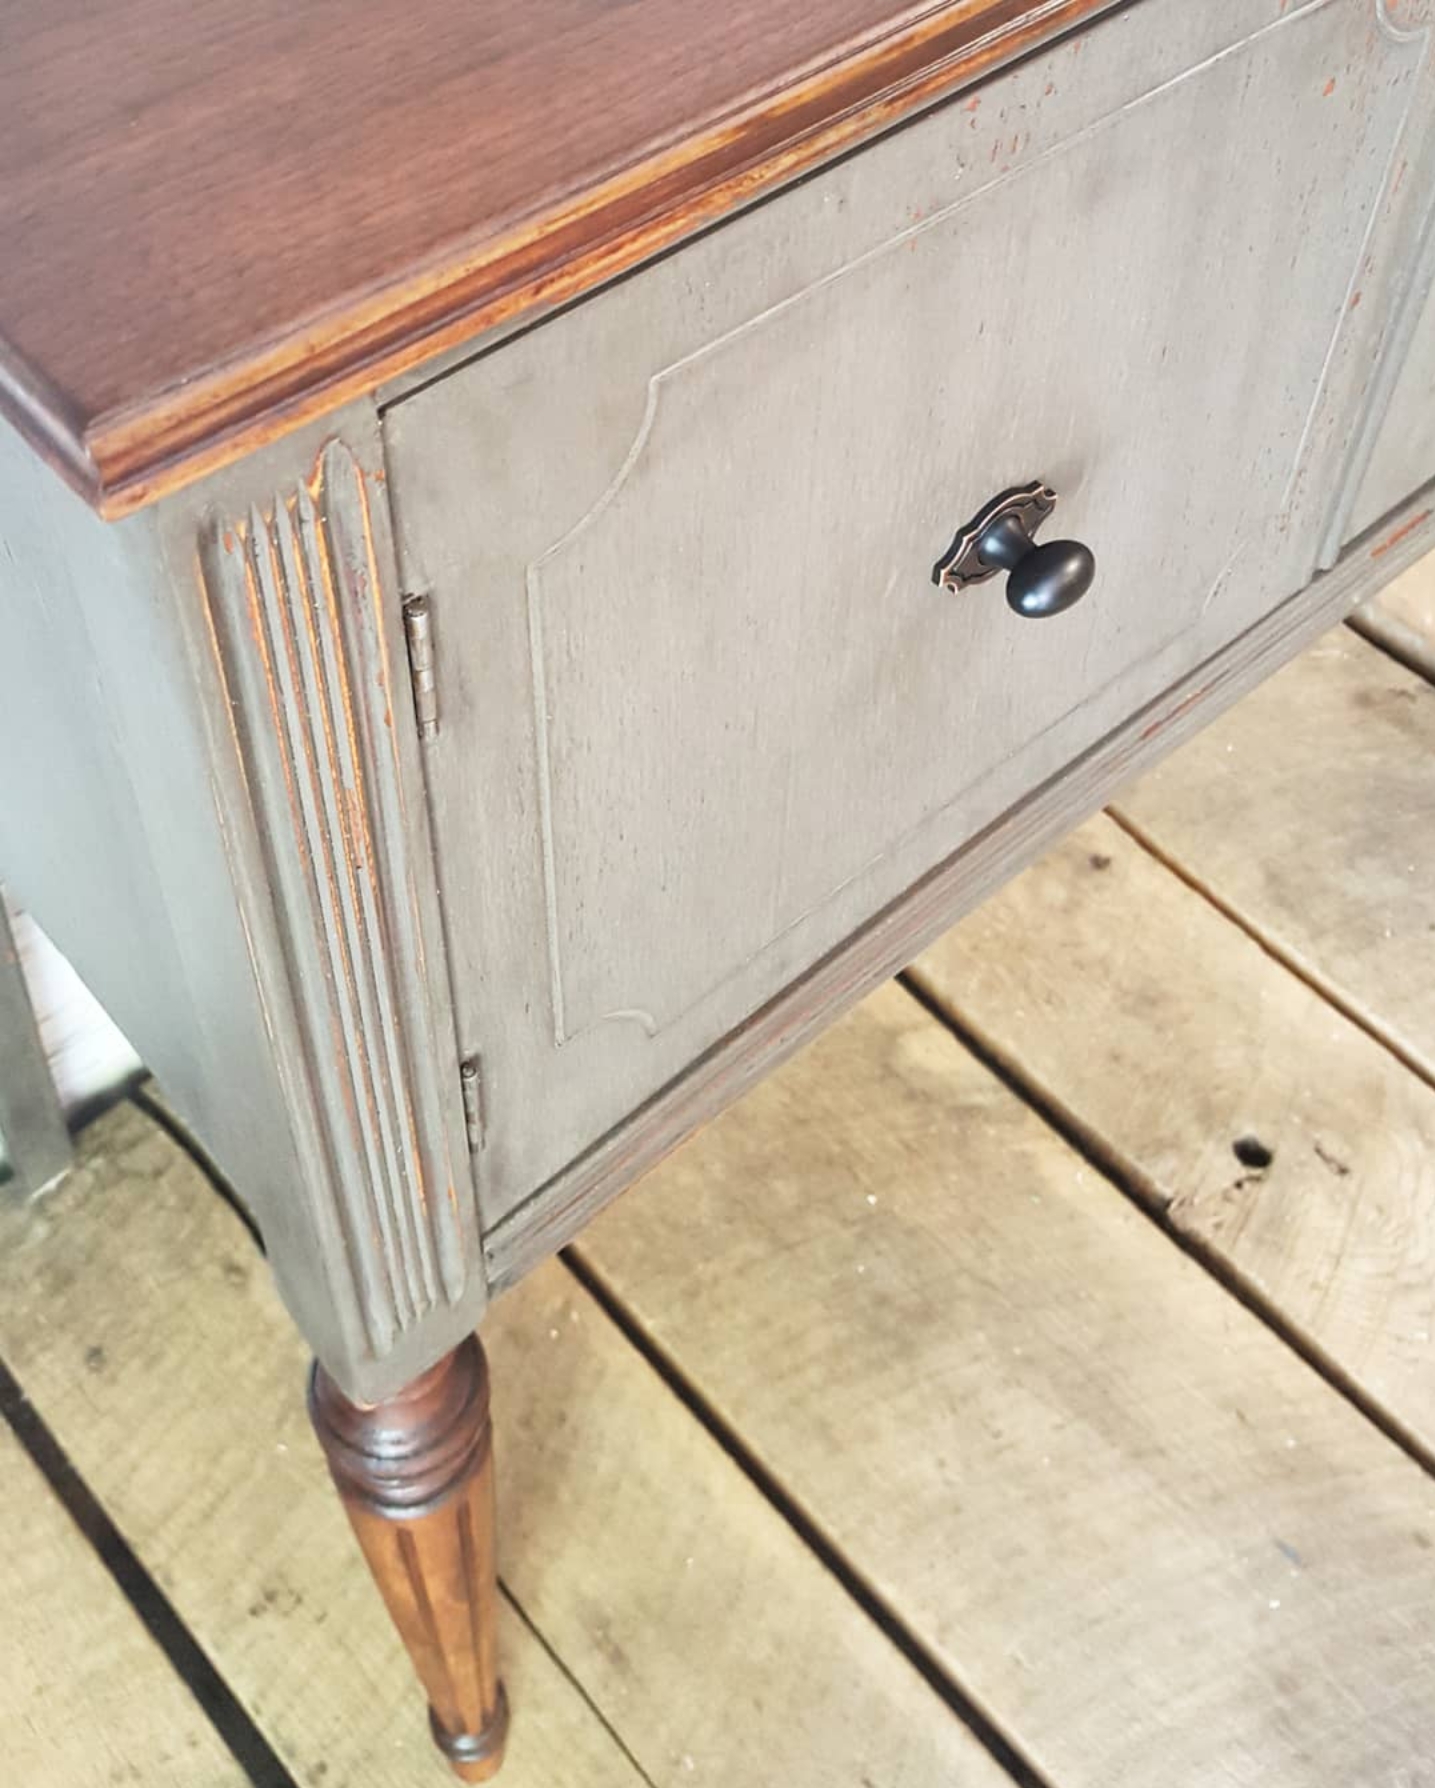
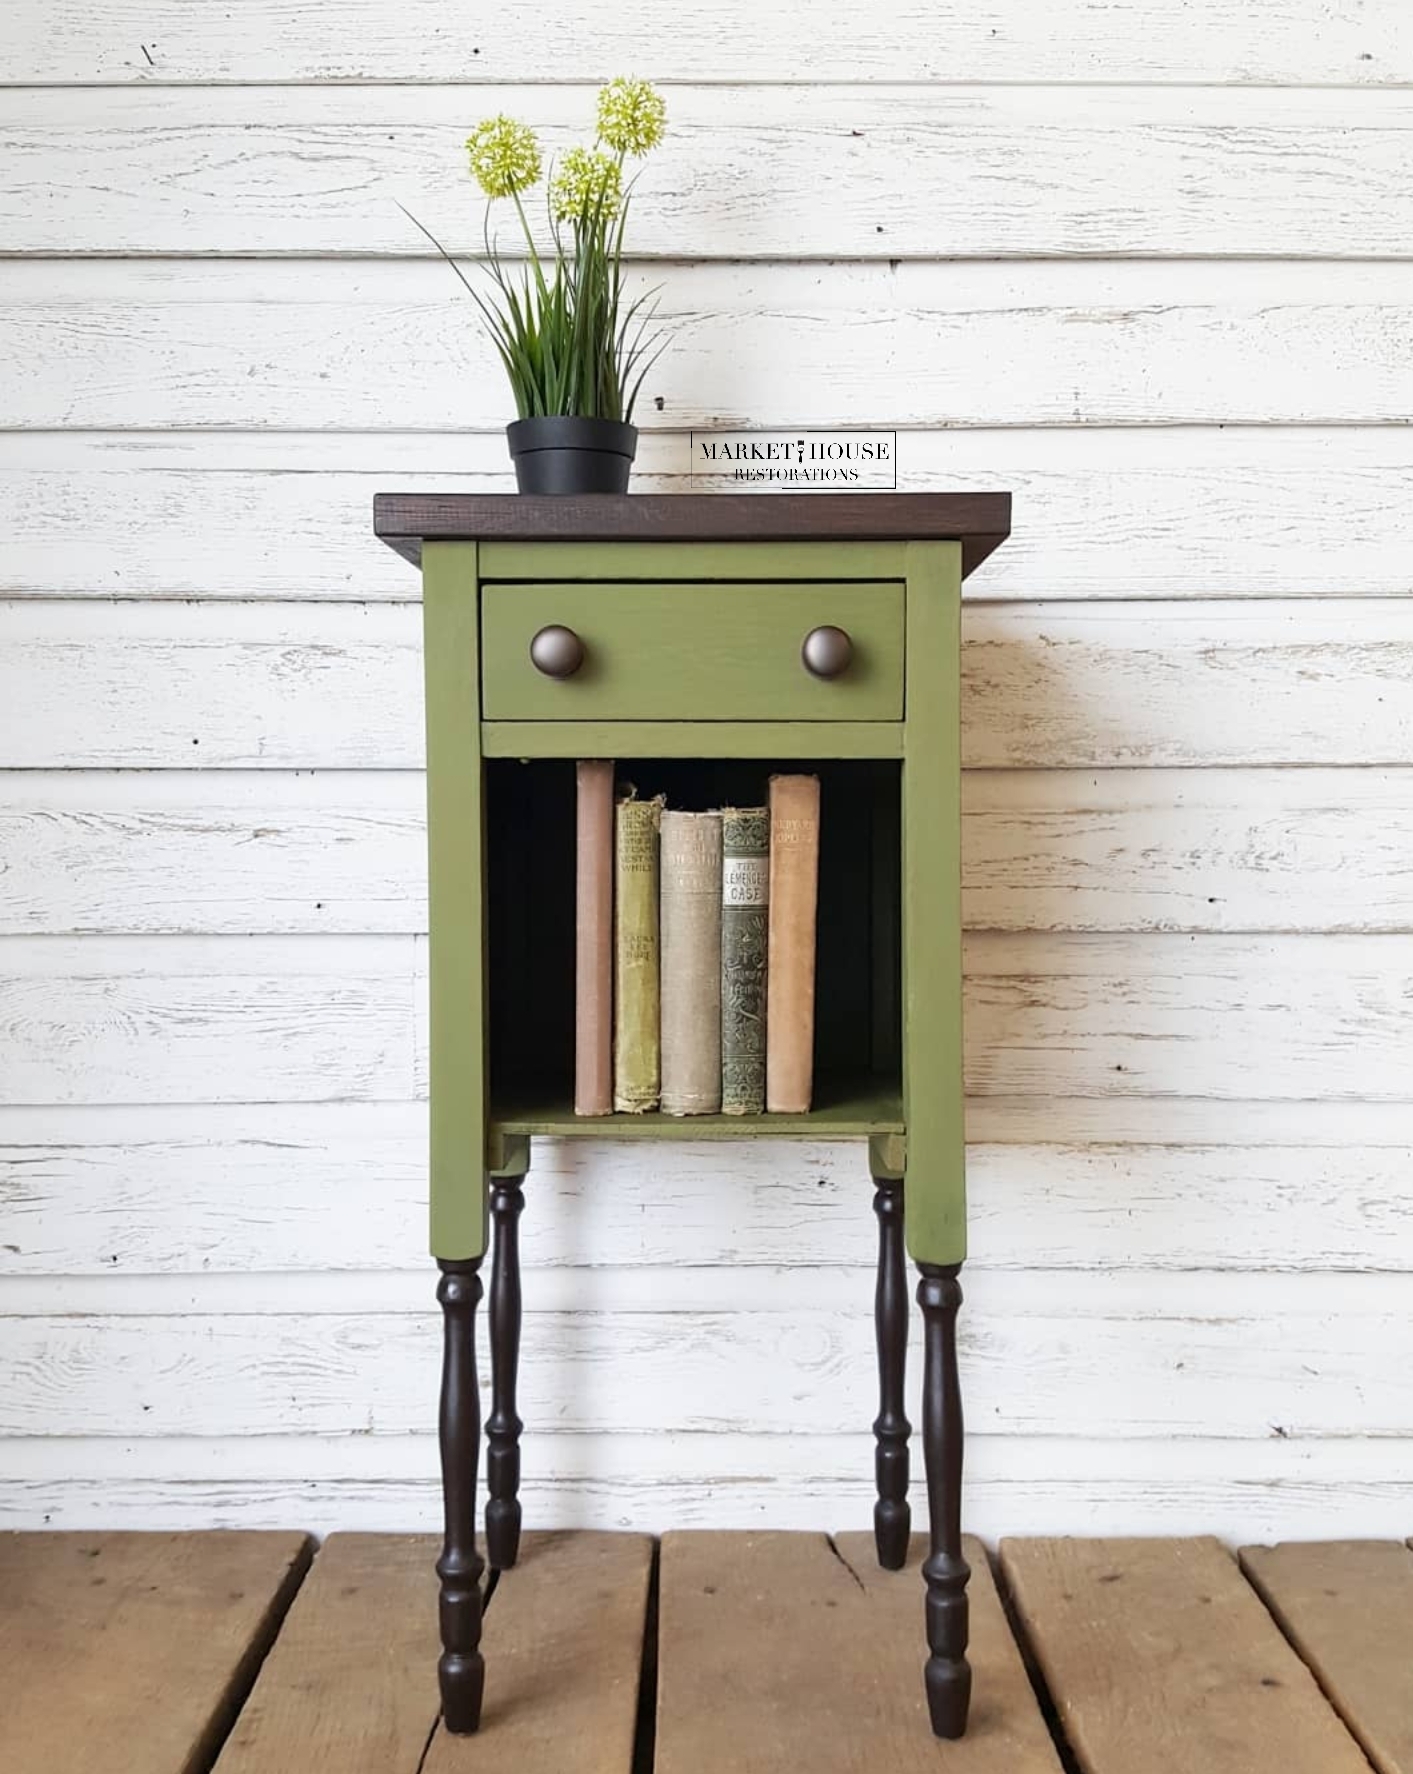
I used Wood Conditioner on the top before I applied the stain. I stained the top with Nutmeg Gel Stain by General Finishes. I applied two coats to deepen the color a little bit.
Once the top was nice and dry I sealed it with 3 coats of Arm-R-Seal by General Finishes
I repeated the exact same process for the legs of the piece, except I hand sanded the legs with 150 grit sandpaper instead of using the Orbital Sander. I also used Nutmeg Gel Stain by General Finishes on the legs.
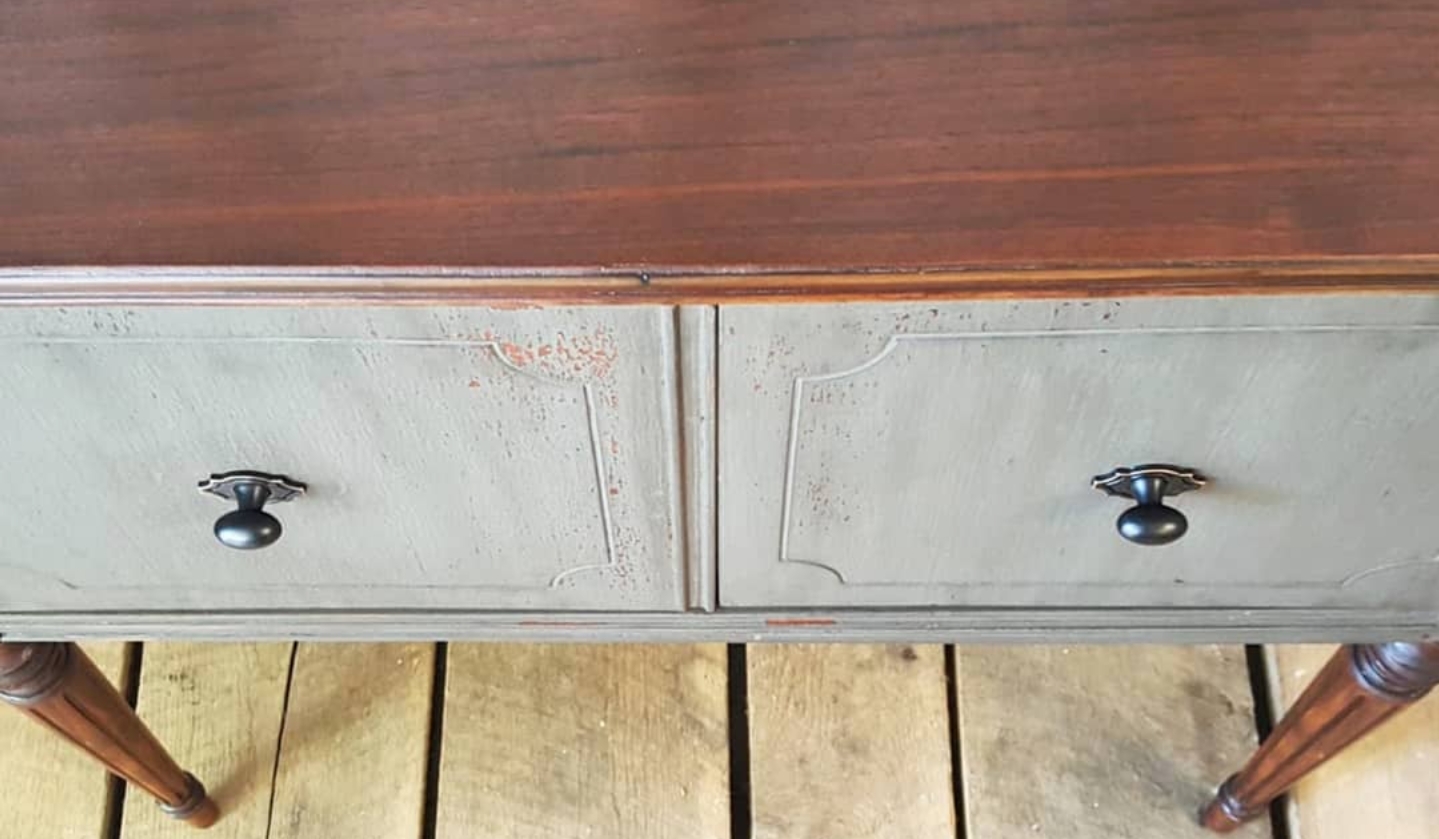
For the body of the piece I used Pistol Annie by Old Barn Milk Paint. I applied a total of two coats and then lightly hand sanded it with 220 girt sandpaper to give it an aged look.
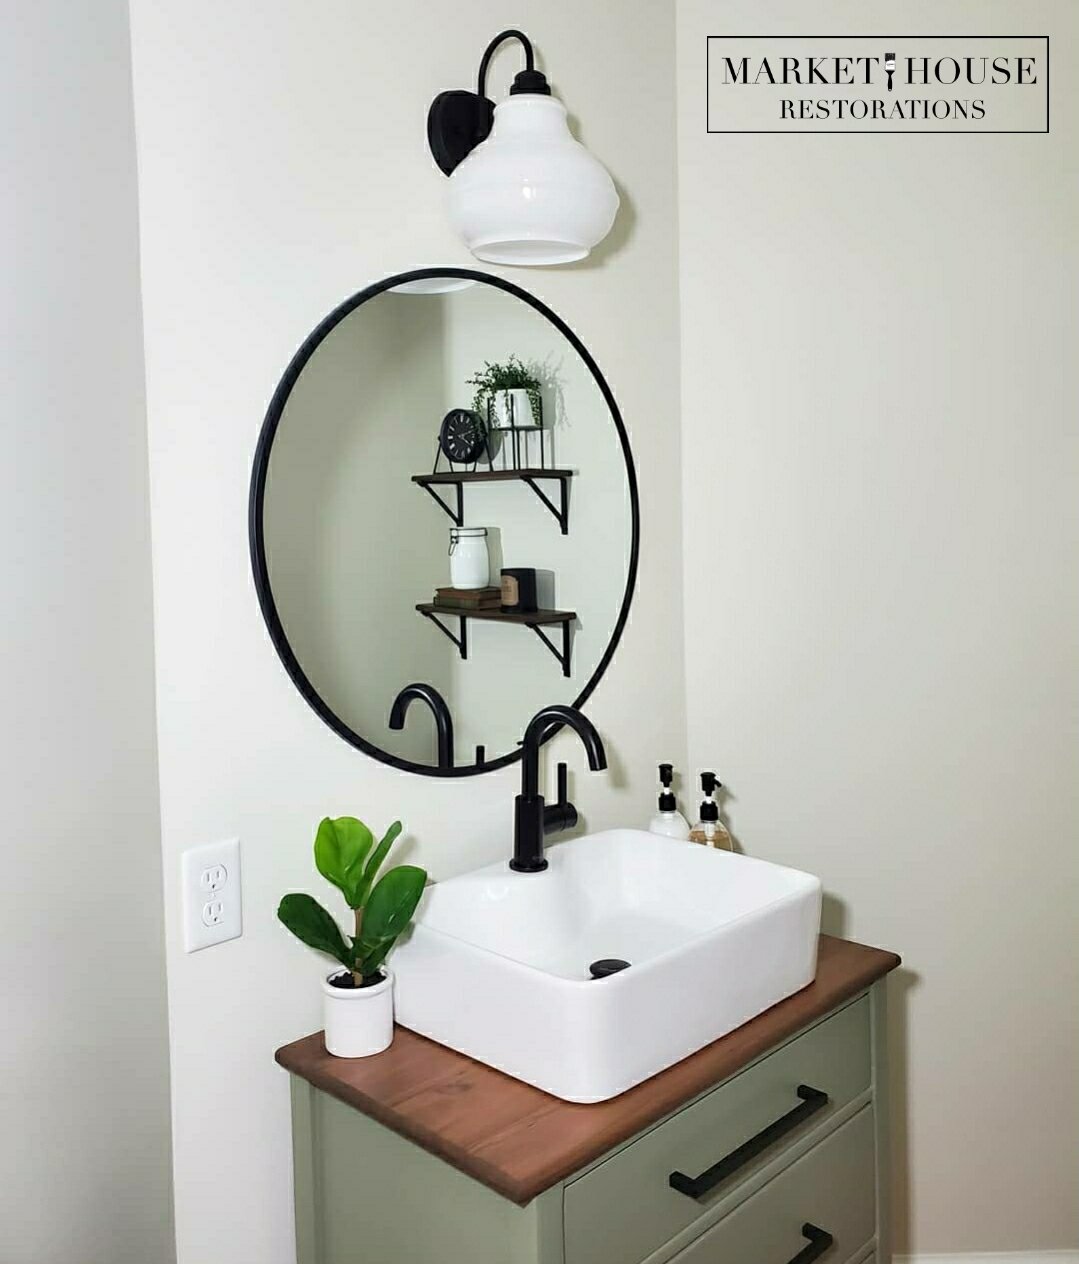
I ended up sealing the milk paint 4 times with General Finishes High Performance Top Coat in Flat. The person that bought the piece was going to turn it into a sink/vanity so I added a few extra coats of protection just to be safe.
I then replaced the original pulls with a smaller size knob from The Home Depot. I didn’t want the new hardware to compete with the paint on the piece so I went with something small and simple.
Thank you SO much for tuning in this week for #MondayMakeoversWithFallon. If you want to save this blog post so you can refer back to it, make sure you pin it to your Pinterest page and/or feel free to share it elsewhere. I look forward being with you next Monday and don’t forget to tune in tomorrow for my educating and inspiring #TuesdayTipsWithFallon!!
*Please note, this post does contain affiliate links.
Did you know I have an eBook plus three different staging and styling guides that help you stage your furniture!? Between all three guides you receive over 500 different ways to style and stage different pieces of furniture. Yes, 500!! They are not just for the furniture artist either. Maybe you are planning on selling your home and need help staging your furniture so it doesn’t look cluttered or maybe you just have no clue how to style the furniture that you currently have and you want it to look nice?! No worries! These are for you!! Between all three guides and my second edition eBook you get over 200 pages of information! You do not have to worry about staging and styling your furniture ever again!!Here is the link to my eBook, Your Virtual Storefront. The Complete Guide to Staging Painted Furniture. It jammed packed information that will help you take your staging to the next level! I also have three separate staging and styling guides that help you stage specific pieces of furniture.
Here is a breakdown of my eBook and Guides:
*Your Virtual Storefront. The Complete Guide to Staging Your Painted Furniture. 2nd EDITION: Everything you need to know to help you stage your furniture from, photography, the photo editing process, lighting, staging areas/locations, information about logo/watermarks…just to name a handful of the topics.
*The Bedroom Furniture Guide: Staging and Styling Chest of Drawers, Dressers, Nightstands, Wardrobes, Blanket Chests, Vanities, Beds and Bedroom Sets)
*The Dining Room Furniture Guide: Staging and Styling Buffets/Sideboards, China Hutches, Glass Front China Cabinets and Tables & Chairs
*The Everyday Living Furniture Guide: Staging and Styling Desks, Multi-Purpose Pieces, Sofa Tables, TV Stands, Side Tables, Coffee Tables, Benches and Bookshelves
I appreciate you stopping by!!


