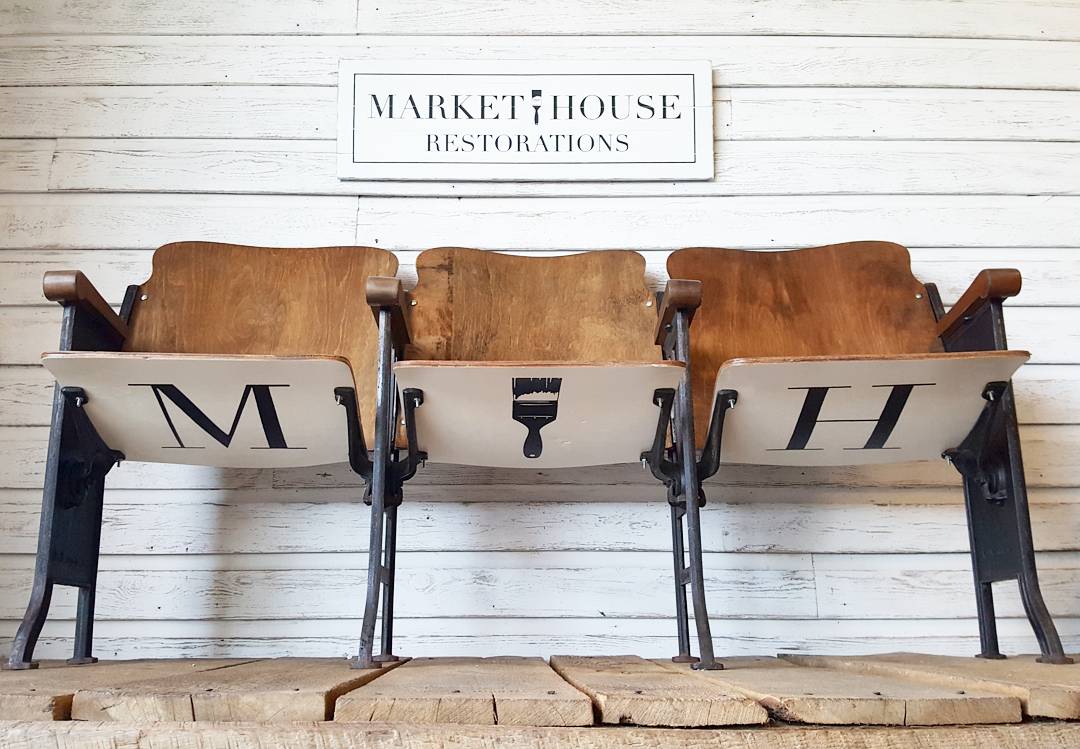
M | H Theater Seat's Makeover (Step-by-Step Guide)
/ Fallon Yates#MondayMakeoversWithFallon
These theater seats were definitely a labor of love, but they were so worth it! Below is the process I took to restore them and give them a second chance at life!
The Prep Process:
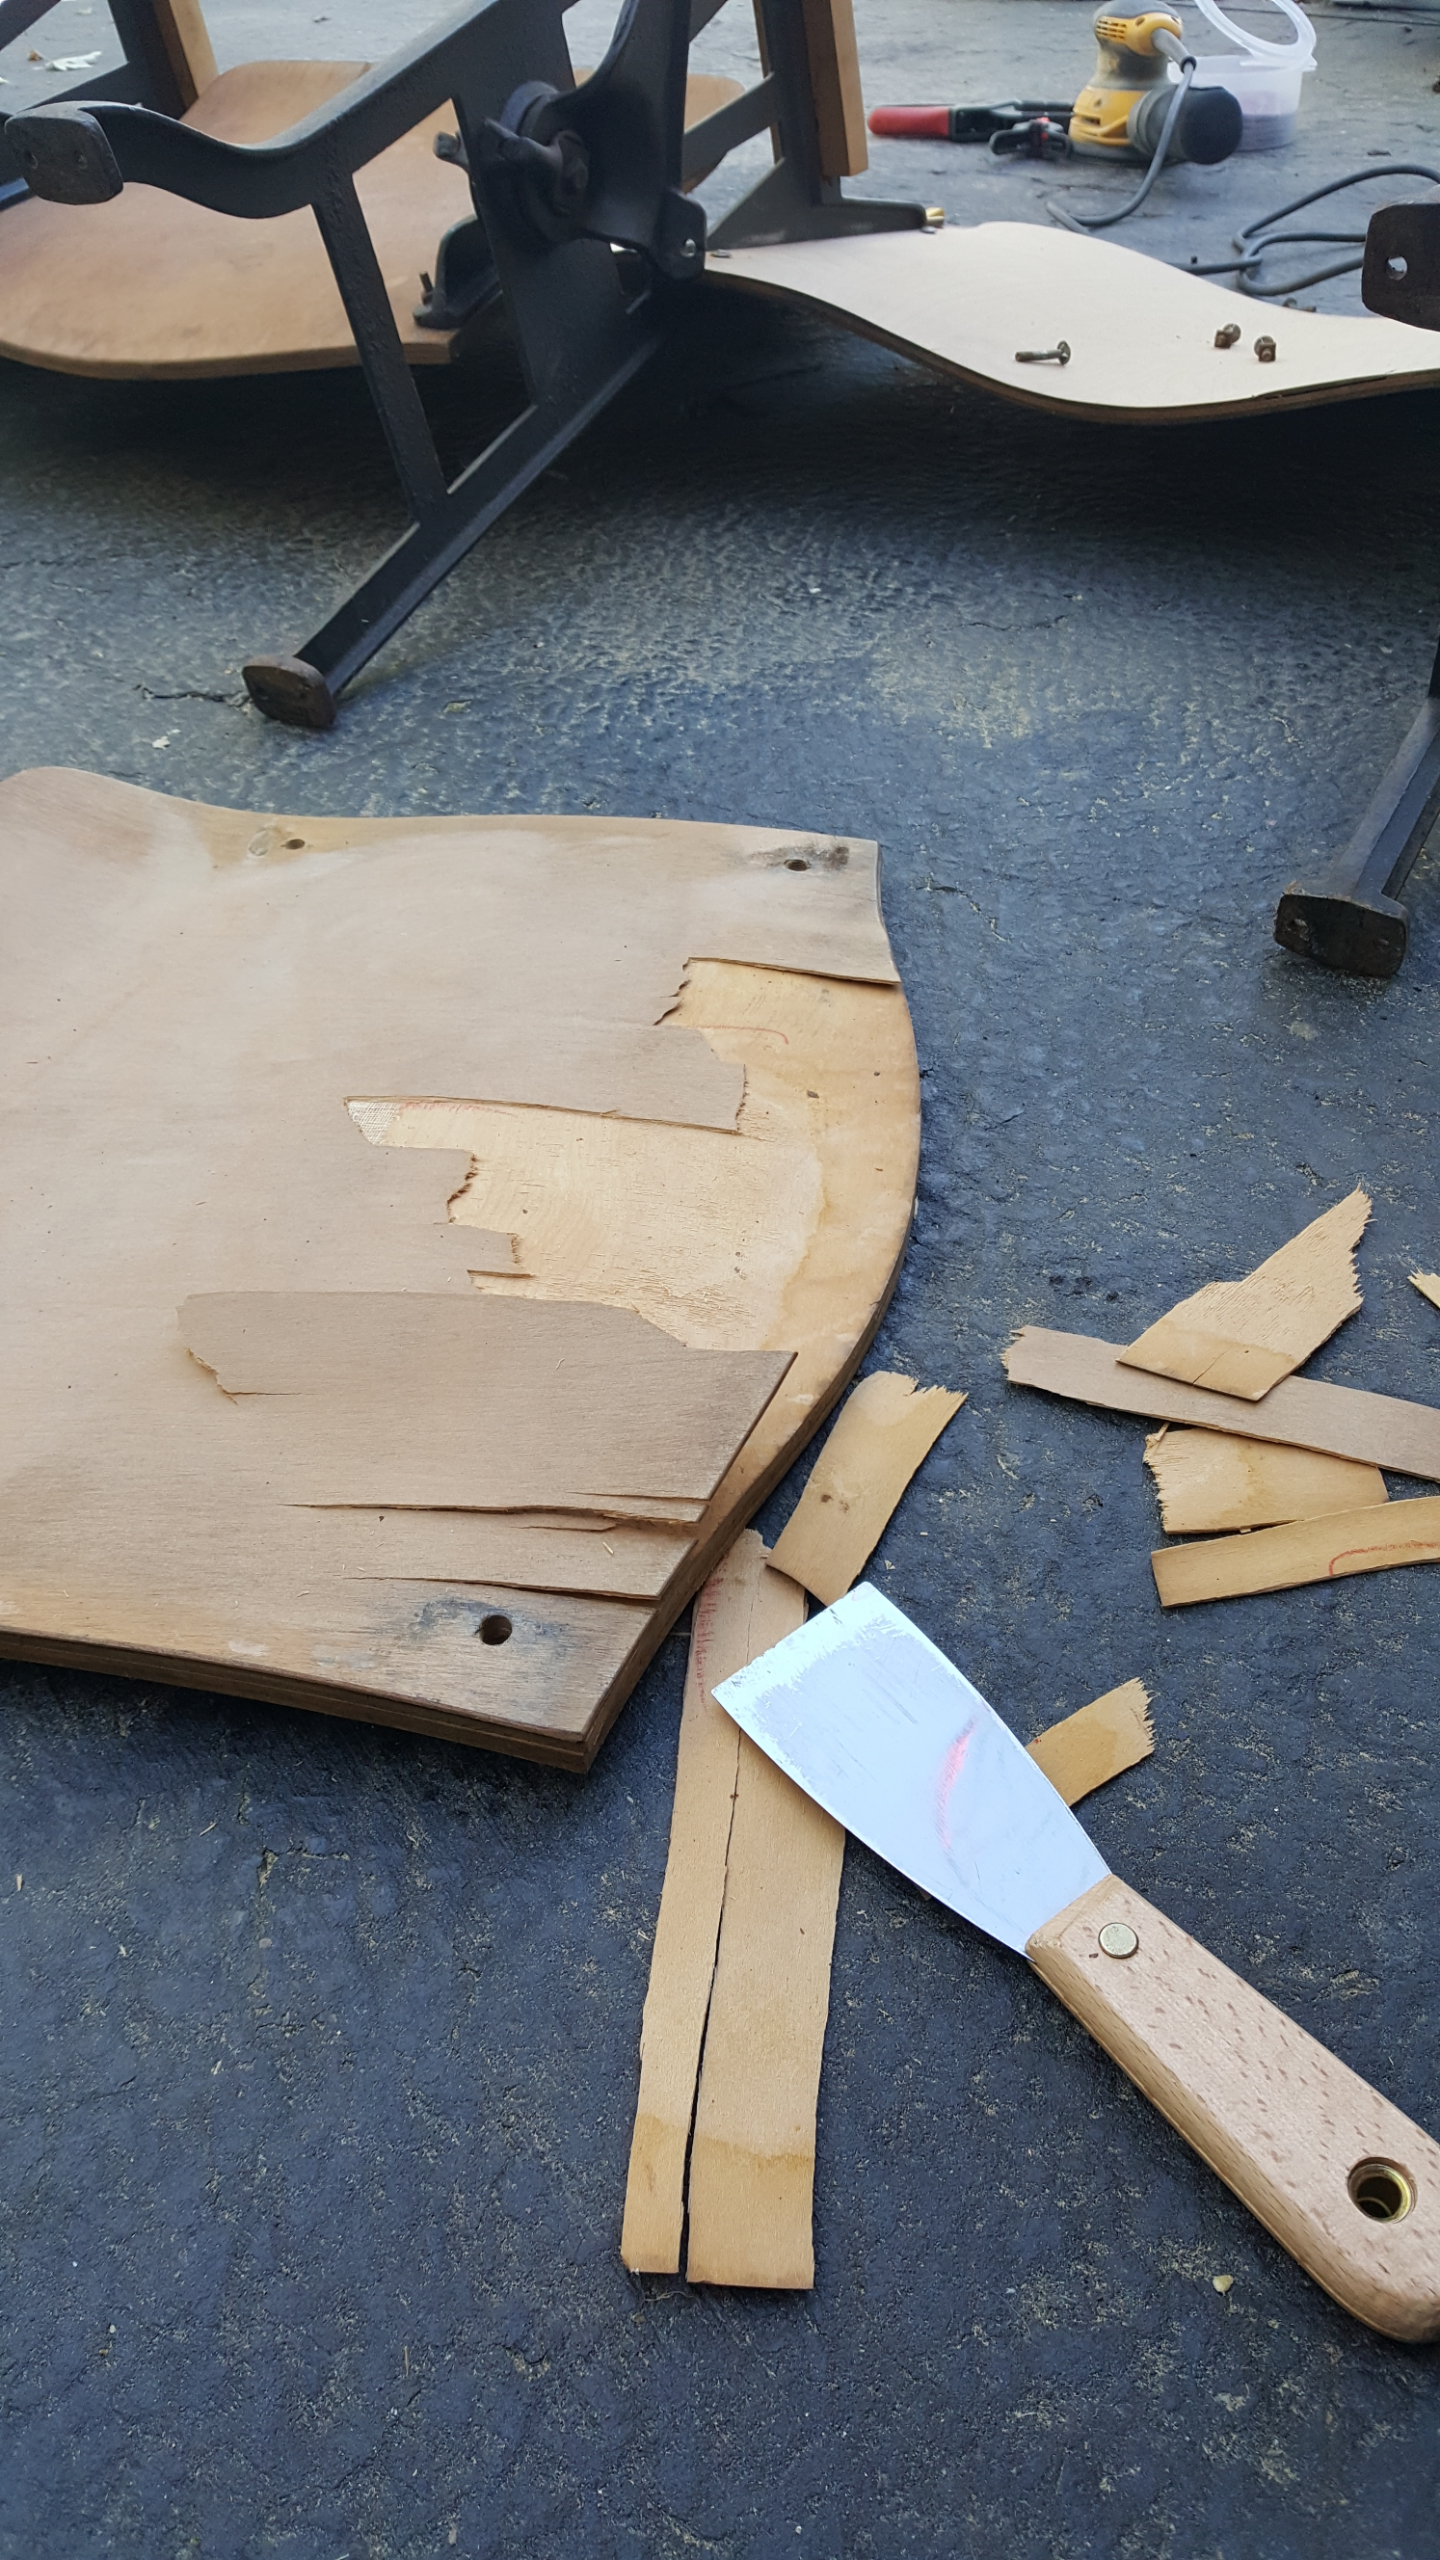
I took apart everything and removed the top layer of veneer. The veneer was really messed up and beyond repair so my only option was to take it all off. I ended up scraping and chipping it all off with a hammer and metal putty knife/scrapper. There were a few stubborn spots, but thankfully most of it came off pretty easily.
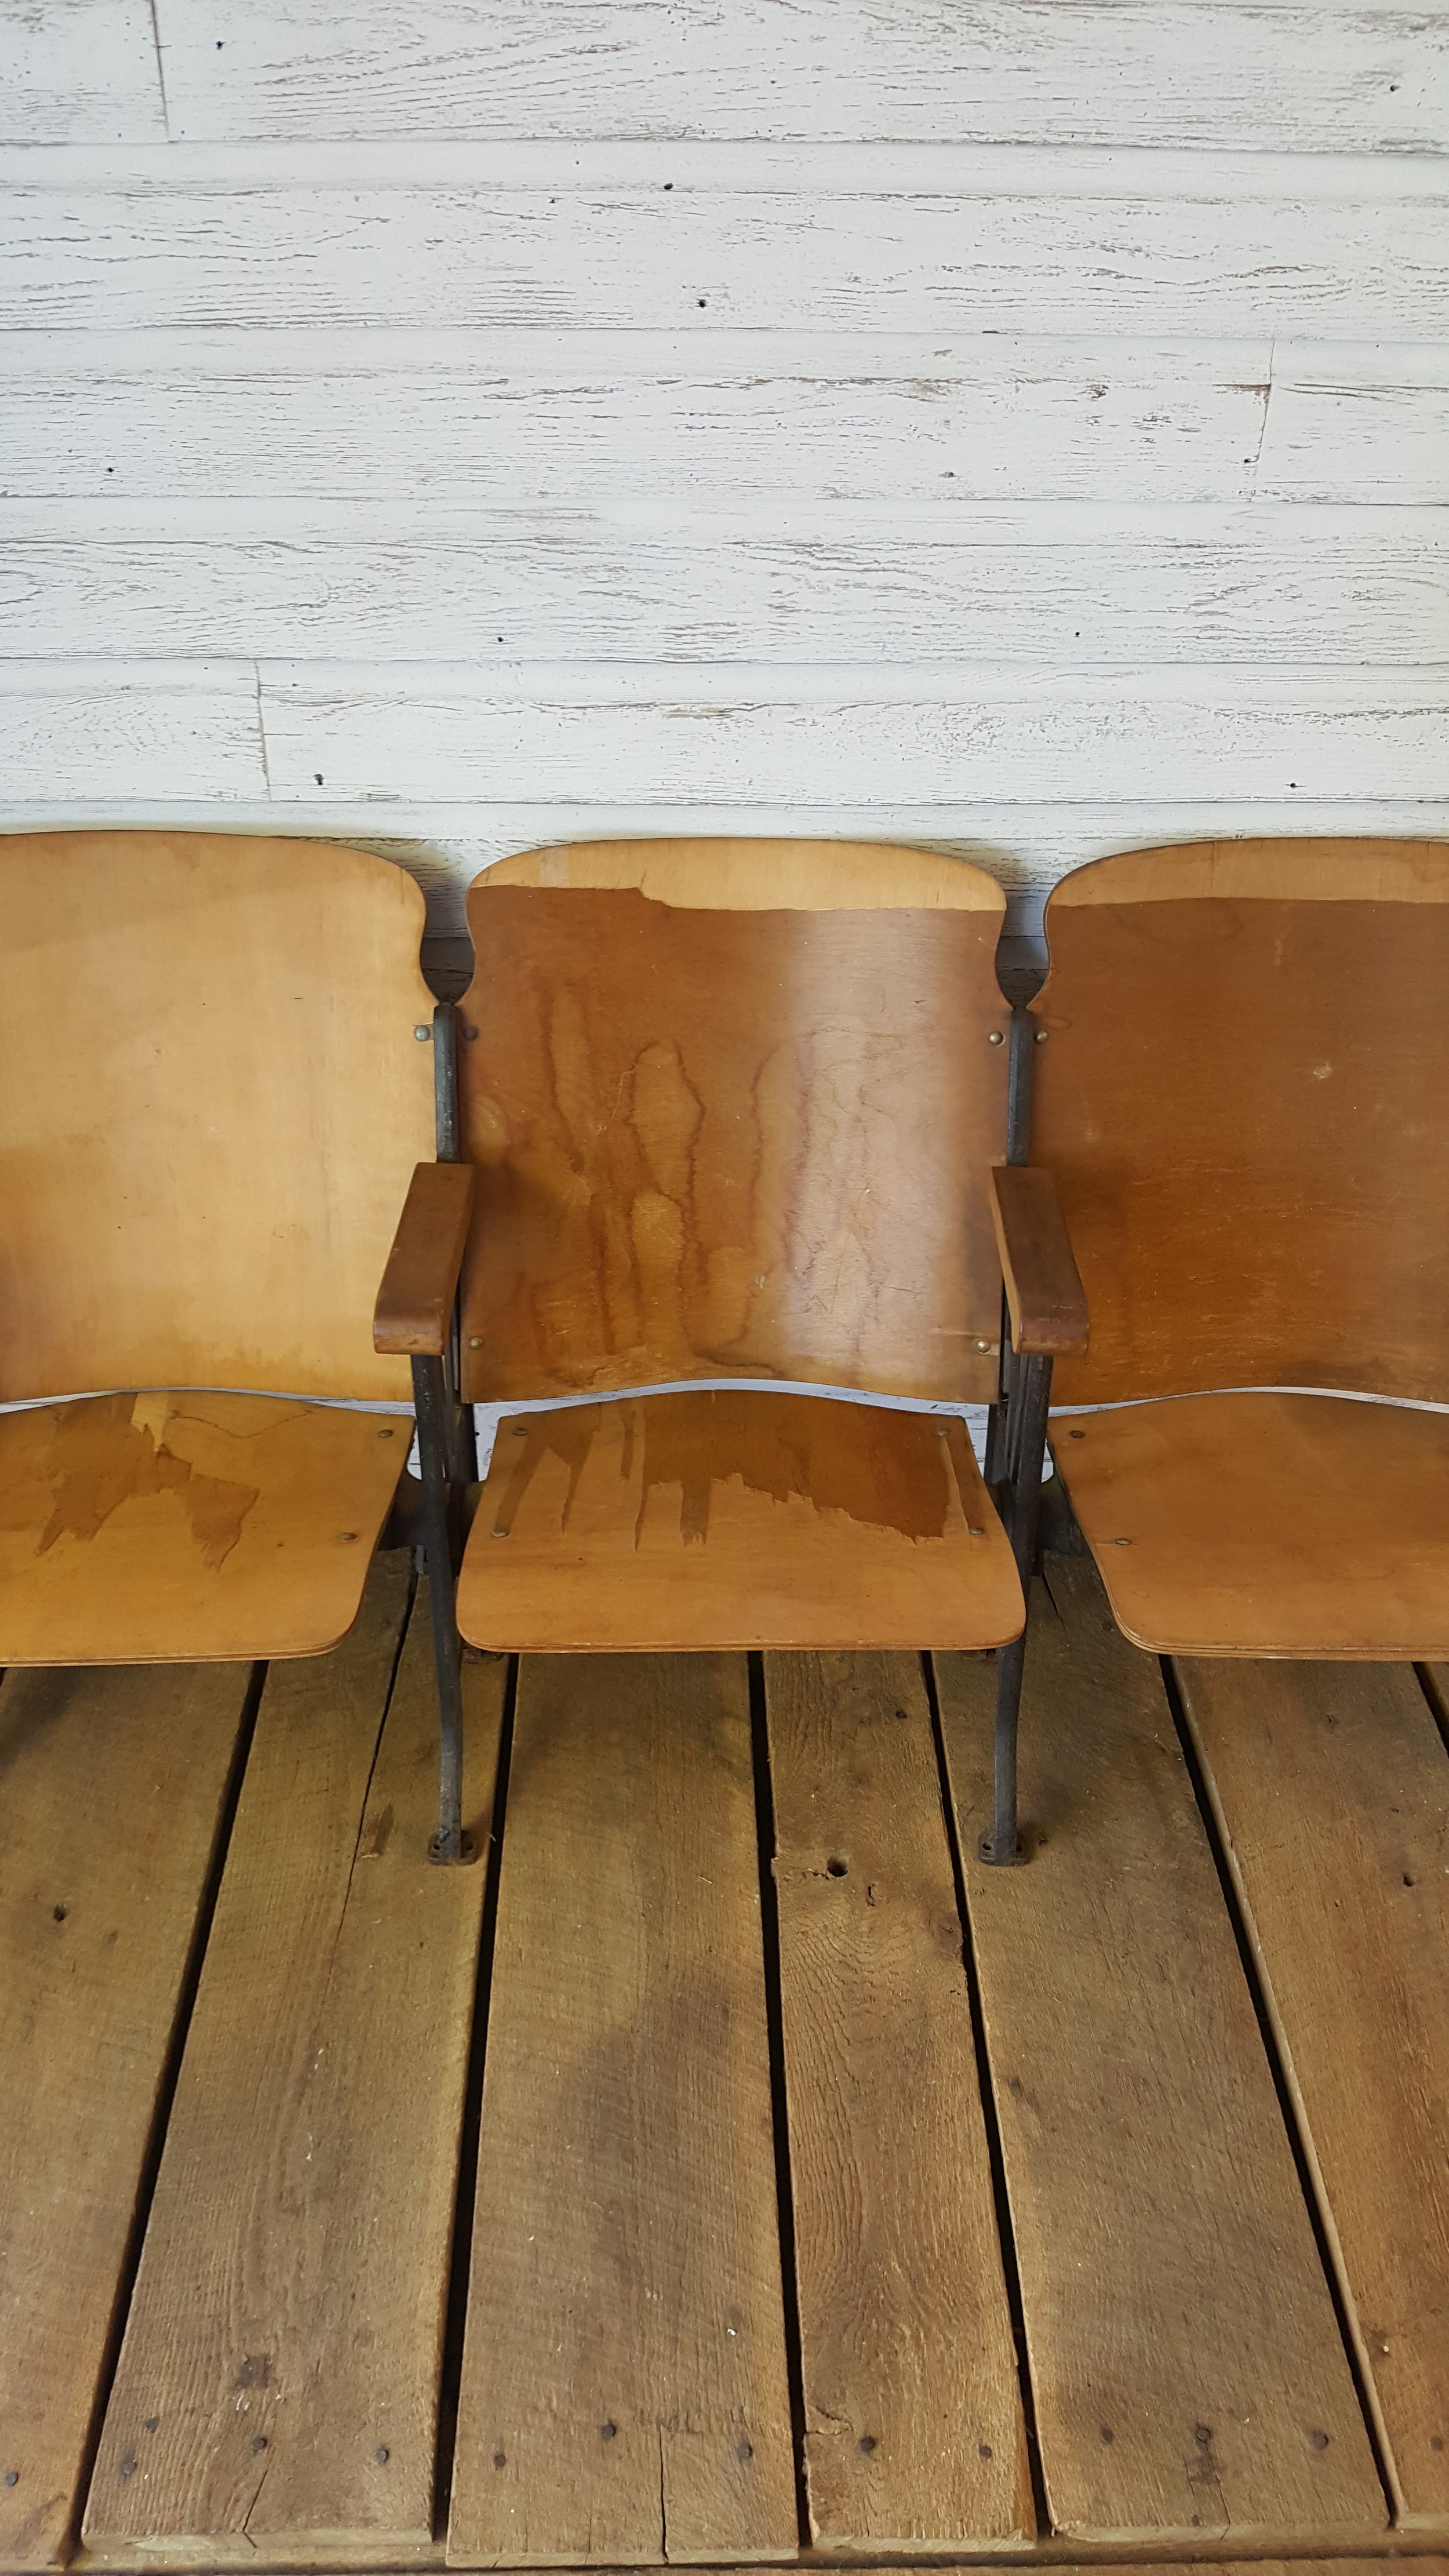
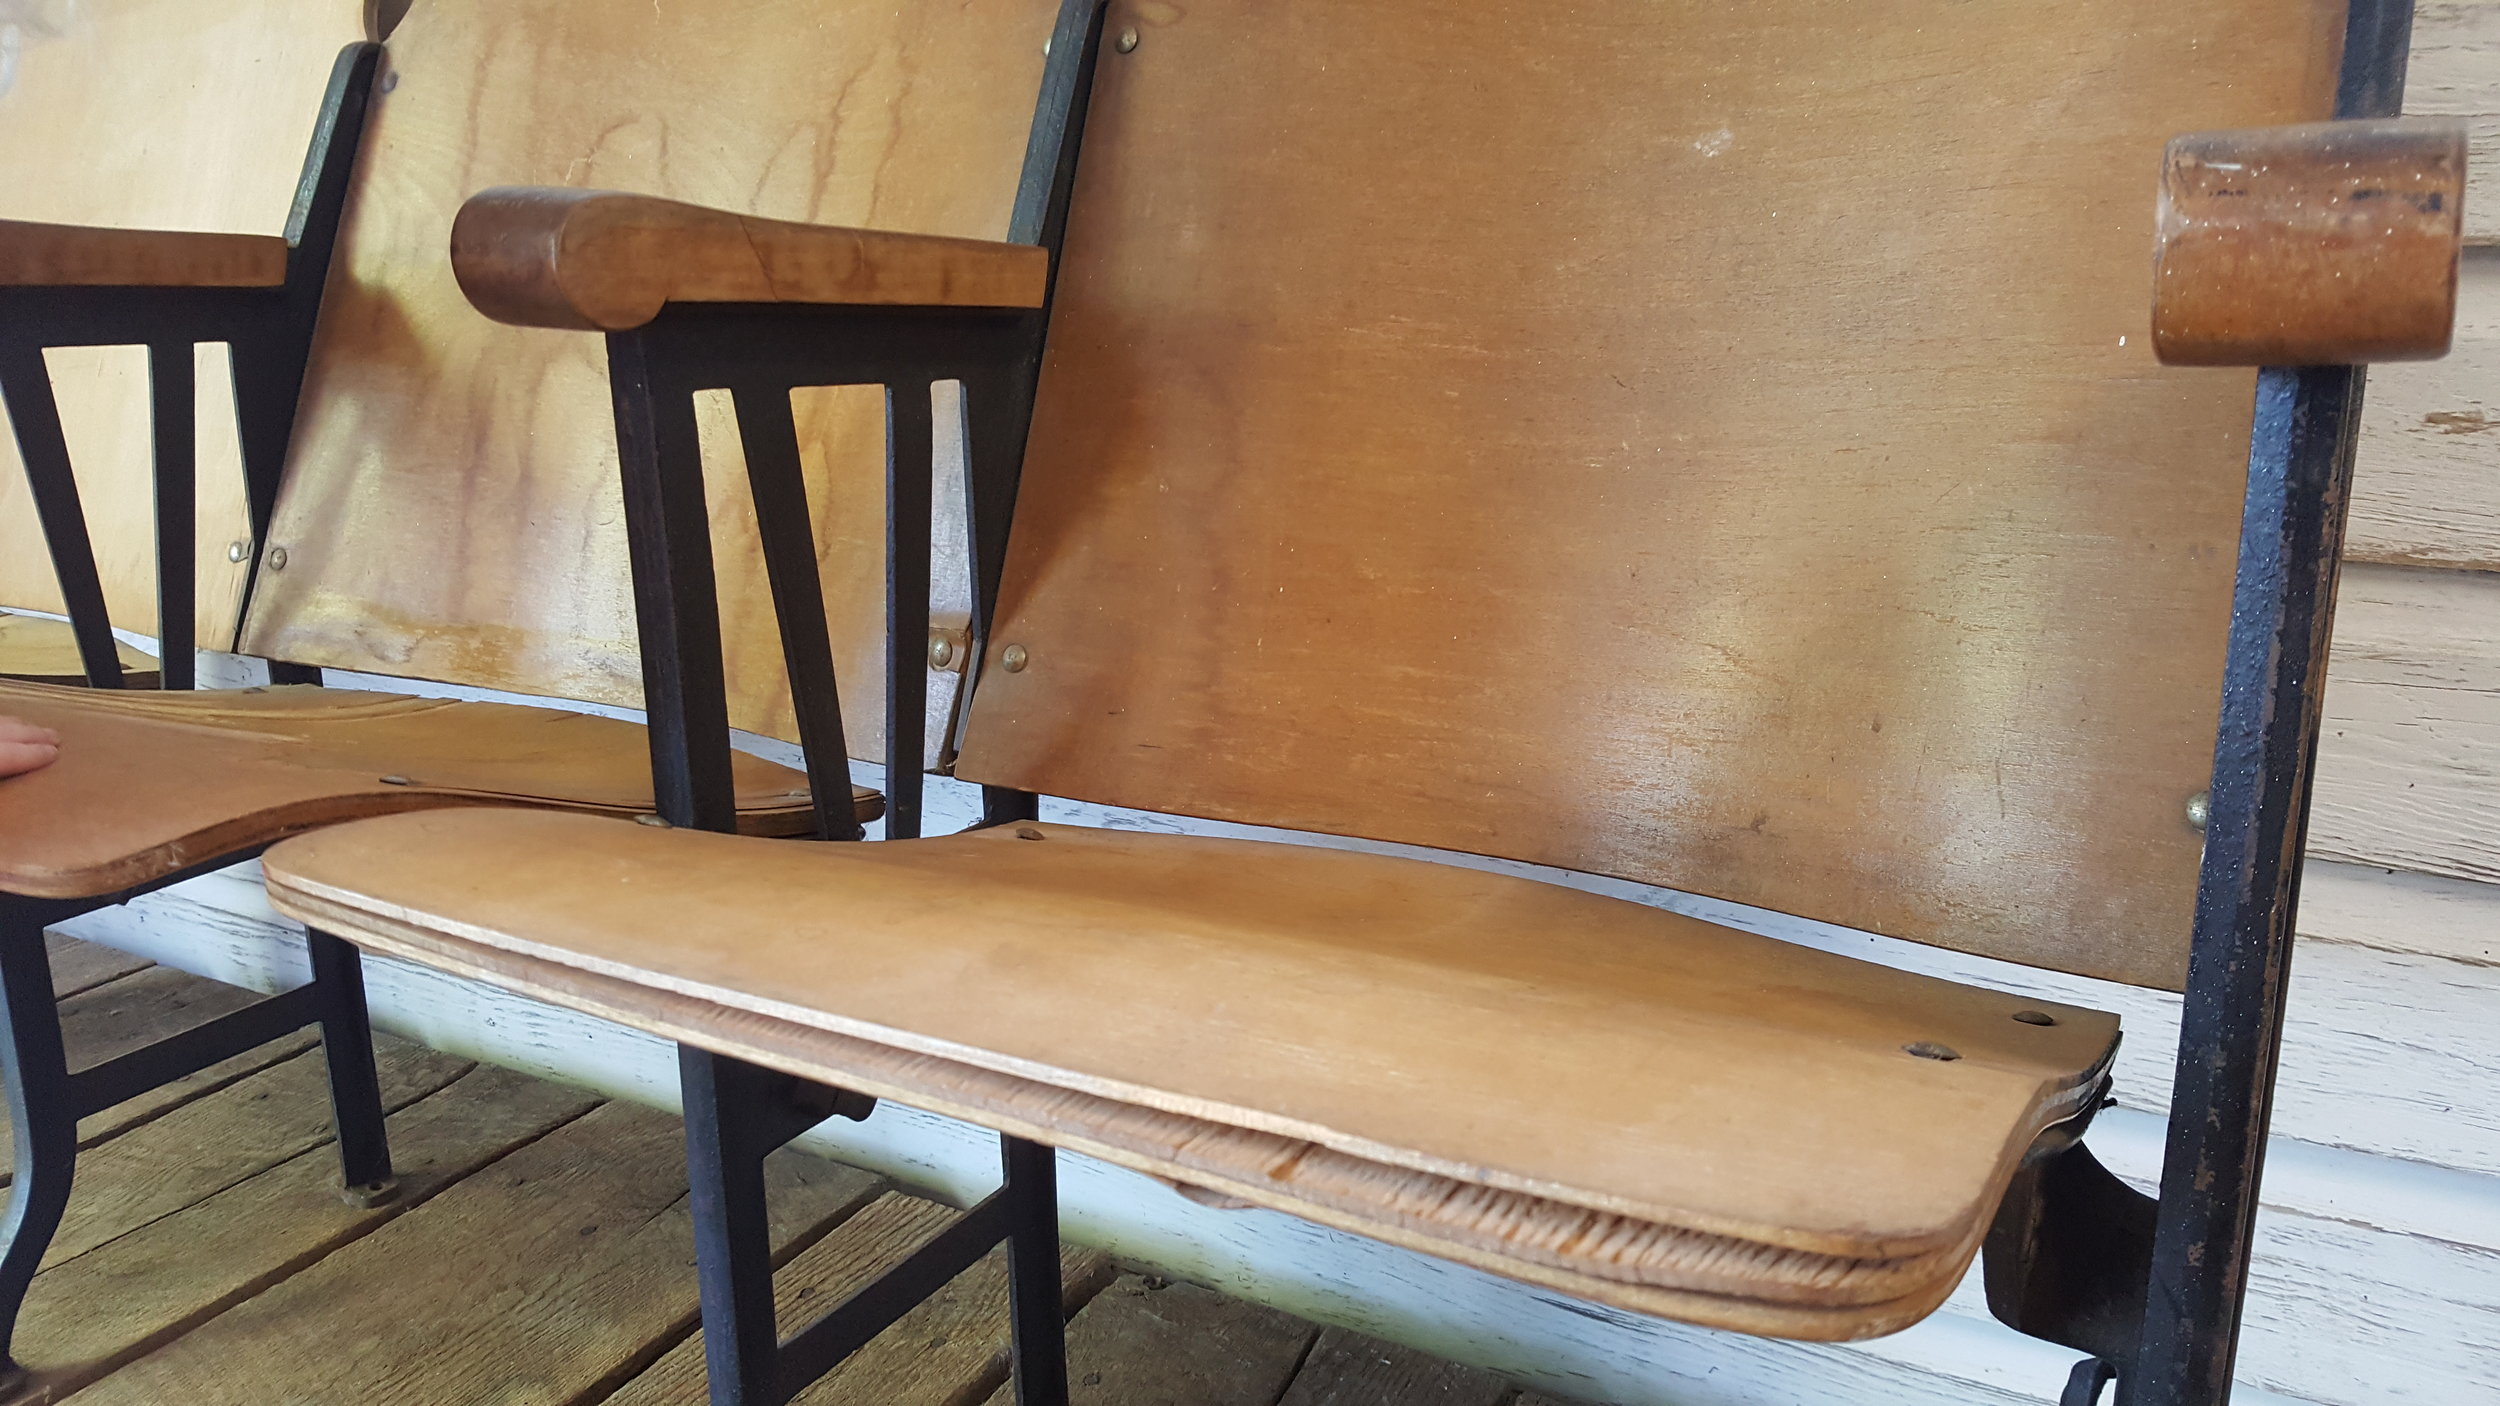
I glued and clamped the plywood together where it had separated. This process took a few days because there was a lot of separation in the seats, as you can see in the “before” picture above.
Once the veneer was completely removed and everything was fixed/glued, I used 60 grit sandpaper on my orbital sander because I needed something really course to get rid of any leftover glue
I followed up with 120 grit sandpaper on my sander and smoothed everything out
I then wiped everything down with Mineral Spirits. Once it was nice and dry I started the painting process
The Painting Process:
I started by priming the bottom of the seats with BIN Primer
I painted the bottom of the seats with a custom mix of General Finishes Snow White with a touch of Antique White
I then sealed the bottom with a coat of General Finishes High Performance Top Coat in Flat
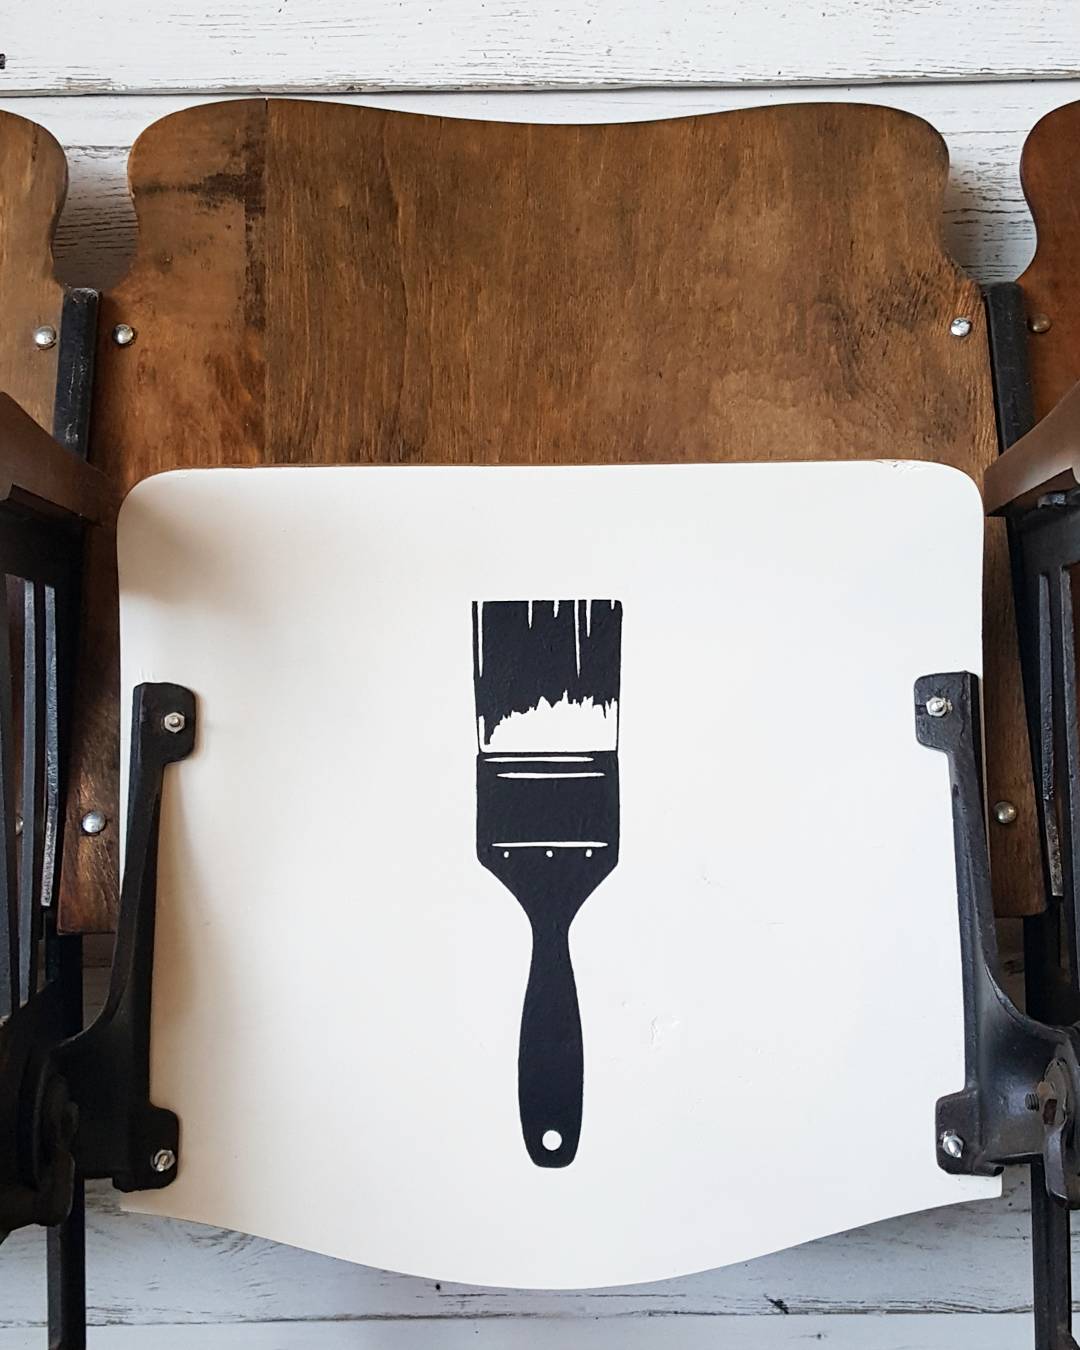
After the bottom of the seats were nice and dry, I laid out the vinyl cut-outs. My sister has a Silhouette and graciously cut out the letters and paint brush so I could customize the theater seats. I sketched out all of my measurements before I started applying the vinyl cut-outs and the paint.
I then painted 2 coats of General Finishes Lamp Black to the vinyl-cut outs or stencils, in this case.
I touched up the black and white areas
I then sealed the bottoms, again, with another coat of General Finishes High Performance Top Coat in Flat to protect it
The Staining Process:
I applied a slip coat of Mineral Spirits.
I applied 2 coats of Special Walnut by Minwax, letting each coat dry well in-between
Sealed the stained areas with Minwax Polyurethane
Once everything cleaned, fixed, painted and stained, I put everything back together. I replaced the old screws and bolts with new ones since the originals were rusty and pretty bent up. I purchased the new ones from Lowe’s.
I love that I am able to use these in my studio and believe it or not, they are actually pretty comfortable to sit in!
As always, thank you so much for tuning in this week for #MondayMakeoversWithFallon. If you want to save this blog post so you can refer back to it, make sure you pin it to your Pinterest page and/or feel free to share it elsewhere. I look forward being with you next Monday and don’t forget to tune in tomorrow for my educating video tutorial/tip for #TuesdayTipsWithFallon!!
*Please note, this post does contain affiliate links.

Make sure you check out my other #MondayMakeoversWithFallon blog posts below!
